Sample Configuration for Inbound Processing: SWIFT to XML
|
Topics: |
This topic highlights the configuration of the sample inbound message flow for the iWay Integration Solution for SWIFT. The message flow represents the movement and tasks in the conversion of a message from SWIFT FIN format to XML format.
Adding an Ebix or Registers to the Application Project
|
Topics: |
|
How to: |
The iWay e-Business Information Exchange (Ebix) framework supplies several Ebix files for the iWay Integration Solution for SWIFT.
An Ebix file for SWIFT is named SWIFT_ccyy.ebx, where ccyy is the release year. For example, an Ebix file for the 2019 SWIFT FIN messages is named SWIFT_2019.ebx.
For more information on the supported SWIFT FIN messages, see Ebix-Supported Transaction Sets.
Note: You can download the latest Ebix archives from the Information Builders Technical Support Center:
https://techsupport.informationbuilders.com/
Note: The SWIFT 2019 Ebix is attached to the sample channels.
For more information on how to add (import) an Ebix to an application project, see How to Import an Ebix.
Procedure: How to Add Registers to the Application Project
- Right-click the Registers subfolder in your application project, select New, and then click Other from the context menu, as shown in the following image.

The New (Select a wizard) dialog opens, as shown in the following image.
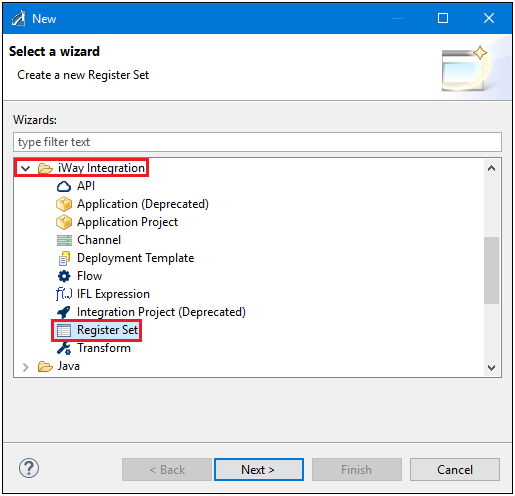
- Expand iWay Integration, select Register Set, and then click Next.
The New Register Set Wizard opens, as shown in the following image.
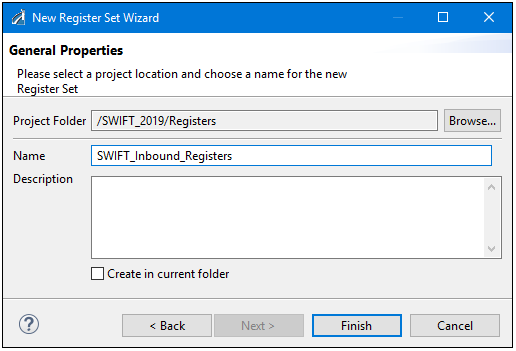
- Enter a name for the register set and then click Finish.
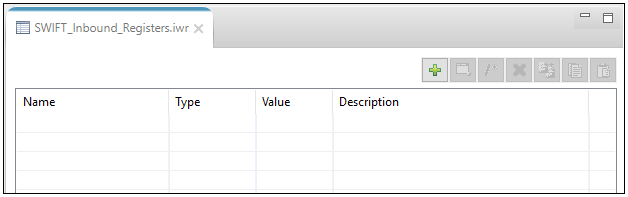
The named register set opens as a new tab in the workspace, where you can define your registers, as shown in the following image.
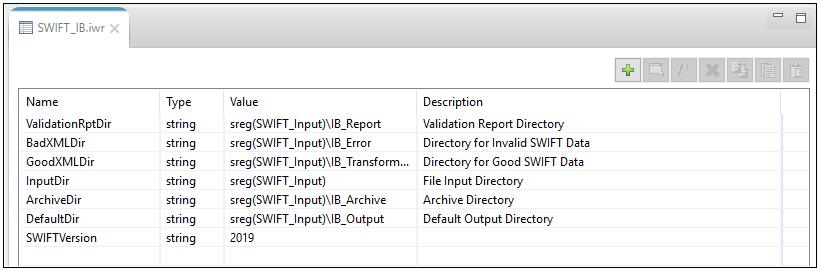
The following image shows a sample register set (SWIFT_IB), which is used for inbound processing.
Procedure: How to Add an Ebix and Registers to Your Channel
- Expand the Channels subfolder in your application project, and double-click on a channel name.
The selected channel opens in the Channel Builder, which displays as a tab in your workspace, as shown in the following image.

- Click on the channel name in the left pane of the Channel Builder to open the dialog in the right pane, which allows you to bind Ebixes and registers to your channel.
- Click the Add button (green plus sign) and add your Ebix or register sets that were defined.
Sample Listener Configuration
The following image shows a sample listener configuration for the inbound channel.
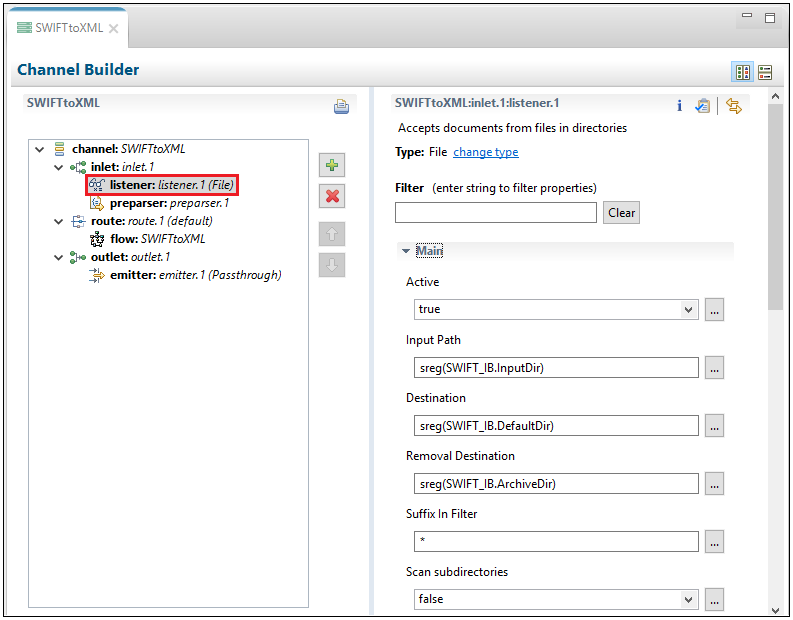
The following table lists and describes the available configuration parameters for the listener.
|
Parameter |
Value |
|---|---|
|
Active |
Enables (set to true by default) or disables the listener. |
|
Input Path |
sreg(SWIFT_IB.InputDir) This value is a special register that uses a defined directory in which input messages are received. Ensure that you have created this directory; otherwise, errors will occur during deployment. |
|
Destination |
sreg(SWIFT_IB.DefaultDir) This value is a special register that uses a defined directory in which output files are stored after transformation. Ensure that you have created this directory; otherwise, errors will occur during deployment. |
|
Removal Destination |
sreg(SWIFT_IB.ArchiveDir) This value is a special register that uses a defined directory to which input messages are moved if they fail during transformation. Ensure that you have created this directory; otherwise, errors will occur during deployment. It is recommended to configure a removal destination when you are constructing a basic channel. |
|
Suffix In Filter |
* Input files with any file extension are allowed. |
|
Suffix Out |
xml The extension for output files is .xml. |
|
Accept Zero Length Files? |
true If true, listener expects flat (non-XML). Automatic parsing is not performed. |
Sample Preparser Configuration
The following image shows a sample preparser configuration for the inbound channel.

The following table lists and describes the available configuration parameters for the preparser:
|
Parameter |
Description |
|---|---|
|
version |
Represents the SWIFT release year you are using. |
|
template |
Represents the template to use for the SWIFT to XML transform. Enter the following: MT%toXML.xch |
|
timestamp |
Writes a time stamp to the log file. Select true or false. |
|
systemMessages |
Determines whether to process system messages. If true is selected, the system messages are automatically parsed and directly written to a good validation report. If false is selected, the system messages are bypassed and not processed. There is also a separate preparser available if you want to set up a standalone channel to parse just system messages. |
Defining a Route
A route defines the path a message takes through a channel.
Channel Builder defines the route for you automatically. Just add your process flow(s) to the route in Channel Builder.
Defining a Process Flow
Process flows (pflows) are defined and created in the process flow editor. To create a new process flow, right-click on Flows, select New, and then click Flows, and follow the dialog.
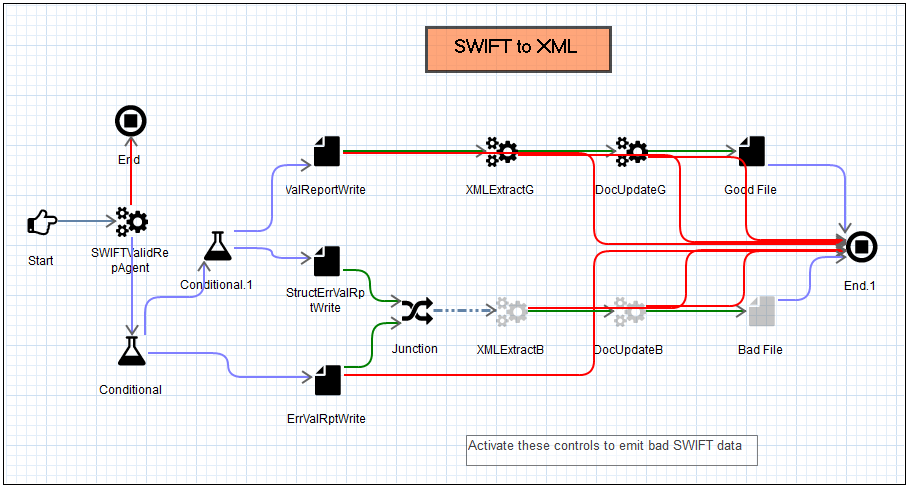
The following image is a sample process flow for the inbound channel.
Defining the Outlet
|
How to: |
Outlets define how a message leaves the channel. In the sample inbound configuration, a Passthrough outlet is used. For details on supported protocols, which can be used as outlets, see the iWay Service Manager Protocol Guide.
Procedure: How to Build the Channel
To build the channel:
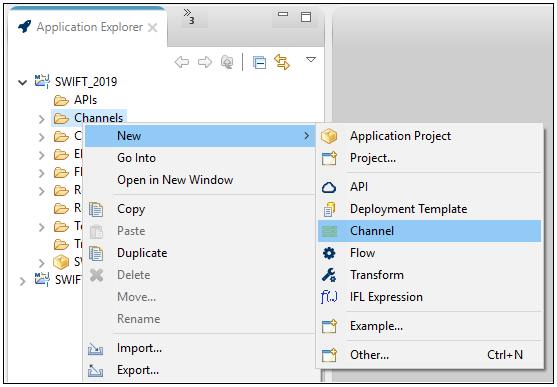
- Expand your application project, right-click Channels, select New, and then click Channel from the context menu, as shown in the following image.
The Channel Object dialog opens.
- Enter a new channel name and then click Next to continue to be prompted for entry screens for components, or click Finish to go directly to the Channel Builder.
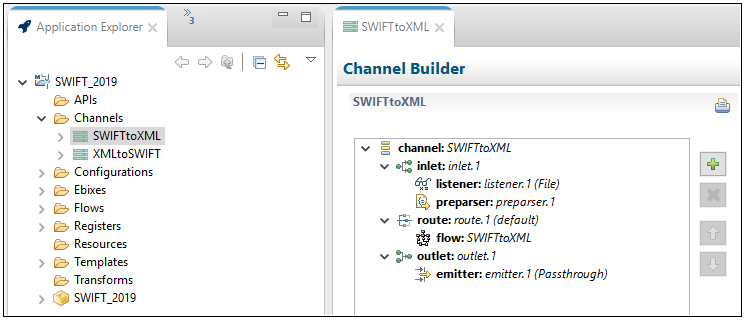
The following image shows a sample inbound channel displayed in the Channel Builder.
You can manually build your channel by right-clicking the bundle name, selecting Integration Tools, and then clicking Build from the context menu, as shown in the following image.

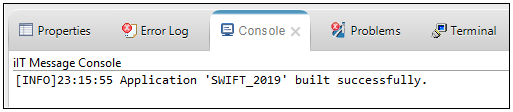
- Review the results of your build, as shown in the following image.
Deploying and Starting the iWay Integration Application
|
How to: |
For more information, see:
Procedure: How to Verify the Channel
To ensure that the channel is working as expected, perform the following steps:
- Place a SWIFT document as test data in the file directory that is
defined by sreg(SWIFT_IB.InputDir).
For more information on obtaining SWIFT sample files (MT535.swift, MT541.swift, and MT950.swift) for testing purposes, see Extracting SWIFT User Samples.
- Check for the XML file and the validation report in the file
directory that is defined by sreg(SWIFT_IB.DefaultDir). This
is the destination path you specified for the emitters associated
with the outlets for the channel.
For example, a SWIFT input file named MT950.txt is named MT950_2019-11-27T17_17_38_932Z.xml on output.