Working With Ebix Files Using iWay Integration Tools
|
How to: |
This section describes how to import, edit, and export an Ebix for SWIFT using iWay Integration Tools (iIT).
Procedure: How to Import an Ebix
- Start iWay Integration Tools (iIT).
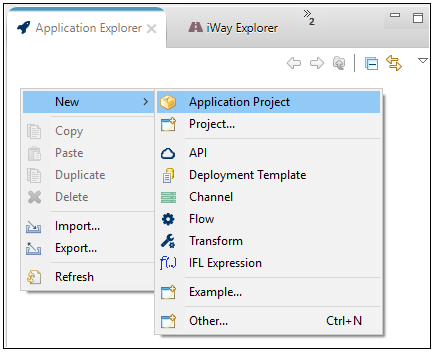
- Right-click anywhere in the Application Explorer tab, click New,
and then select Application Project from
the context menu, as shown in the following image.
The New Application Project dialog opens, as shown in the following image.
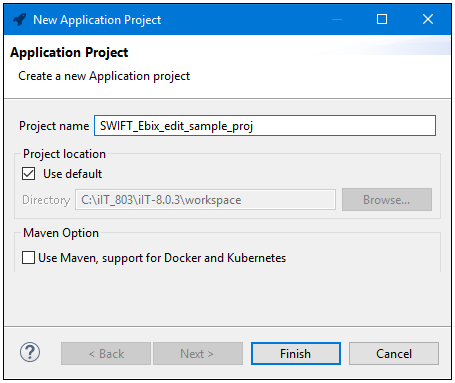
- Enter a project name, for example, SWIFT_Ebix_edit_sample_proj, and then click Finish.
Your new project is created and is listed in the Application Explorer tab, as shown in the following image.
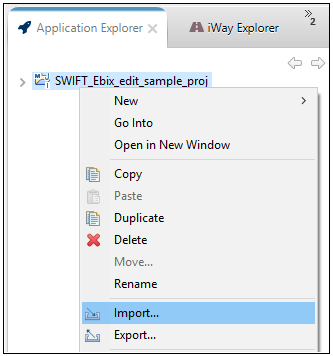
- Right-click the project in the Application Explorer tab and select Import from
the context menu.
The Import dialog opens, as shown in the following image.

- Expand iWay Integration, select Ebix,
and then click Next.
The General Properties Page opens, as shown in the following image.
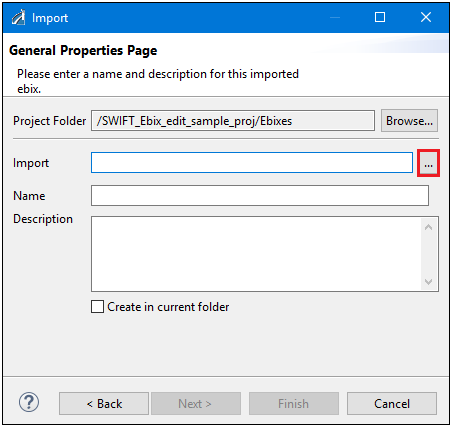
- Click the ellipsis (…) button to the right of the Import field.
The Open dialog is displayed, as shown in the following image.
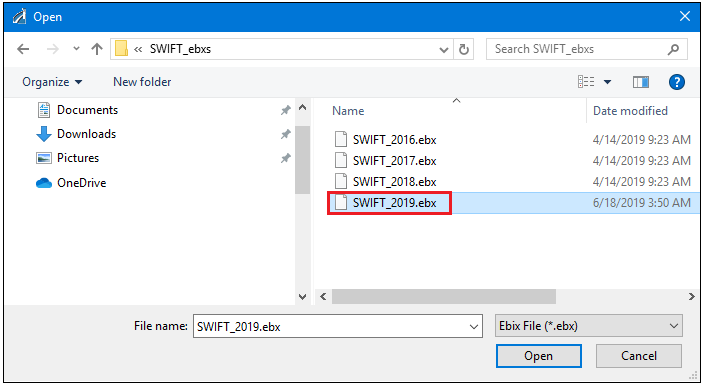
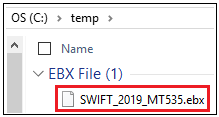
- Select the downloaded SWIFT_2019.ebx file from
the physical drive location, and then click Open.
You are returned to the General Properties Page, as shown in the following image.
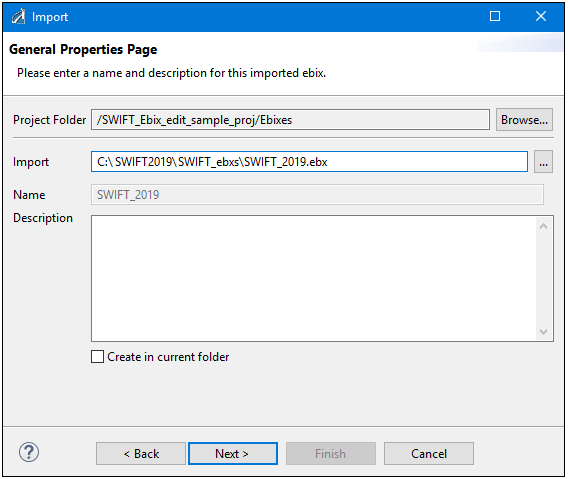
- Click Next.
The Ebix Entries pane opens, as shown in the following image.
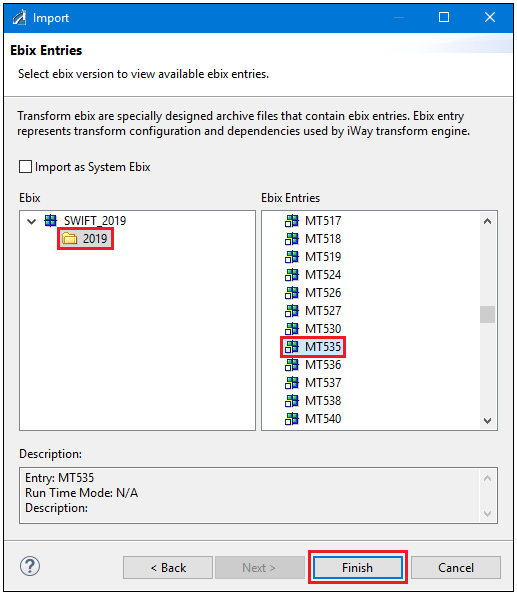
- Expand the SWIFT_2019 node in the Ebix section on the left, and select the 2019 folder.
- Select MT535 in the Ebix Entries section on the right,
and then click Finish.
The dictionary editor opens for your selected document (for example, MT535).
Procedure: How to Edit an Ebix
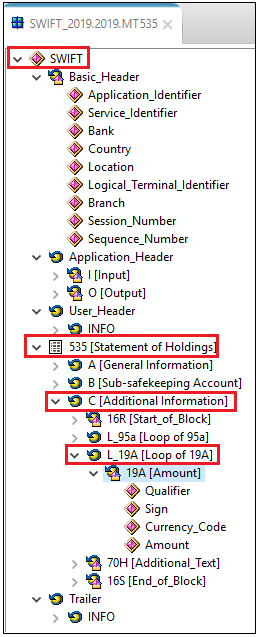
- In the SWIFT_2019.2019.MT535 tab that is opened, navigate to the 19A [Amount] element
by expanding SWIFT, 535 [Statement
of Holdings], C [Additional Information],
and then L_19A [Loop of 19A], as shown in
the following image.
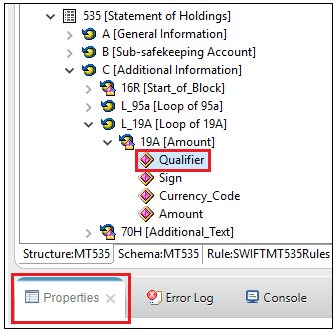
- Under 19A [Amount], click the Qualifier composite
element, then click the Properties tab in the bottom pane,
as shown in the following image.
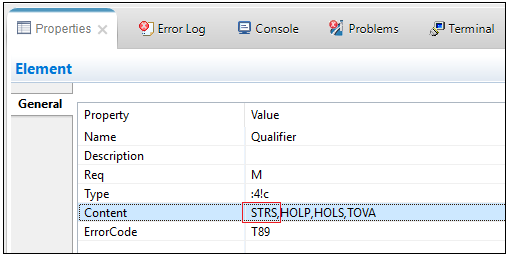
- In the Content field of the Properties tab, add the value STRS, as shown in the following image.
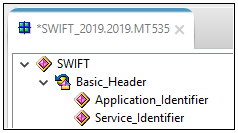
An asterisk (*) character appears next to the file name in the tab until you have saved the edited changes, as shown in the following image.
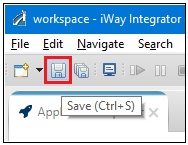
- Save your edited Ebix by clicking the Save icon, which
is located on the toolbar. If you are using a Windows platform,
you can also use the shortcut key CTRL+S to save your work.
The Build Working Set dialog opens and displays a series of messages, as shown in the following image.
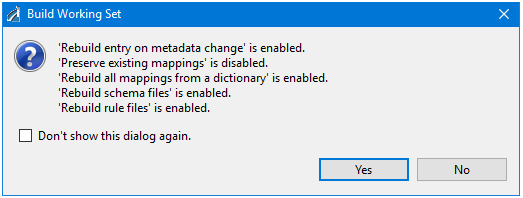
- Click Yes to confirm your changes.
Your edited Ebix in the iIT dictionary editor should now resemble the following image.
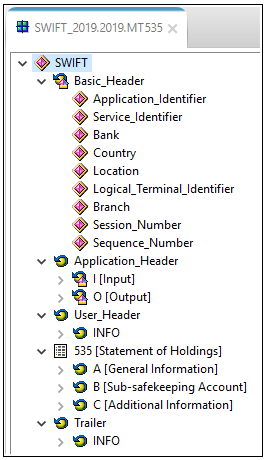
Note: The asterisk (*) character next to the file name in the tab will disappear once the edited Ebix has been saved successfully.
Procedure: How to Export an Ebix
To export an Ebix:
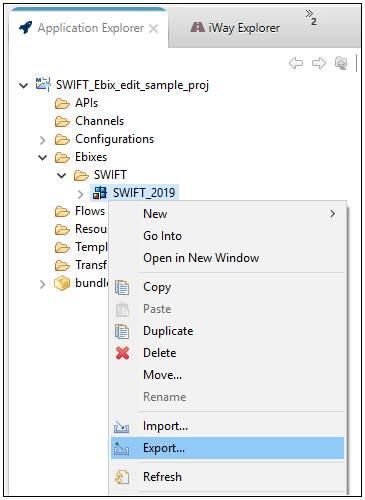
- Right-click the SWIFT_2019 Ebix
from the Ebixes subfolder of your application project, and select Export from the context menu, as shown in the following image.
The Export dialog opens, as shown in the following image.
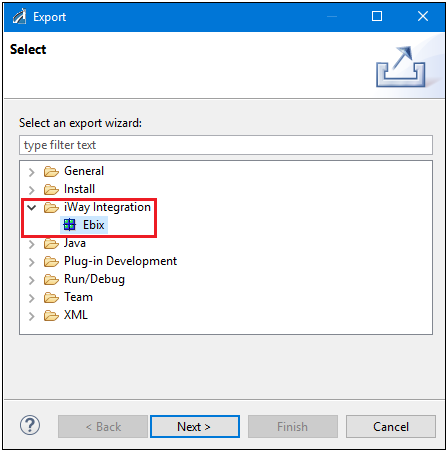
- Expand the iWay Integration folder,
select Ebix, and then click Next.
The Export pane opens, as shown in the following image.
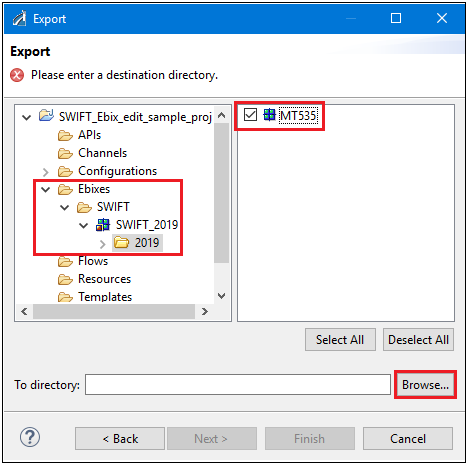
- Expand your application project (for example, SWIFT_Ebix_edit_sample_proj), Ebixes, SWIFT, SWIFT_2019, and then select the 2019 folder in the left pane.
- Select the MT535 check box in the right pane, and then click Browse.
The Export Ebix to Directory dialog opens.
- Choose a location on your file system to store the exported Ebix, and then click OK.
You are returned to the Export pane, as shown in the following image.

- Click Next.
The Export Ebix pane opens, as shown in the following image.
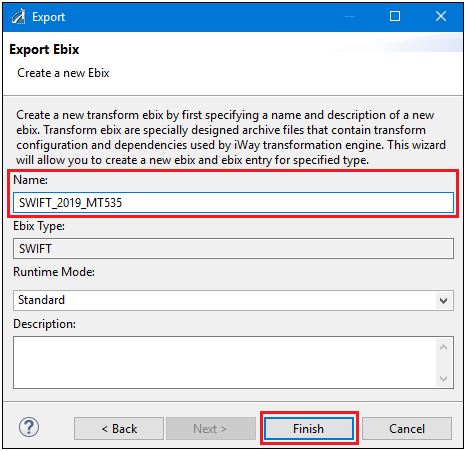
- Provide a name that will be used for the exported Ebix file in the Name field,
select Standard from the Runtime Mode drop-down
list, add a description (optional), and then click Finish.
Your exported Ebix file is now available in the specified location on your file system.
For example: