Starting iWay Integration Applications in iWay Service Manager
|
How to: |
This section describes how to start iWay Integration Applications (iIAs) in iWay Service Manager (iSM).
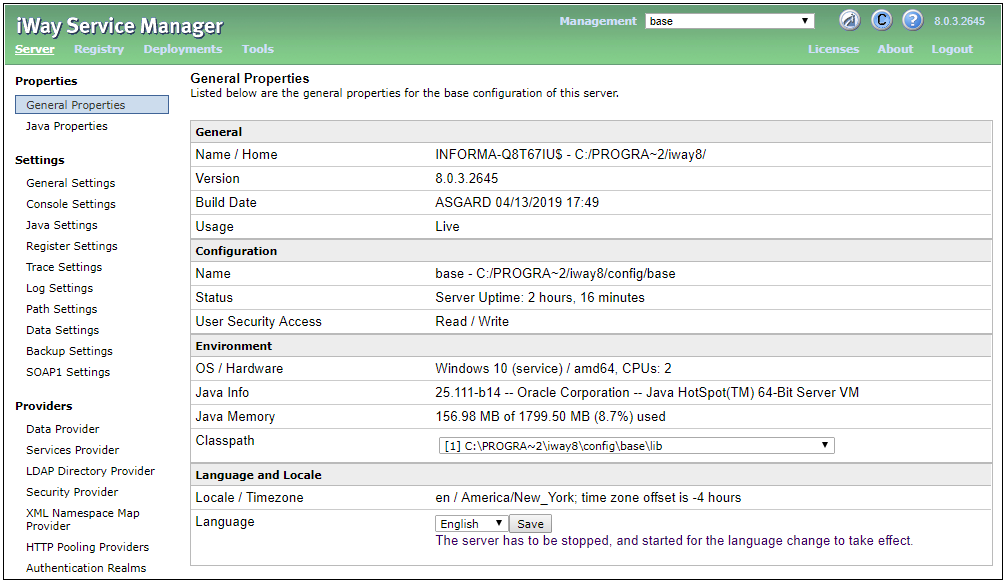
Procedure: How to Start iWay Integration Applications in iWay Service Manager
- Access the iSM Administration Console and sign in using your credentials (user name and password).
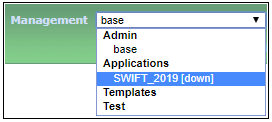
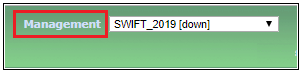
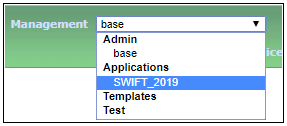
- Select SWIFT_2019 [down] from the Management drop-down list (under Applications), as shown in the following image.
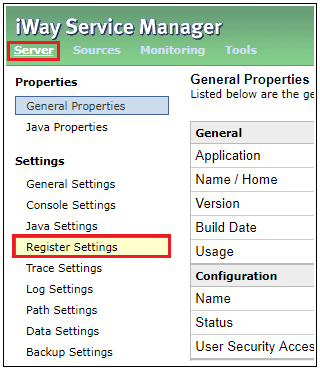
- Click Server from the toolbar and then click Register Settings from the left pane, as shown in the following image.
A list of pre-configured system level Special Registers (SREGs) for the SWIFT 2019 application are displayed, as shown in the following image.
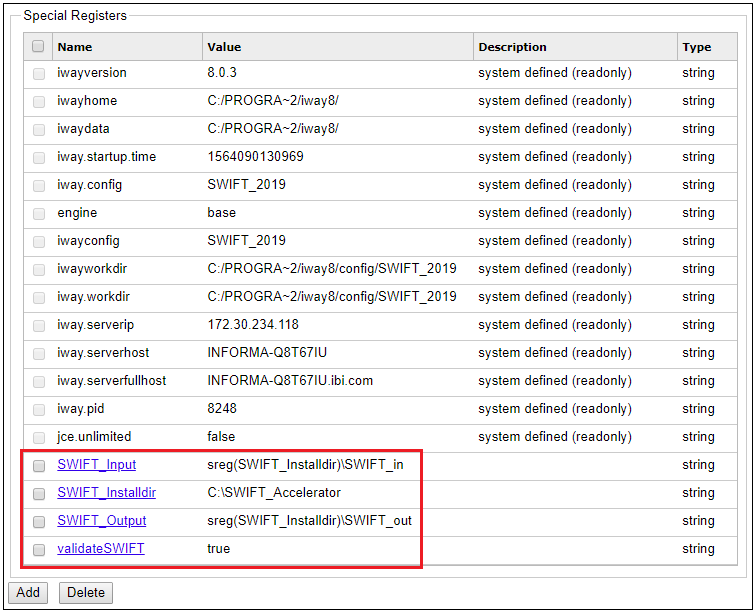
If you did not install the data directories in this location, then click on the SREG and set your location for SWIFT_Installdir.
- Click Management, as shown in the following image.
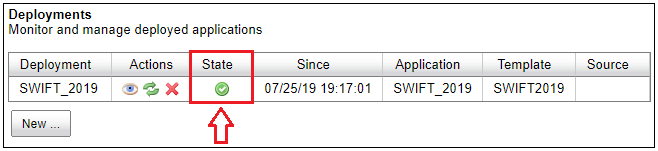
The Deployments pane opens where the deployed SWIFT_2019 application is listed, as shown in the following image.
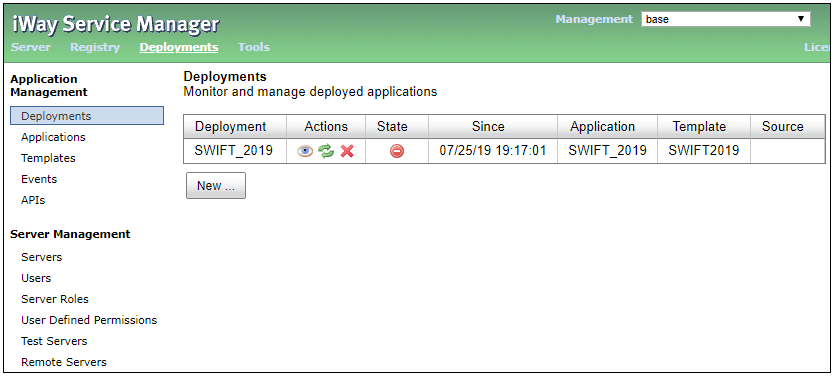
The SWIFT_2019 application is down (not started), as indicted by the icon in the State column.
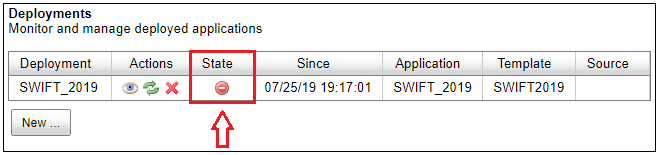
- In the State column, click the deployment state icon to start the SWIFT_2019 application, as shown in the following image.
A confirmation message is displayed, as shown in the following image.
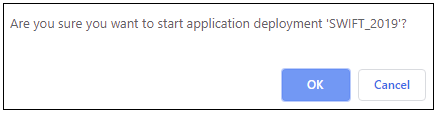
- Click OK.
Once the SWIFT_2019 application has successfully started, the icon in the State column changes to a check mark, as shown in the following image.
- Place your input data into the input location that is configured for the SWIFT_2019 application.
- Select SWIFT_2019 from the Management drop-down list (under Applications), as shown in the following image.
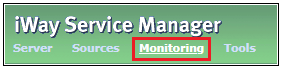
- Click Monitoring from the toolbar, as shown in the following image.
The deployed application channels SWIFTtoXML and XMLtoSWIFT are displayed, as shown in the following image.
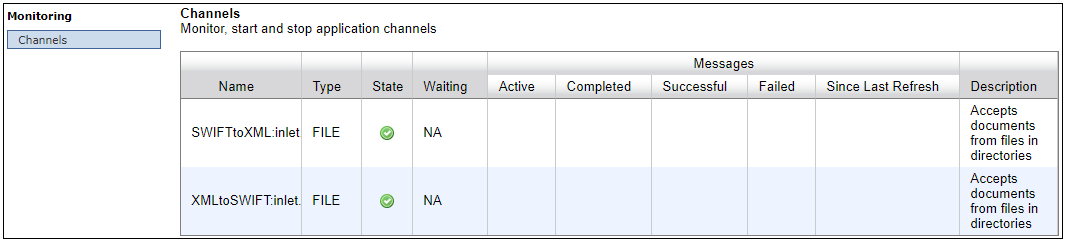
You can stop or start either channel as required by clicking the green or red icon in the State column.