Installing Omni-Gen™ Personal Edition
|
How to: |
The following procedure describes how to install Omni-Gen™ Personal Edition.
Procedure: How to Install Omni-Gen™ Personal Edition
- Double-click the omnigen-installer-pe-3.9.2-Windows-PE.exe installation file to run the installer.
The InstallAnywhere program opens, as shown in the following image.
When the installation is ready to begin, the Introduction window opens, as shown in the following image.

- Click Next.
The Accept License Agreement window opens, as shown in the following image.

- Read the License Agreement, select I accept the terms of the License Agreement, and then click Next.
The Choose Installation Folder window opens, as shown in the following image.
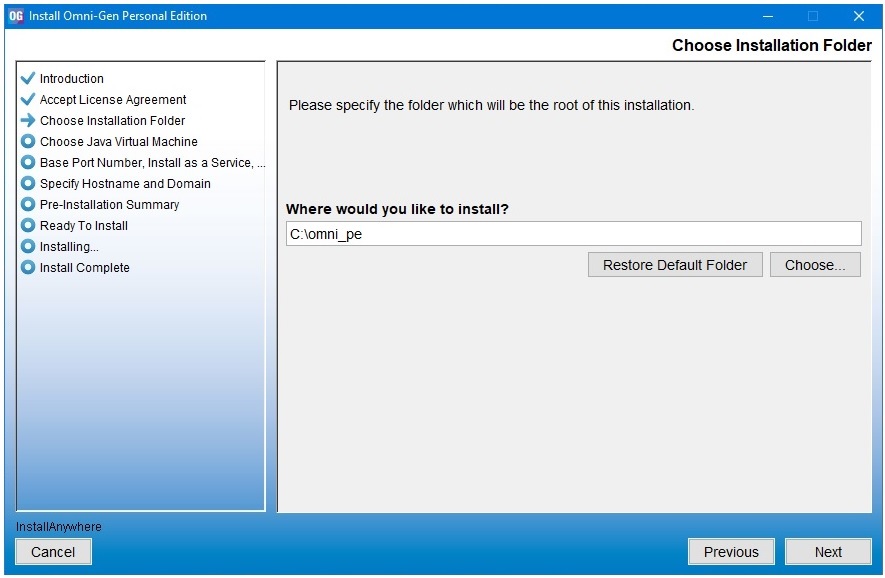
- In the Where would you like to install field, specify the location where you want to install the required files, or click Choose to browse to the location for the installation.
- Click Next.
The Choose Java Virtual Machine window opens, as shown in the following image.
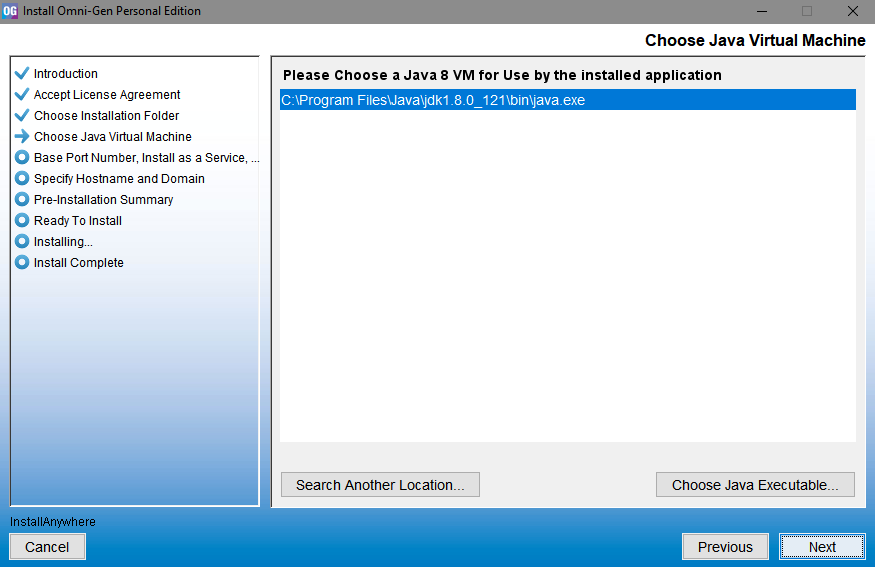
Note: The product will locate the available and suitable JVM.
- If you want to use a different version, or if the product is not able to locate the JVM, click Choose Java Executable to navigate to and select your JVM.
- Click Next.
The Base Port, Install as a Service, Start Omni-Gen window opens, as shown in the following image.
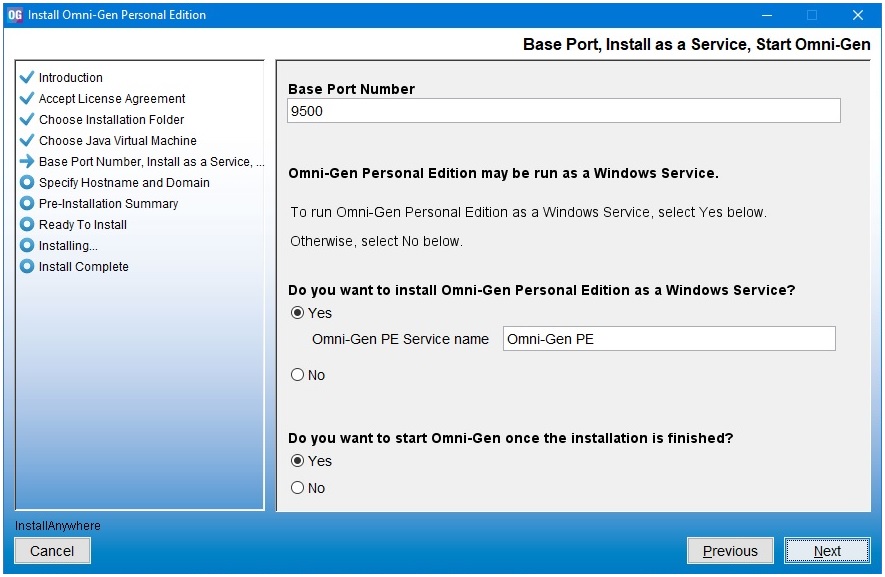
- Provide the installation properties:
- Base Port Number. A block of ports will be allocated to be used by the product, starting with the base port.
- Windows Service. Choose whether to install Omni-Gen™ Personal Edition as a Windows Service. It is recommended to select Yes.
- Start Omni-Gen once the installation is finished. Choose whether to start the product automatically once the installation has completed. It is recommended to select Yes.
- Click Next.
The Specify Hostname and Domain window opens, as shown in the following image.
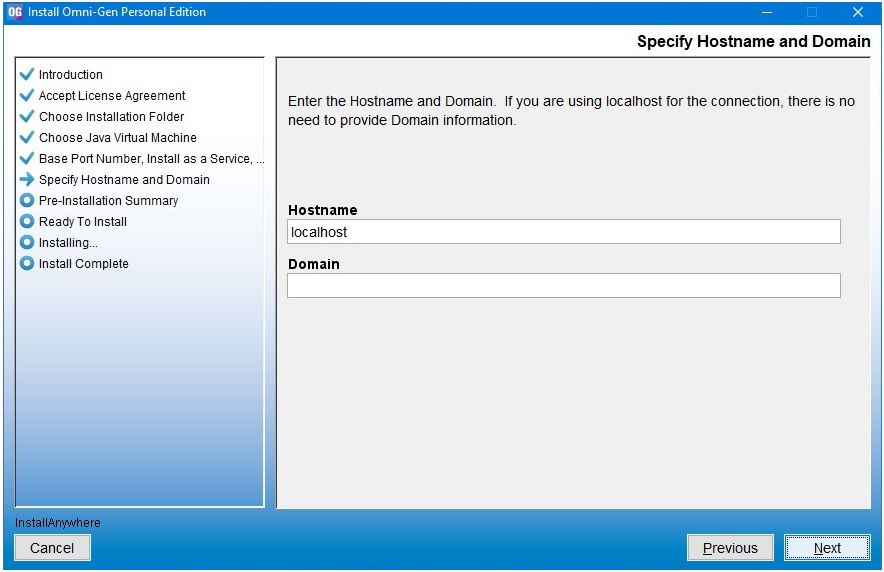
- Provide the host name and domain for the system
where the product is being installed. You may choose to continue
with localhost as an option, which does not require domain knowledge
or configuration.
Note: The default host name is the machine on which you are currently installing.
- Click Next.
The Pre-Installation Summary window opens, as shown in the following image.
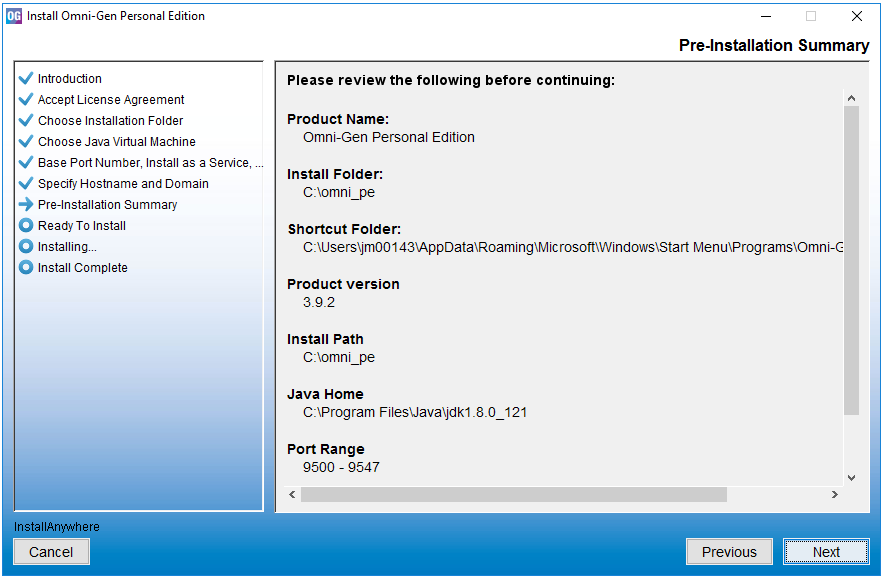
- Verify that the information is correct, and then click Next.
The Ready To Install window opens, as shown in the following image.
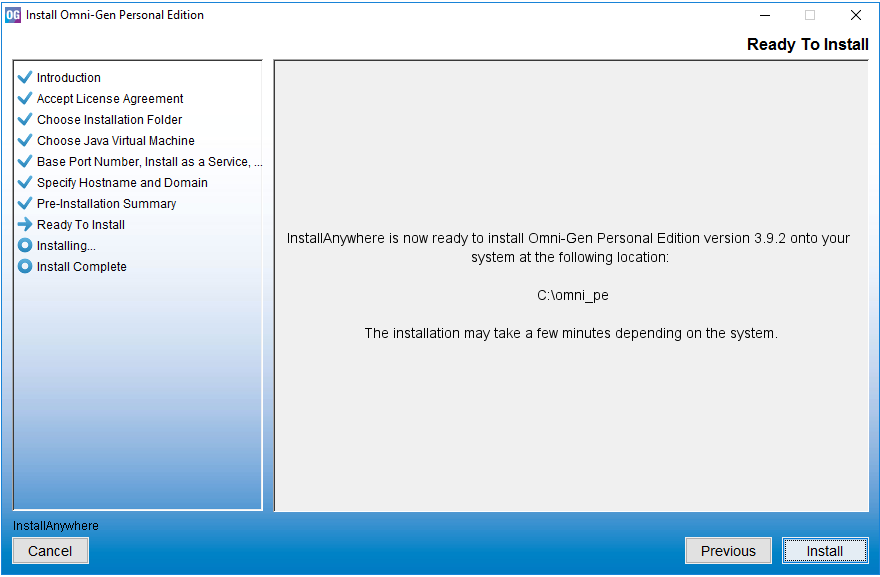
- Click Install.
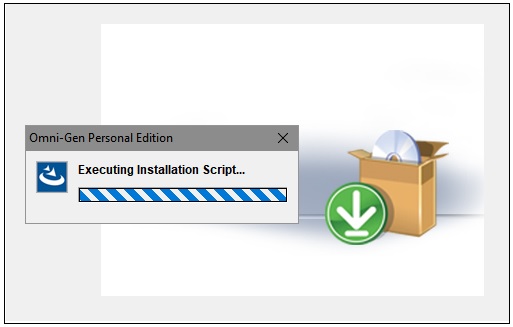
The installation starts and the product contents will be extracted onto the system. A progressive status displays, as shown in the following image.
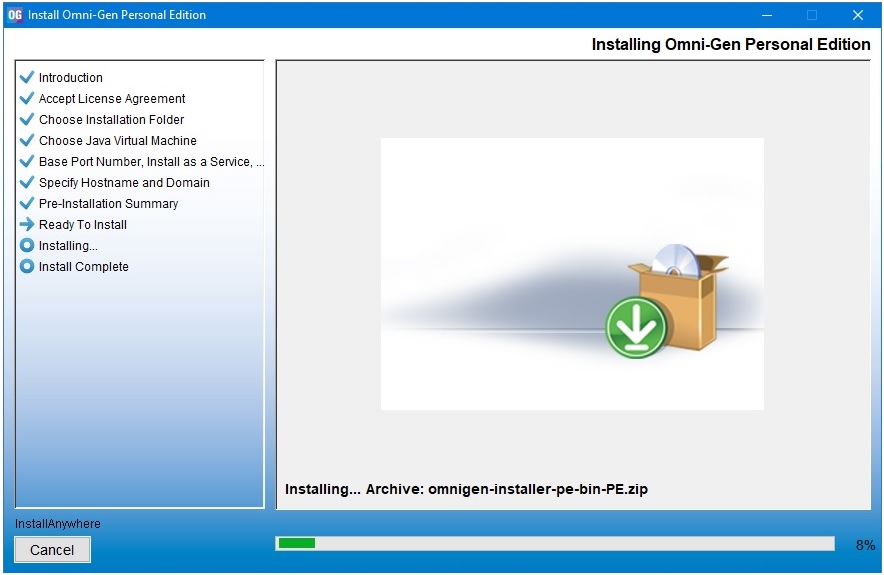
Note: The Executing Installation Script extract, shown in the following image, takes the most time as it is responsible for configuring the product repositories, services, and starting the product components.
When the installation is complete. the Install Complete window opens indicating a successful status, as shown in the following image.
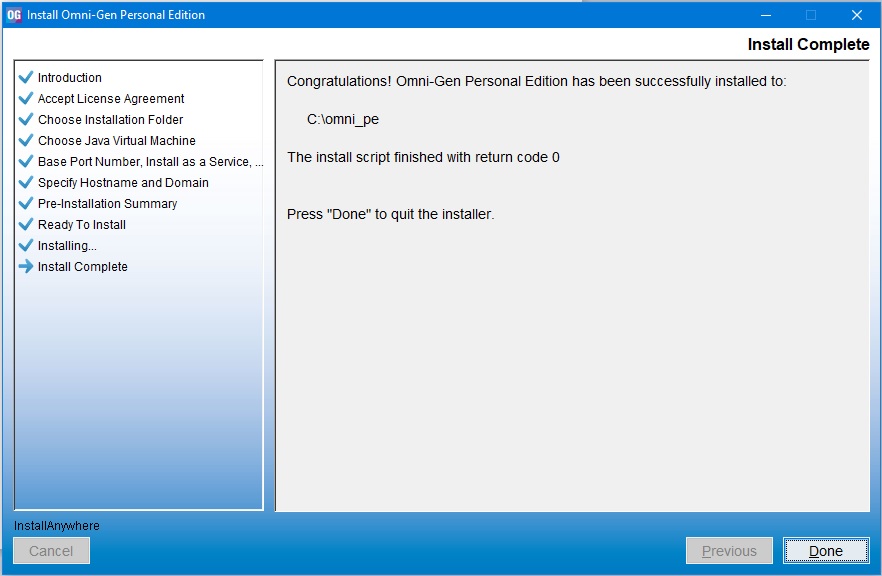
- Click Done.
The web interface will be launched automatically, and the Omni-Gen™ Personal Edition home page opens. You may see a message that Omni-Gen™ is starting up, as shown in the following image.

Once Omni-Gen™ has started, the Omni-Gen™ wizard opens, as shown in the following image.

- Click Start Exploring to explore the product and proceed with loading your data into the Omni-Gen™ Personal Edition.
For more information on loading data, see Working With Data.
For more information on the layout of the environment and user interface, see Navigating the Omni-Gen™ Personal Edition User Interface.