Creating an Output Document Specification
To create an Output Document Specification (ODS):
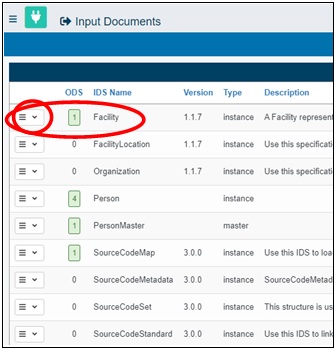
- From the Input Documents screen, select the drop-down menu icon to the left of the Input Document Specification (IDS) document
name from which the ODS will be created, as shown in the following image.
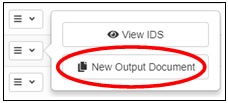
- Select New Output Document, as shown in the following image.
The New ODS - Facility dialog box opens, as shown in the following image.
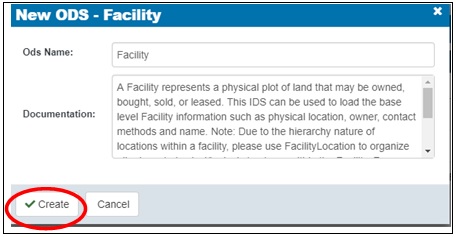
- Verify the ODS name and add any additional documentation text (optional).
- Click Create.
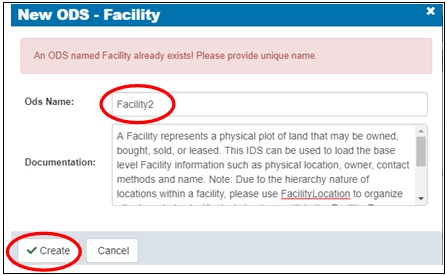
Note: If the ODS name already exists, a corresponding message is displayed in the New ODS - Facility dialog box, as shown in the following image.

If you encounter a duplicate name condition, simply modify the ODS name and click Create to continue, as shown in the following image.
A new screen for the ODS you are creating with Input and Output panes is displayed, as shown in the following image.
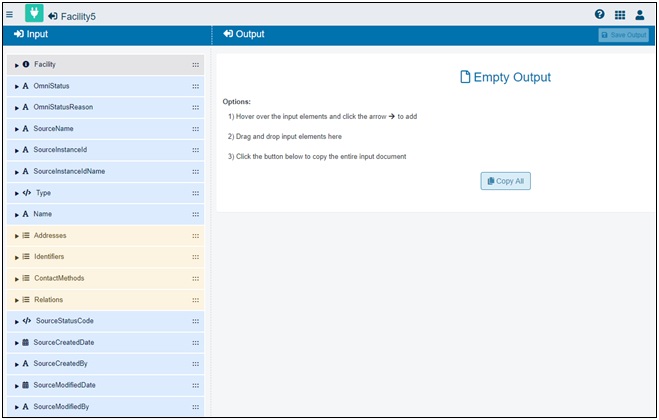
- Selecting elements for the ODS can be performed in three ways:
- Hover over the element in the Input pane on the left and click the right arrow.
- Click and drag the required element(s) from the Input pane to the Empty Output are in the Output pane.
- Click Copy All to copy all elements to the Output pane.

The following table provides an IDS/ODS element color and code legend.
Color
Icon
Description
Grey

Document name (can be either IDS or ODS).
Pink

Screen to add filters within the ODS.
Blue

String basic element.
Blue

Code basic element.
Blue

Date and Date Time basic element.
Blue

Number basic element.
Yellow

List.
Green

Links.
Orange

Promoted (appears in the Output pane when an element is promoted).
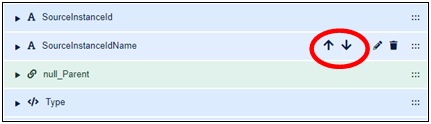
If required, the order of the document elements can be adjusted so they appear differently on selected reports.
- Hover over the element name and click the up or down arrow to move the element to the required position, as shown in the following
image.
You can edit the name and description for an element by clicking the pencil icon, as shown in the following image.

The breadcrumb location indicator reflects any changes that you apply to the element, as shown in the following image.
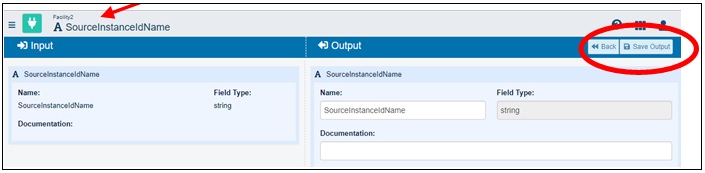
The Save Output and Back buttons are located in the upper-right corner. Click Save Output to save your configuration at any point or click Back to return to the previous screens and modify your current configuration.
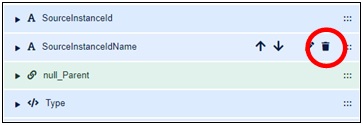
- If you need to delete an element (General, List, Link, Promoted), hover over the element name and click the trash can icon,
as shown in the following image.
- If an element is copied to the Input screen more than once, a number is randomly generated as a reminder to edit the element
name, as shown in the following image.

In this example, the number 769 is randomly generated as a reminder to edit the element. To edit the element, click the pencil icon, as previously described.
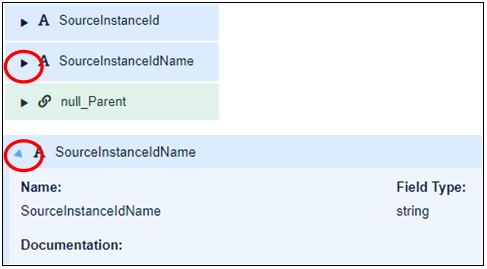
- To expand an element and view additional properties, click the arrow to the left of the element name, as shown in the following
image.
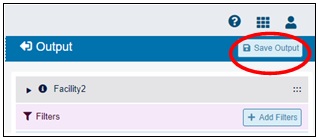
- When you have finished configuring your ODS, click Save Output in the upper-right corner, as shown in the following image.
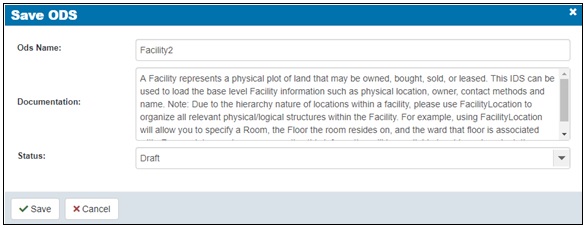
The Save ODS dialog box opens, as shown in the following image.
- Ensure that the Omni Console is started.
- Select Complete from the Status drop-down list, as shown in the following image.
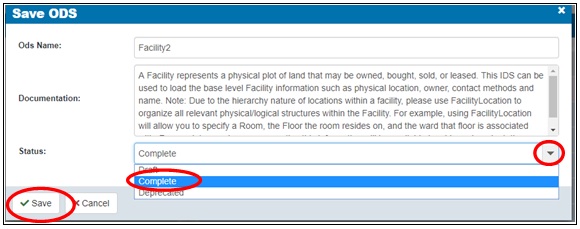
The following is a description of each option in the Status drop-down list:
- Draft. The ODS is not yet saved and cannot be deployed to the Omni-Gen repository.
- Complete. The ODS is saved and can be deployed to the Omni-Gen repository.
- Deprecated. Elements of the ODS are in the process of being replaced by newer versions.
Note: Only a completed ODS can be deployed to the Omni-Gen repository. For more information, see Deploying an Output Document Specification.
- Click Save.
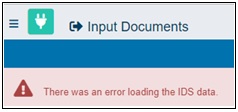
If the following error message is displayed, ensure that the Omni Console is started.
If the following error message is displayed:
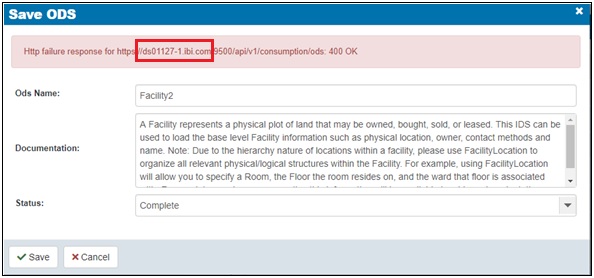
- Verify that the ODS name is unique and no other documents have the same name.
- Check the controller log for the specific reason in the folder where Omni-Gen is installed. The controller log is located
in the following directory path:
\Omnigen\OmniGenData\logs\controller\controller.log
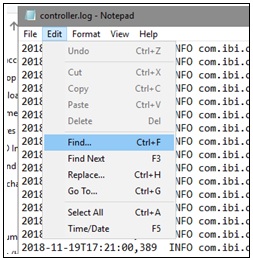
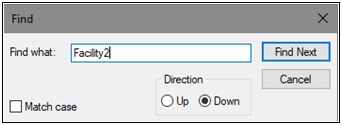
Search under the ODS name from where the error message first appeared.
For example, Facility2, as shown in the following image.
Select a new name for the ODS.