Configuring and Using iWay Integration Tools Suite
|
Topics: |
This section describes how to configure and use iWay Integration Tools Suite (iIT).
Configuring Automatic Updates
iIT can notify you when a new version becomes available. To enable this feature, open the same preferences dialog shown in Setting the iWay Home Preferences, and select Install/Update and then Automatic Updates. Click the Automatically find new updates and notify me check box.
Creating an Application Project
|
How to: |
An application project is used to hold all the resources you create for your iSM application.
Procedure: How to Create an Application Project
To create a new application project:
- Select File, choose New, and then Project from the main menu.
- In the Select a wizard dialog box, expand iWay Integration and select Application Project.The New Application Project wizard opens as shown in the following image.
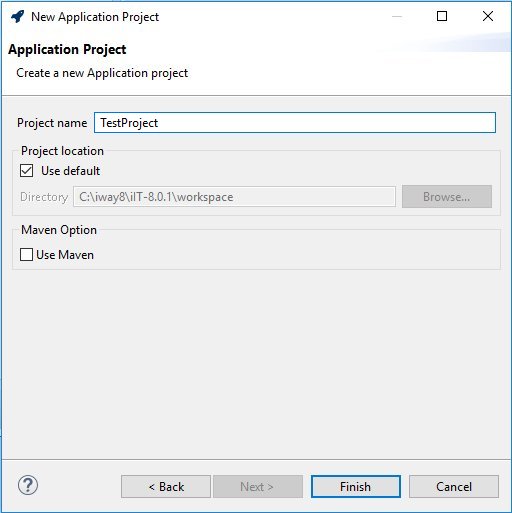
- Enter a name for the project and click Finish.A new project with the name you selected will appear in the Application Explorer window as shown in the following image.
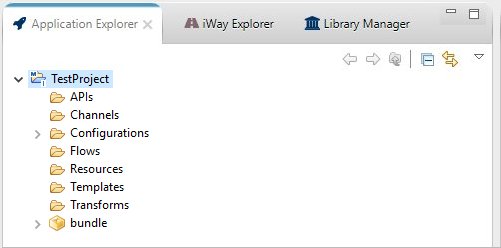
You will also see other folders that were created to hold different types of resources. These folders are just for convenience and it is optional to put resources in them.
Creating a New Resource
Before you create a new resource, ensure that you have created an Application Project in iIT, which serves as a container for all of your resources.
You can quickly create a new resource in iIT as follows:
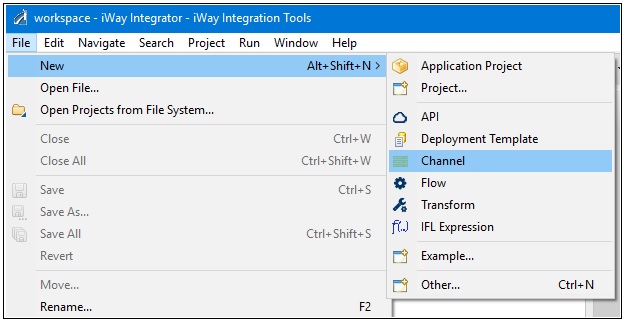
- From the File menu. Click File, select New, and then select the specific resource you want to create from the context menu (for example, Channel), as shown in the following image.
- From the toolbar. Click the down arrow to the right of the New button, and then select the specific resource you want to create from the context
menu (for example, Channel), as shown in the following image.
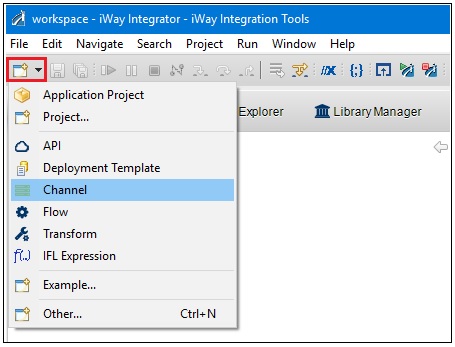
- From the Application Explorer tab. Right-click anywhere in the Application Explorer tab, select New, and then select the specific resource you want to create from the context menu (for example, Channel), as shown in the following image.
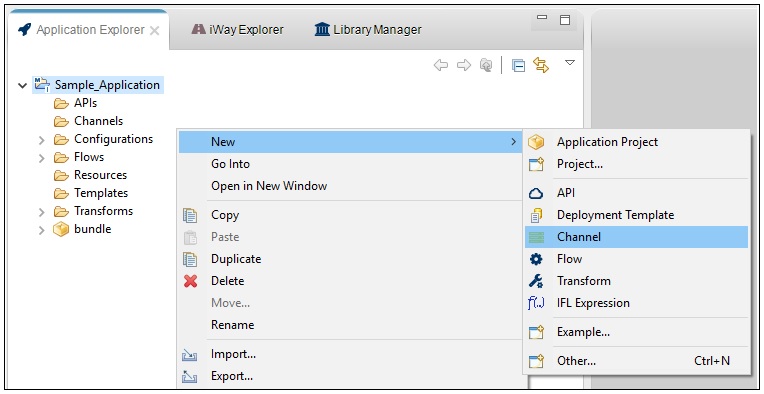
The context menu that displays lists the following resources that you can select to configure:
- API
- Deployment Template
- Channel
- Flow
- Transform
- IFL Expression
Additional resources can be accessed by clicking Other.
After you make your selection, a wizard that is specific to the selected resource opens. For example, the following image shows the New Flow Wizard, which opens when you create a new process flow in iIT.
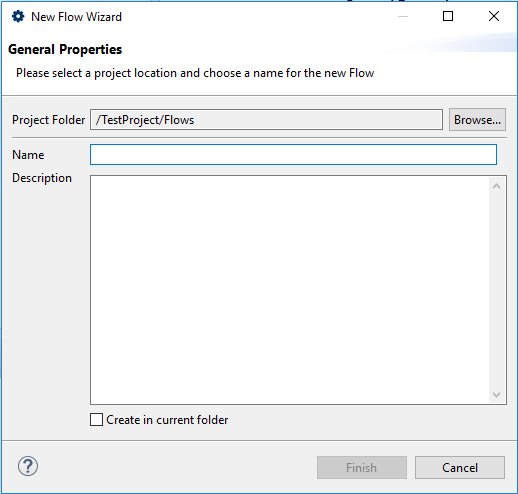
In the Project Folder field, specify the application project folder under which this resource will be created. In this example, the process flow will be created under the Flows folder that belongs to the application project called TestProject.
Enter a name for your new resource in the Name field, which is required. Enter a description for your new resource in the Description field. Click Finish.
The corresponding tool/editor for the selected resource opens (for example, Process Flow Designer, Channel Builder, Transformer, and so on).
Starting and Running iWay Service Manager
iWay Integration Tools (iIT) allows for an instance of iWay Service Manager (iSM) to be run inside the iIT process. This is beneficial for testing and debugging integration applications, custom services, and special configuration of iSM. iIT automatically detects your iSM installation and sets the iWay Home directory when iSM is run inside iIT.
Note: iIT automatically detects your iSM installation and sets the iWay Home directory when iSM is run inside iIT.
To
run iWay Service Manager (iSM), click the Start Service Manager![]() button.
button.
The following image shows iSM running in the Console view.

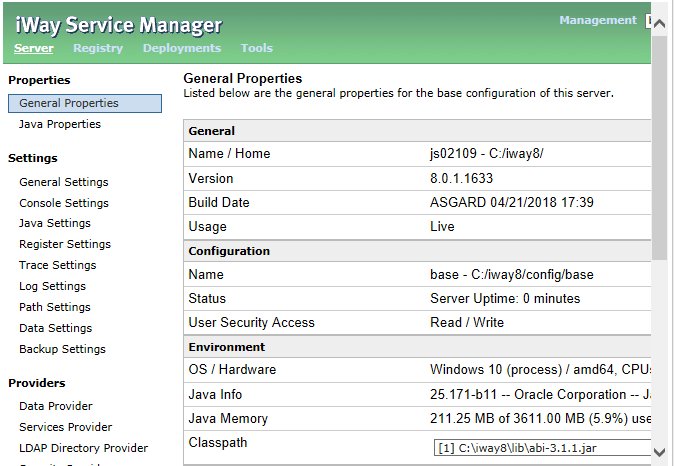
The iWay Service Manager Administration Console opens in a new browser window, as shown in the following image.
Creating an iWay Explorer Connection
|
How to: |
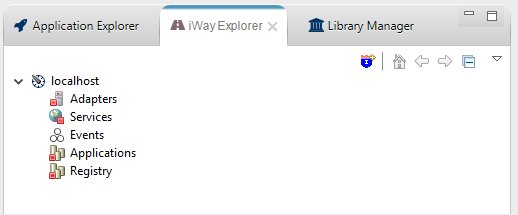
You can use the iWay Explorer, shown in the image below, to browse the metadata of an iSM server.
Procedure: How to Add an iWay Service Manager Connection
To add an iWay Service Manager connection to your iWay Explorer:
- Select the iWay Explorer tab
and click the Launch iWay Resource Create Wizard icon
 in the iWay Explorer toolbar.
 - Select iWay Configuration from the Resource Selection Dialog and click Next.
- Enter localhost as the Configuration
Alias and click Next.
Note: This is just a nickname for display, not the server connection information.
You can verify if the Connection String, Soap, and Console ports are valid.
Test-running a Resource
|
Topics: |
|
How to: |
The following section describes how to test-run a resource. The test run operation is dependent on the resource being executed. A test run procedure for the transform will differ from the test run procedure for a process flow or an API. This section provides an example of just one way to run a process flow. In general, a test run operation can also be accessed by right-clicking on the component such as a process flow and selecting to test-run it
Procedure: How to Test-run a Resource
To test-run a resource:
- Select the flow you wish to test and click
the Run as...
 toolbar icon.
The Run As drop-down menu appears as shown in the following image.

- Select Flow and click OK.
The Edit Configuration dialog box opens, as shown in the following image.
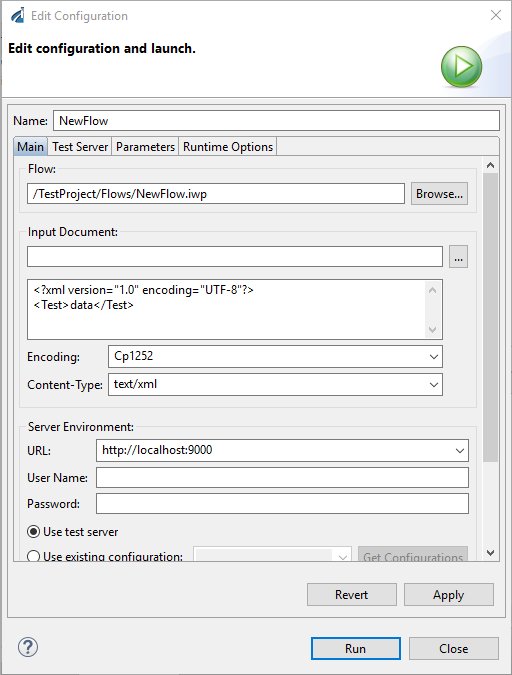
The Edit Configuration dialog is used to set options for the test run. A configuration is created and saved for each resource that you test run. These configurations can be viewed, modified, and cloned in the Run Configurations dialog accessed by clicking the arrow next to the Run As toolbar icon and selecting Run Configurations. After creating a run configuration for a resource, Eclipse will attempt to find and execute that configuration the next time you select the resource and click the Run As icon.
- Click the Browse... button to select an Input Document from your workspace or click the Import button to import an Input Document.
- Select your encoding and content-type preferences based on your requirements from the Encoding and Content-Type drop-down lists.
- Select or type in a server URL to execute the test run
against.
If you have servers configured in your iWay Explorer, they will show up in the drop-down list.
If you select Use existing configuration, the drop-down list will be populated with configurations available on the server you specified in the server URL.
- Click Run.
Viewing Test Results
After a test run operation is complete, a viewer showing the completed test run is displayed. This viewer allows you to click through the various objects in your process flow and see the data and registers associated with any execution step.
The test results for a resource reside under the resource in a folder called Test Results. These results are maintained between runs so you can compare them.
The following image shows a transform and flow with test results.
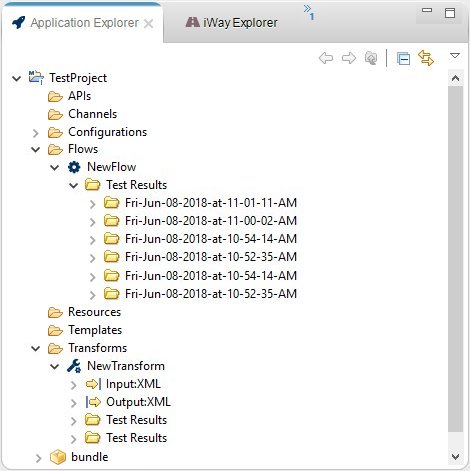
If you are notified of a test run failure, debugging information can be found in the Test Results folder.
Customizations
|
Topics: |
Customizations are user created content used in an integration solution. Currently customizations consist of Java based .jar files or class folders containing custom Java classes for use by a flows or transformations. This java based content is added to the Java classpath for the containing Application Project.
Note: The .jar file or class containing the customization is not copied to the server at publish time and must be copied manually to the correct location in the target server iSM installation.
Accessing iWay Service Manager Components in iWay Integration Tools
|
How to: |
When accessing the customized components (for example, services, listeners, and so on), the component needs to be loaded in the iSM runtime before you can proceed to adding it to the design time. This will ensure that you can run a test of your component and validate that it is properly packaged. In most cases, this requires you to place the new extension into the <iwayhome>/etc/manager/extensions folder, restart or start iSM server, and check to ensure you can find and load the new component in the iSM console Registry section.
Procedure: How to Add Services to an iIT Environment
Adding newly accessible services from the iSM server to an iIT environment allows you to import services which are available in iSM, but not registered with iIT by default.
To add services from the iSM server instance to an iIT environment:
- Right-click on your project and select Properties.
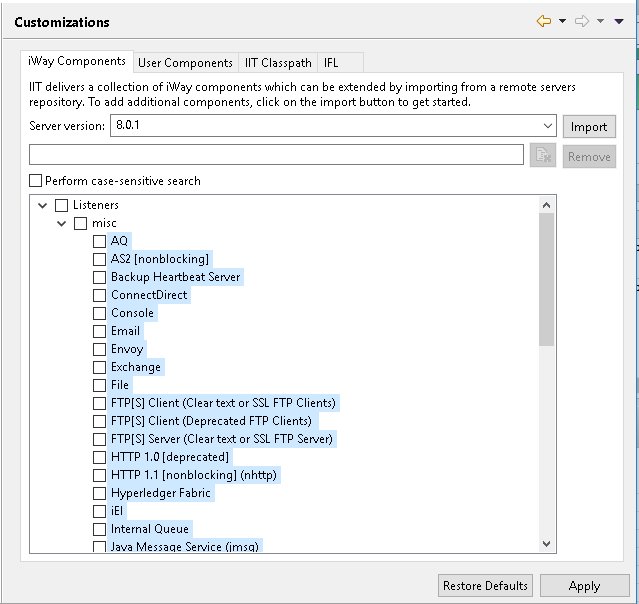
- Expand iWay Integration and click Customizations,
as shown in the following image.
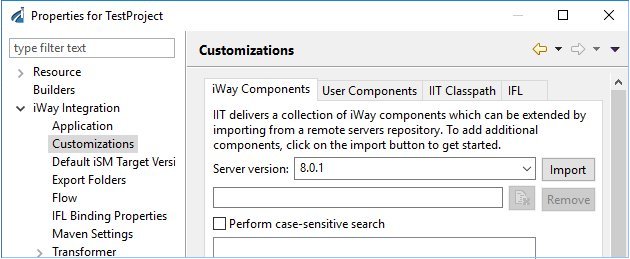
- From the Server version drop-down list, select the appropriate version of the iSM instance and click Add.
- Provide the connection parameters for the iSM server
and click Next, as shown in the following
image.
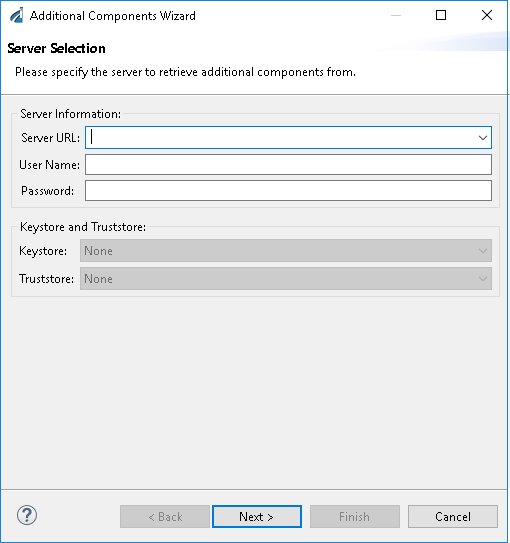
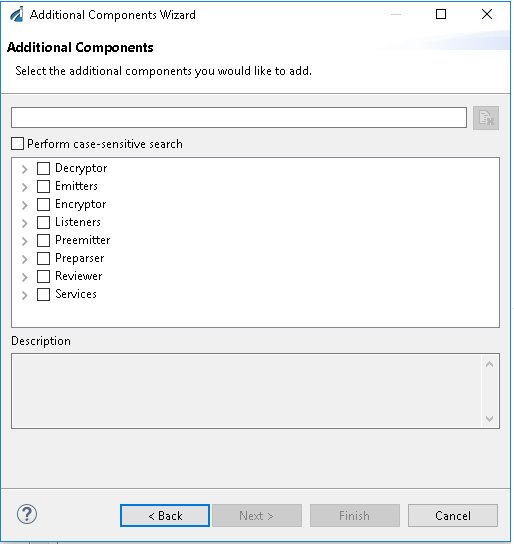
A list of available components appears, where you can select the relevant components to be imported into the iIT project.
- After selecting the services you wish, click Next to
add them to the environment of the project.
The following image shows the list of services that can be imported.
- Click Next and then click Finish to
finish the process.The newly added services are now available for the flow.
- Create a new flow and continue with the application.
Notes:
- You may need to restart iIT in some instances.
- For iWay versions 7.x only, the metadata (descriptor file) for the imported service or any other component will be updated only for the selected version. For example, if you selected to import from iSM version 7.0.6, only flows with version 7.0.6 will have the components available as a configured option. The flow versions must match the selected version from the import step in order to see the new component.