Installing and Configuring iIT
|
Topics: |
There are two methods of installing iIT. The first is to extract the zip file that contains iIT and the full Eclipse 4.6 development environment. The second is to install iIT into your own installation of Eclipse 4.6 using the update site mechanism. Using this mechanism is out of the scope of this document but more information can be found in the Eclipse help documentation by clicking on Help and then the Help Contents menu item.
To start iIT, double click the iit.exe file found under the eclipse folder where you extracted the zip. There are many launch properties found in the iit.ini file. These properties concern mainly memory and Java usage and are explained in the Eclipse documentation.
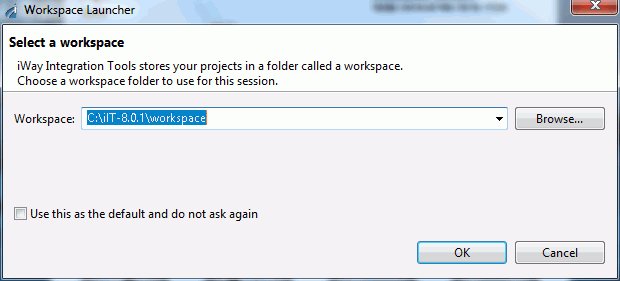
Setting the Workspace
After starting iIT you will be prompted by a dialog box, shown in the image below, asking you to set the workspace location. The workspace is the container for all of the projects you plan to create. It is recommended that you set the workspace location outside your eclipse directory so you can reuse your workspace if you need to reinstall iIT.
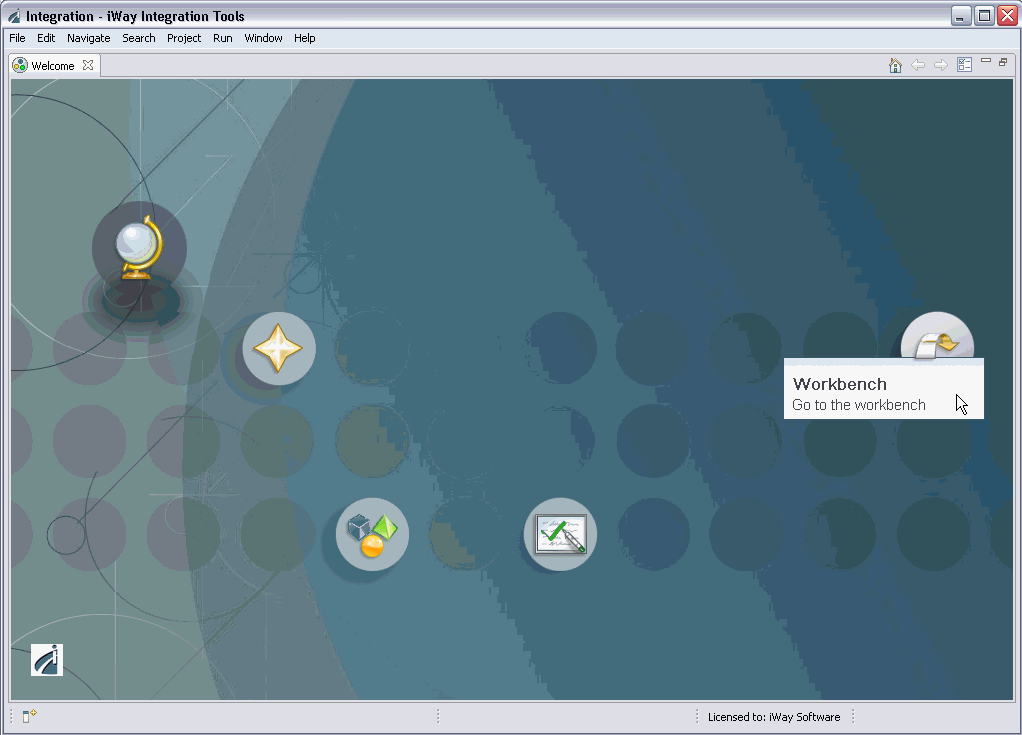
The Welcome Screen
The Welcome Screen, shown in the image below, contains useful information about Eclipse and iIT. Here you can browse tutorials, samples, and find out what is new in this version. To close the screen, click the Workbench icon on the right.
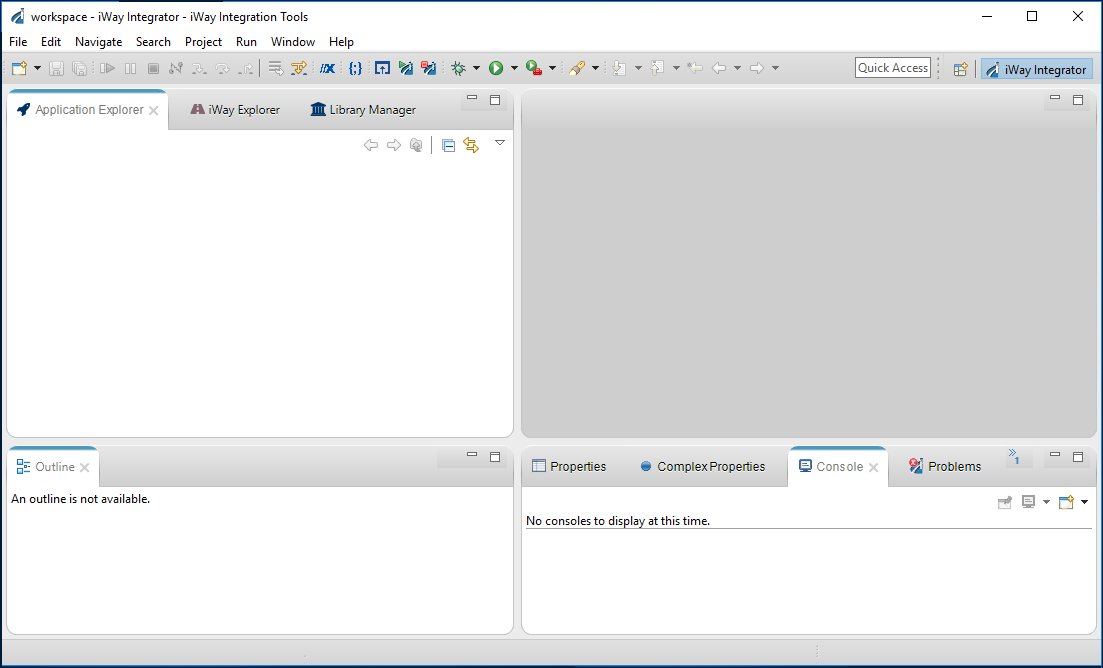
The Workbench
The Workbench, shown in the image below, is the name for the development environment which contains one or more Perspectives. A Perspective is a simple collection and layout of Views and Editors. Editors are usually found in the center of a perspective and are used for editing content. Views surround the editor and allow you to browse and modify the properties of resources.
Setting the iWay Home Directory
Once the workbench is open, it is recommended that you first set your iWay home directory.
The iWay home directory specifies the path to your local iWay Service Manager (iSM) installation. This preference is used to set the target server version to the correct value and to run transforms and flows locally.
Note: The versions of iSM and iWay Integration Tools (iIT) must match in order for the design time environment (iIT) to communicate with the run-time environment (iSM). As of iWay version 8.0, multiple target server versions are not supported. It is recommended to keep the versions of iSM and iIT in synch to prevent incompatibilities.
iWay Integration Tools (iIT) can be installed on the same system (locally) where iSM is installed, or on a standalone system where iSM is not installed. If iSM and iIT are installed on different systems, then you can run transforms and flows against the remote instance of iSM. In this case, the iWay Home Directory preference is not required.
However, certain iIT components, such as iWay Functional Language (iFL) Builder, requires local .jar files to be accessed during operation, which reside on the system where iSM is installed. In this case, the iWay Home Directory preference is required.
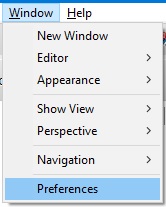
To set your iWay home directory, click Window from the menu bar and select Preferences, as shown in the following image.
The Preferences dialog opens, as shown in the following image.

Expand the iWay Integration Tools preference in the left pane and then click iWay Remote Runtime. Click Browse to navigate to the location of your iWay 8 installation on your system. Click Apply and then click OK.
The Set default target server version dialog opens, as shown in the following image.
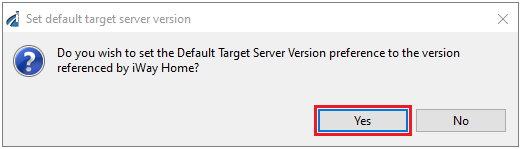
Click Yes, if you want the Default Target Server Version that is used by iIT to match the version of your iWay 8 installation (iWay Service Manager) that is installed in the iWay home directory you have referenced.