General Issue Page (For Golden and Instance Records)
|
Topics: |
A General issue is the case that consists of the comments on attributes of the Golden/Instance record.
Note: This is the only type of case that can be opened by someone with a User role. User role has all other Remediation pages prohibited for editing/viewing (but it can be configured via appropriate Policy).
Navigating the General Issue Page
There are four ways to navigate to General issue page:
- From the Details 360 and Master Comparison page, to create a new General Issue case through the "General issue" button (for Golden records).
- From the Master Comparison page, to create a new General Issue case through the "Open Ticket" menu item (for Instance records).
- Through a link from the Issues pop up, to view the General Issue case that has already been created (appropriate icons are displayed on the Details 360, Master Comparison, and Home pages).
- From the Issues page, to view the General Issue case that has already been created.
Note: Any record currently under General Issue remediation may not be remediated under any other General Issue case.
If a user wants to open a General issue case for a Golden record, the user should navigate to the Master Comparison or Details 360 page of that record and click the "General Issue" button.

If a user wants to open a General issue case for an Instance record, the user should navigate to the Master Comparison page of that record, expand the Instance Records section, and select the "Open Ticket" menu item for the appropriate Instance.

Another way to navigate to General Issue page is via links in Issue pop up (if General issue case already exists in the system).

In order to see the pop up user should mouse roll over any General Issue remediation icons that are displayed on Details 360, Master Comparison and Home pages and then click on appropriate link.
If a case is assigned to the current user, the General Issue page will be displayed in Update mode, so that the user can continue working with it. If not, then Display mode, where the user can make no changes.
Note: if General Issue case is created by someone with User role – the case stays Unassigned until Data Supervisor or Data Steward assign it to someone. Until then – case can be edited by anybody.
And the last way to navigate to already created General Issue case is to select appropriate link on Issues page (not available for User role).

The same logic applies here as with links in pop ups. If a case is assigned to the current user, then the General Issue page will be displayed in Update mode, so that the user can continue working with it. If not, then Display mode, where the user can make no changes.
Note: closed General Issue cases are displayed on 'Issues' page and in Remediation pop ups. Those cases can be opened in Display mode only.

Page Structure
The General Issue Case page is composed of the following main blocks:
- Breadcrumbs
- Workspace
- Expand / Collapse Workspace control
- Activity Stream
- Case Properties

Using breadcrumbs user is able to navigate to previously visited pages.
In the Workspace a User add comments to attributes. By default workspace is collapsed and only first main important attributes are displayed.
Workspace panel fields can be configured through the Administration tab.
Expand / Collapse Workspace control hides/shows Activity stream and Case properties and expands/collapses Workspace. When workspace is expanded – 'Activity stream & Properties' link is displayed in the right bottom corner of the page to open Activity stream and Case properties sections.

Below the Workspace Activity stream is displayed. All activities such as comments and transitions through the workflows for every attribute, general comment, issue's reassignments are tracked in Activity stream.
Case properties include information on the case (assignee, created date etc.).
Creating a Case
In order to create General Issue case comment should be added to any field. After the case is created, the Activity Stream and Case Properties sections get refreshed and display relevant information. The Case Properties section can be configured using the Administration tab. A Workflow actions drop-down appears as well (only for Data Steward and Data Supervisor roles).
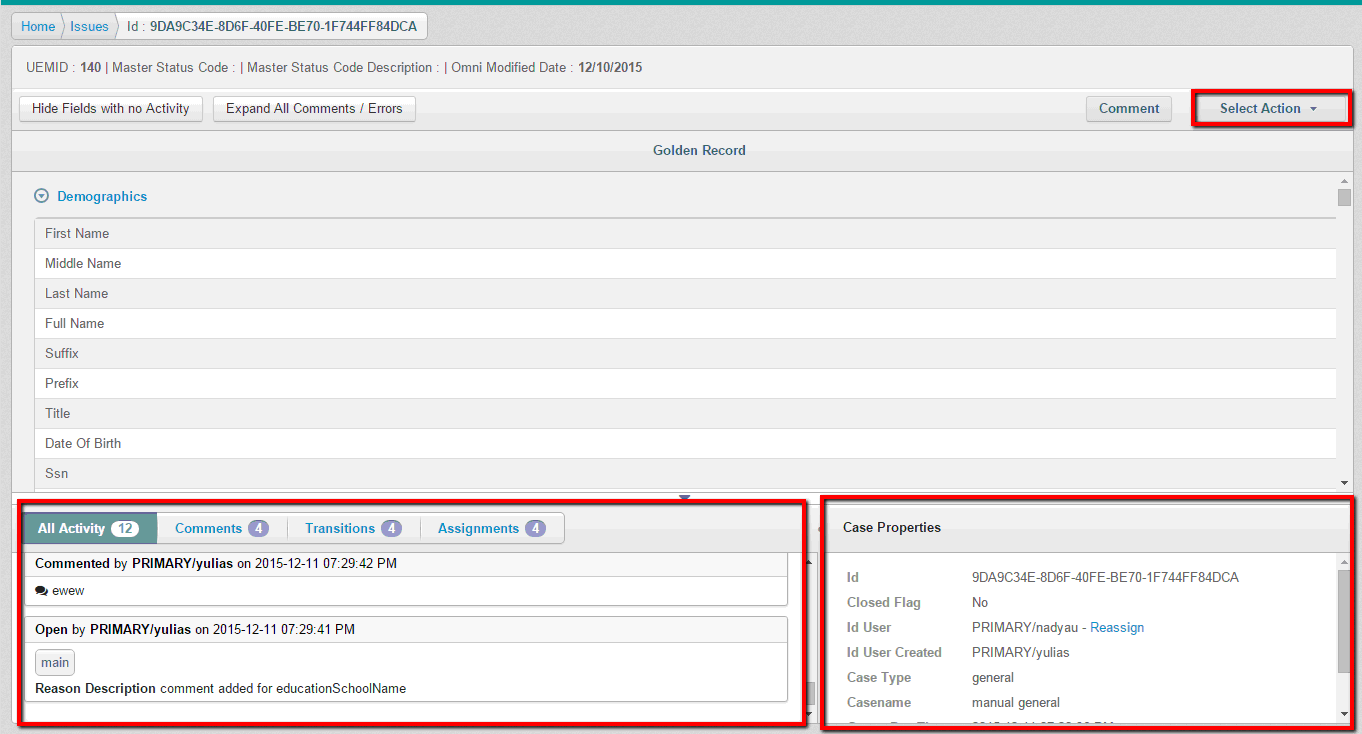
Note: A user role cannot send the case to the workflow, so the Workflow actions drop-down list is not displayed for the user.
The User may comment on any data attribute. When the User rolls over the Original Data value or label the "Add comment" icon is displayed. When the User clicks on the icon the "Add comment" overlay is displayed.

The User may enter text and save a comment by clicking on appropriate "Save" icon. The comment will be then displayed in the Activity Stream and can be viewed when clicked on the "Add a comment" icon (the comment will be displayed in the expandable area below the row).
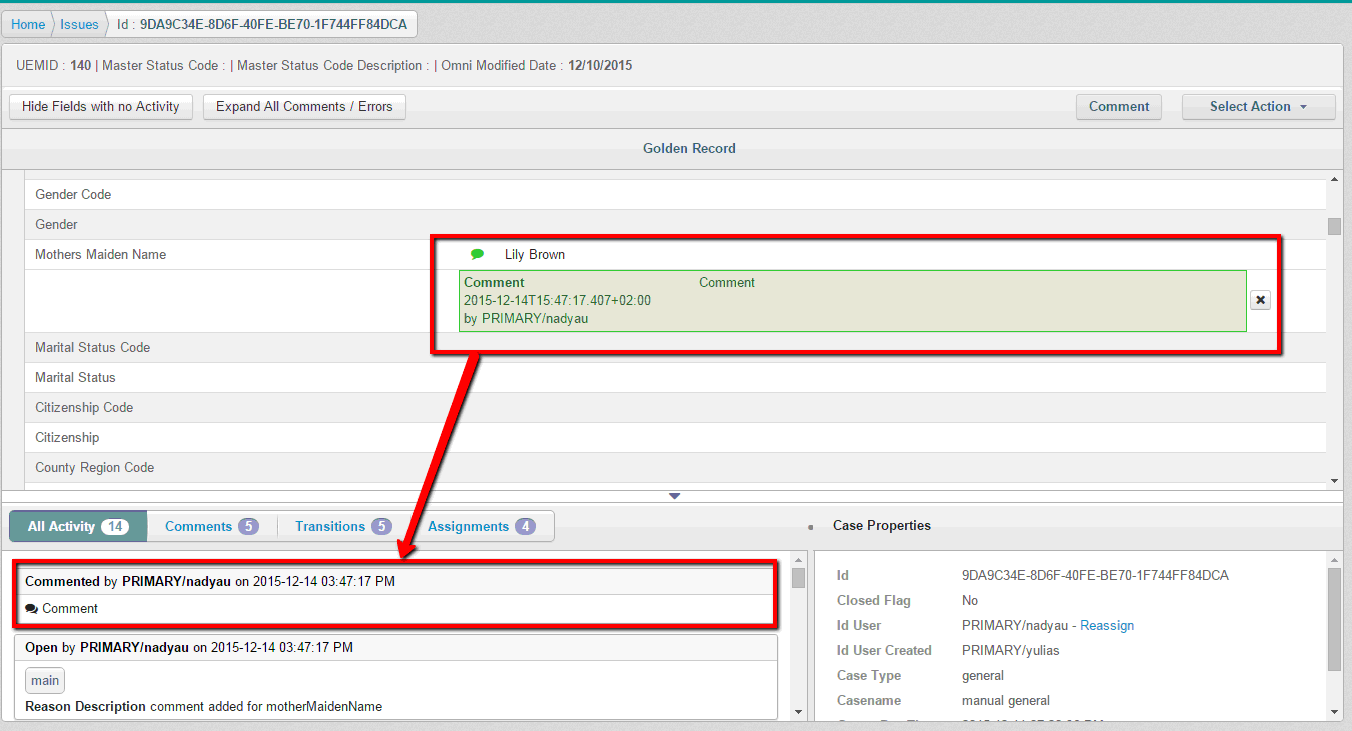
Note: when comment is not yet saved – 'Add comment' icon is blue and comment box is yellow. When the comment is saved – icon and box both turn green.
Comments for attributes can be updated or deleted. In order to update already saved comment – user should click anywhere in the Comment box and comment text will be editable again. If a user wants to delete an inline comment, then the user should click the 'X' icon.
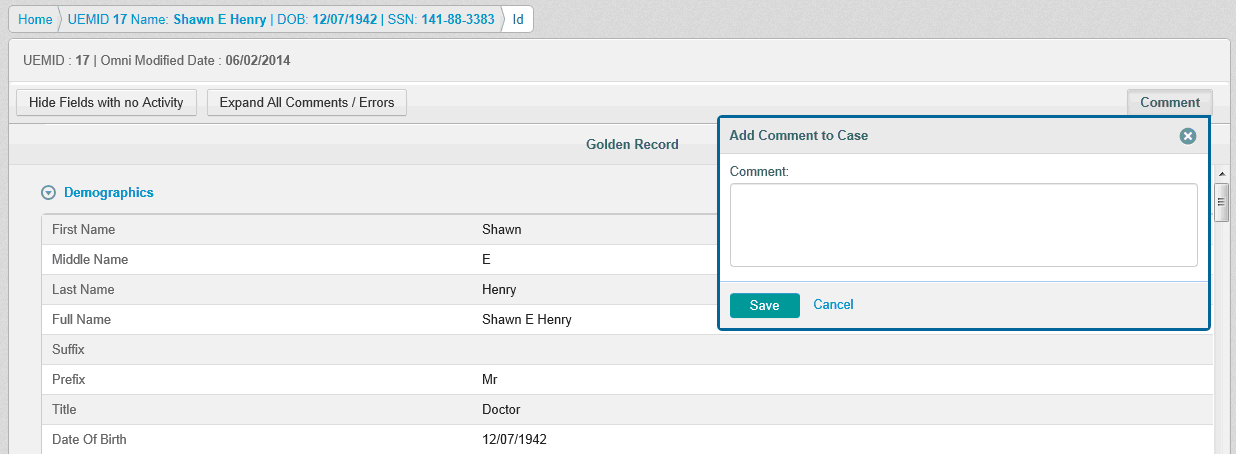
The User may optionally enter a global comment for the whole case by clicking 'Comment' button. It will appear in the Activity stream.
Viewing Comments
To view only attributes that require specific actions, the user can utilize the "Hide Fields with no Activity" switch. When the switch is activated, only those attributes are displayed that:
- Have manual edits.
- Have comments.
- Have issues (errors) from automated processes.
For convenience, the User may expand all the comments, errors and notifications for all attributes using "Expand all Comments/Errors" button.
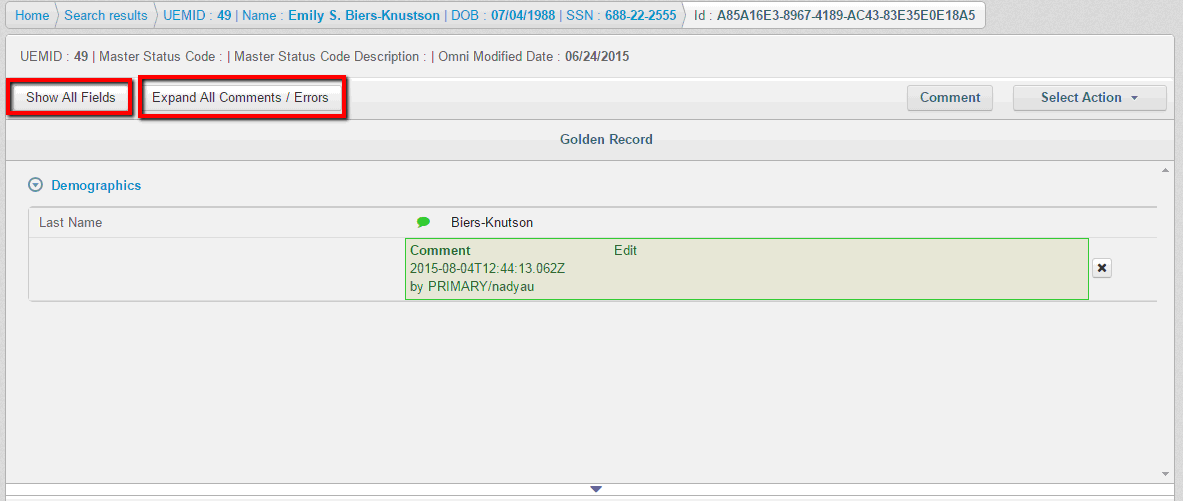
Once clicked – buttons change their names: 'Hide fields with no Activity' -> 'Show All fields', 'Expand all Comments/Errors' -> 'Collapse all Comments/Errors', so a user can decide what they want to view.
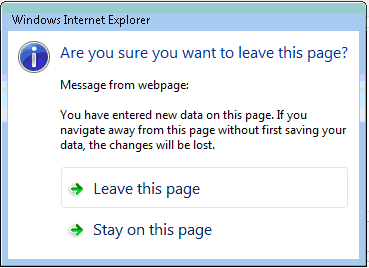
When user has some unsaved changes made on the page and tries to navigate outside of it – warning dialog will appear:
Created General Issue case is displayed on the Home page accordingly:
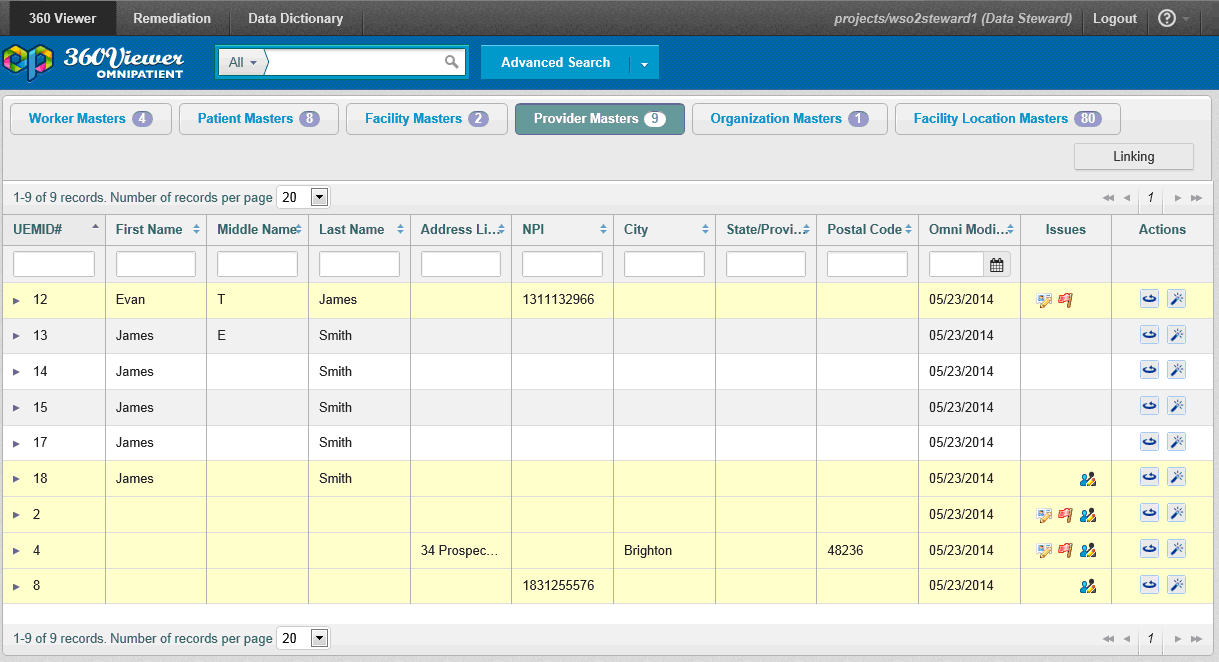
The row with opened case is highlighted in amber color and appropriate icon is displayed.
Reassigning a Case
If a user wants to reassign the case to someone else, then the user should click the "Reassign" link in the Case Properties panel.
Note: 'Reassign' link is not available for closed cases.

If there are any unsaved changes on the page and users clicks 'Reassign' link – then warning dialog appears, so that case with unsaved changes could not be reassigned.

When there is no unsaved data on the page and the link is clicked – Reassign dialog appears. Functionality of it is similar to Assign dialog on Issues page.

A list of users is available in 'Assign to User' drop down menu. When user starts typing in the field – data is filtered dynamically to display only the relevant information.
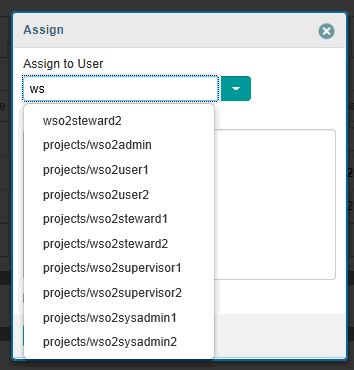
If a user wants to assign some case(s) to themselves, then the user can click the 'Assign to me' link:
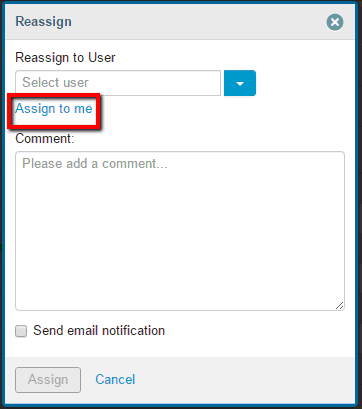
Once the link is clicked currently logged in user is set in the field.
Note: When assigning a case to the current user, the user is not redirected to the Issue search page. Instead, the user stays on the same page and can work with the case.
If case cannot be assigned to the user selected from the list (for example, because selected user has no permissions to resolve cases, etc.) or entered data finds no matches in the database – appropriate validation message is displayed.
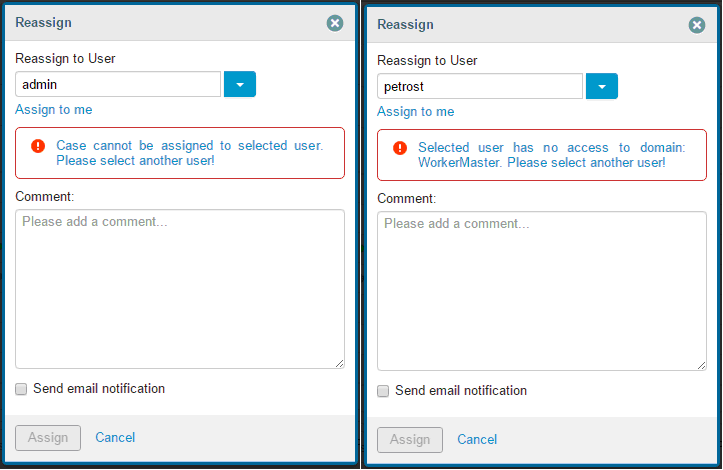
In case selected user is valid – "Assign" button gets enabled and case(s) can be reassigned.

After "Assign" button is clicked – user is redirected to Issues page because case is no longer their own.
Note: If you want an assignee to be notified about a reassign activity, then ensure that the Send email notification check box is selected.
In order to submit a case to the workflow user (only with Data Steward or Data Supervisor role) should select appropriate workflow action from the drop down and submit it ("Submit" button appears after workflow action is selected).

When case is submitted – appropriate notification will appear in the upper right corner of the screen.
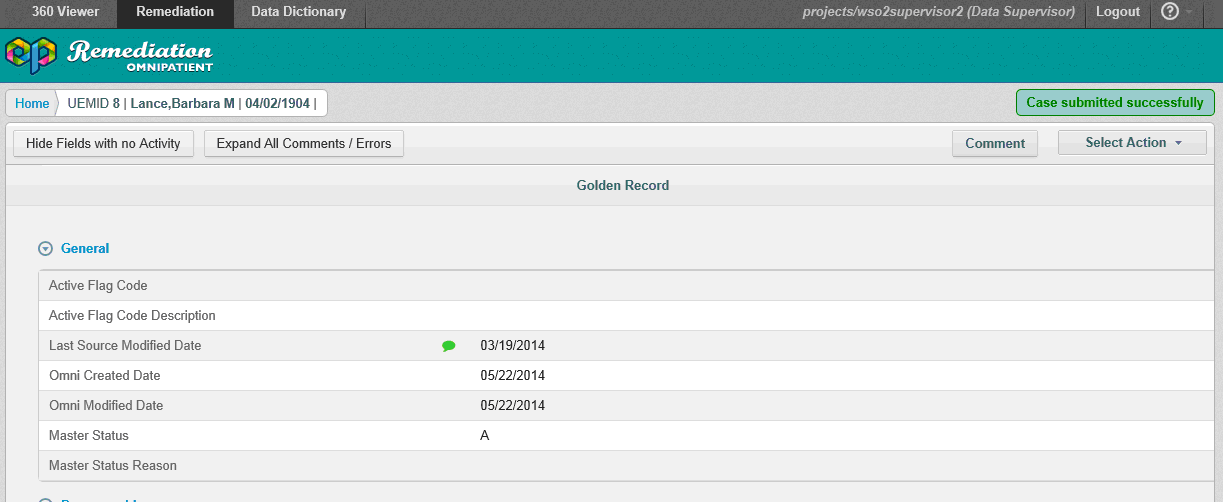
Workflow Schema
The Workflow actions available for each edit are dependent on the User Role and the current status of the edit. In general they are described below:
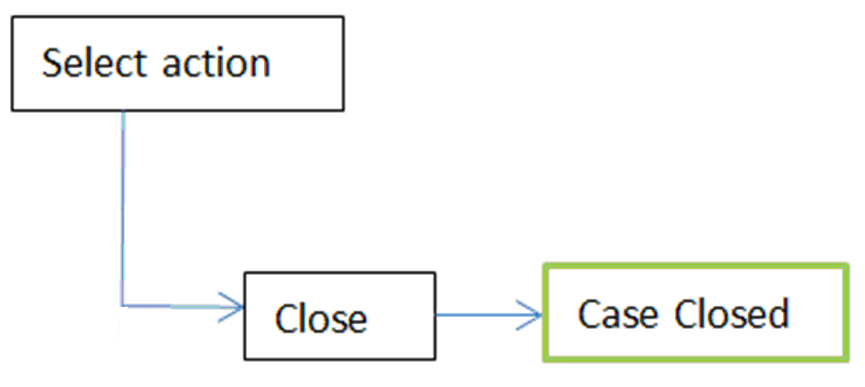
Workflow actions available per role are displayed below:

When the case is closed – records that were under General Issue remediation process are highlighted on the Home page with green color. New General Issue remediation process can be started for them.
