Completing Post-Installation Tasks
|
How to: |
This section describes how to start Omni Server and Omni-HealthData Governance Console (OHDGC) on Linux platforms.
Procedure: How to Deploy Your Bundle
- Using your browser, open the Omni Console by entering the following URL:
https://yourhost.yourdomain.com:9500
For example:
https://omnihealthdata.ibi.com:9500
Note: You cannot use localhost in the URL.
- Log on using the following credentials:
- Username: ibi
- Password: ibi
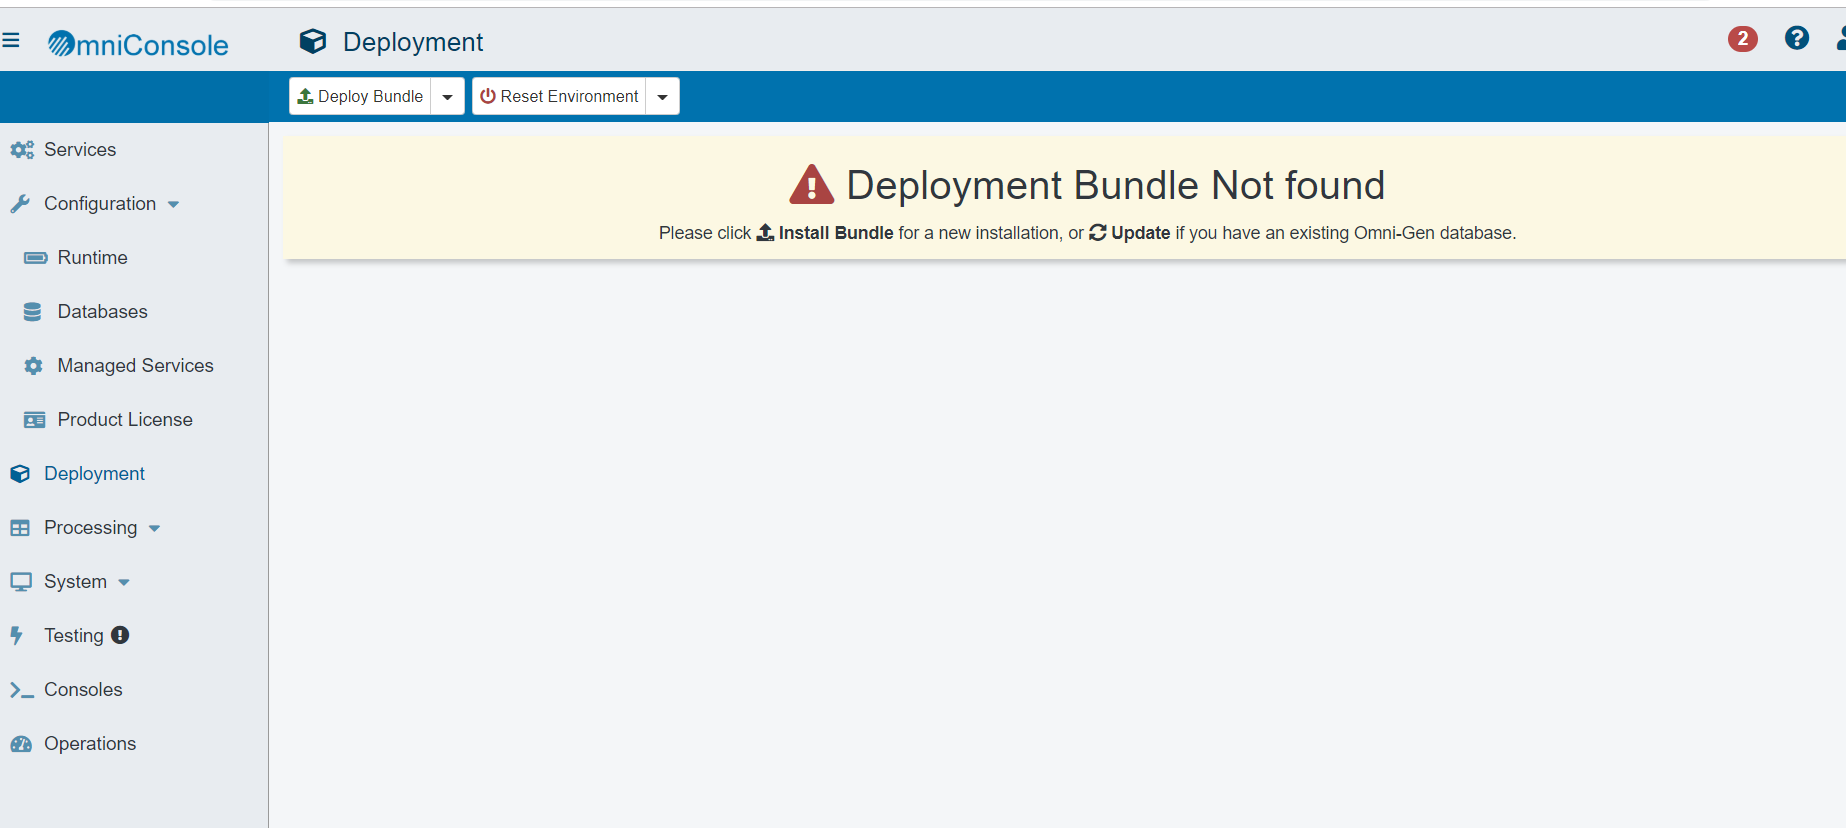
- Deploy the bundle by clicking Deployment in the left pane.
The Deployment pane opens, with the message Deployment Bundle Not found, as shown in the following image.
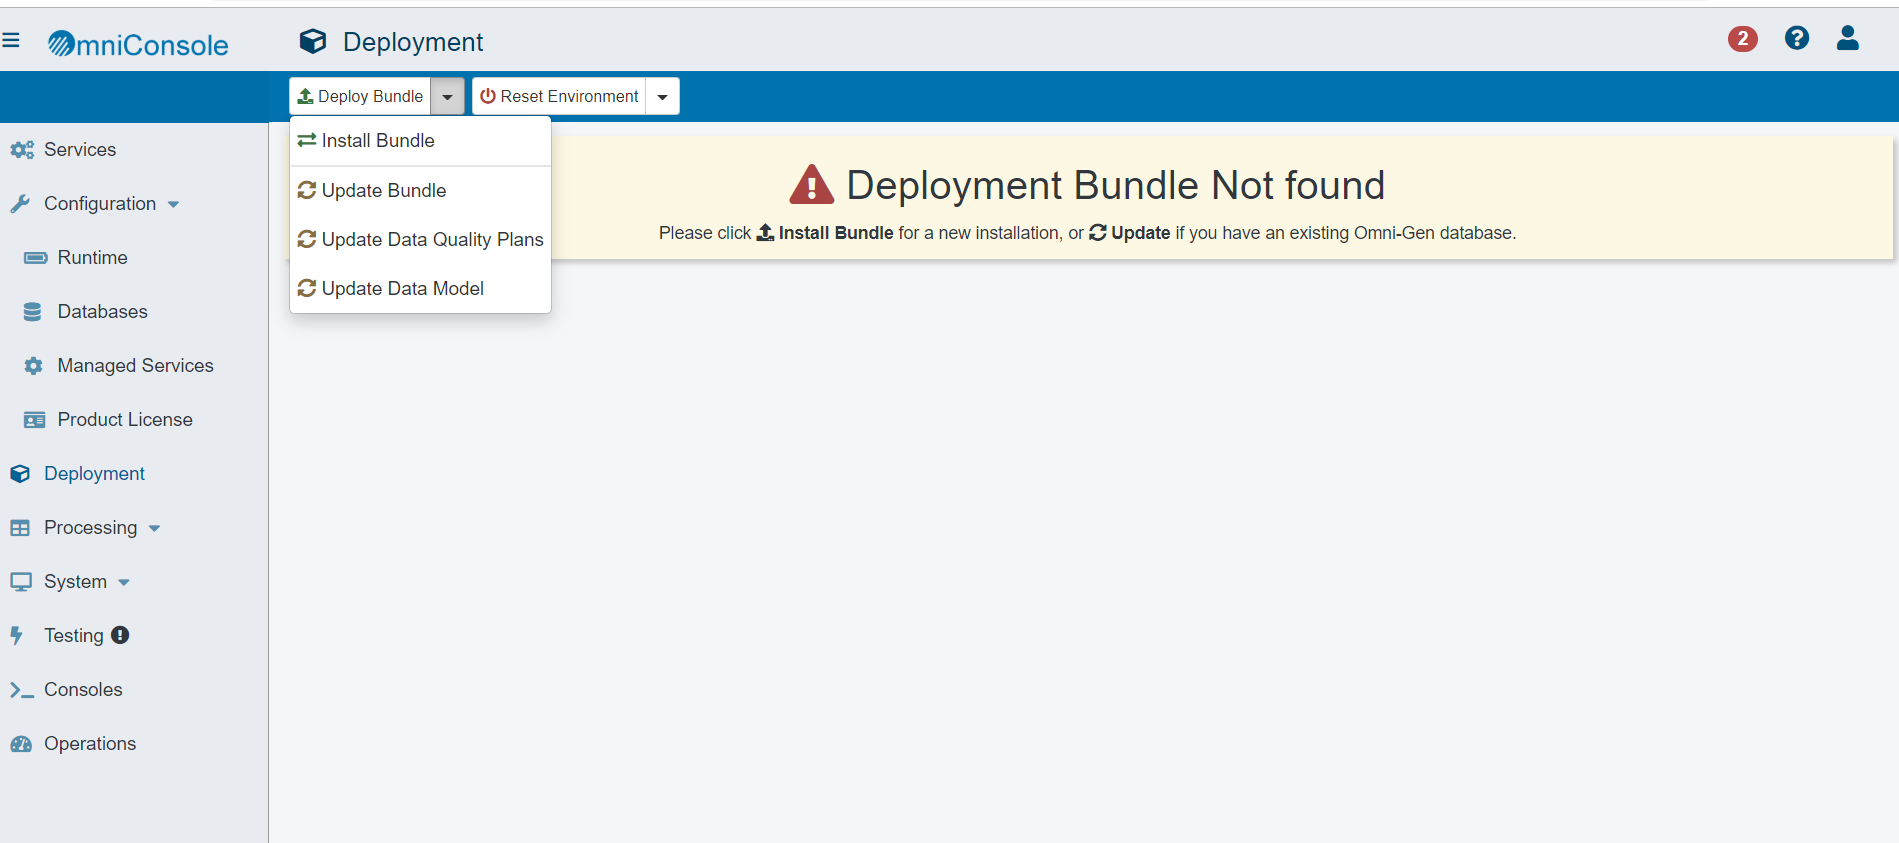
- Click Install Bundle, as shown in the following image.
The Open dialog box is displayed.
- Navigate to the location of your deployment bundle file, which is located in the following directory on Linux platforms:
/data/omni/product/omnihealthdata/omnigen/OmniGenData/OmniHealthData/omni-healthdata-bundle-.3.16.*.zip
- Select your deployment bundle file and click Open.
A blank Deployment Progress window opens, as shown in the following image.
The Deployment Progress window will start to display information and progress during the whole deployment process, as shown in the following image.
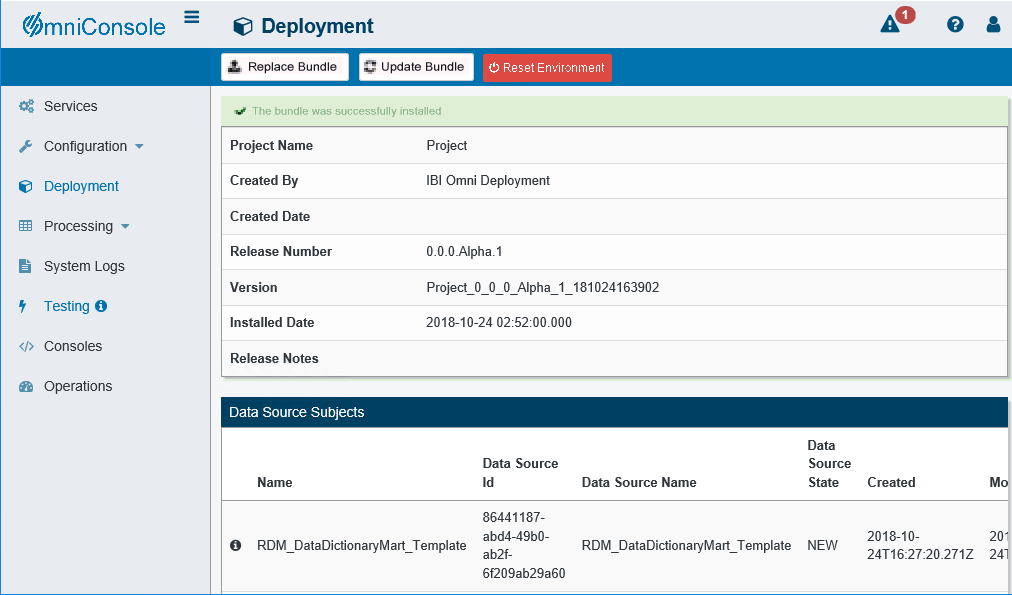
When the process is completed, a successfully installed message is displayed, as shown in the following image.
Procedure: How to Start Omni Services
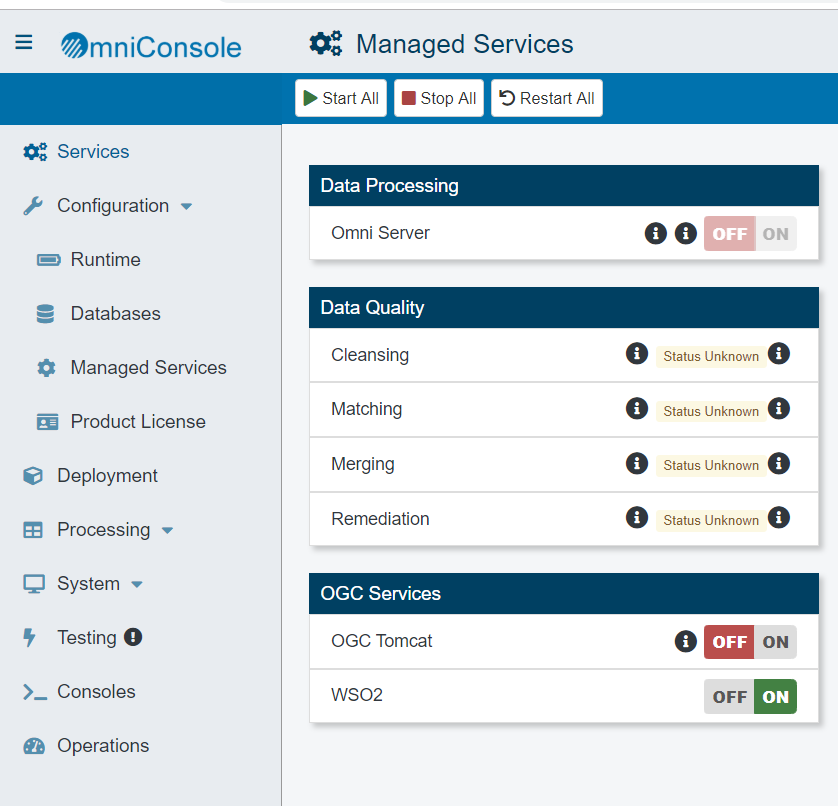
- Start Omni Server and the related services by clicking Services in the left pane and then clicking Start All.
If the memory on your system is insufficient, you can also start each service one at a time, as shown in the following image.
- After starting the Matching service for the first time, you must navigate to the repos_<subject>_wgid and repos_<subject>_wpk tables in the omnirepo database, and drop their corresponding indexes, as they are not required and will impact performance:
- repos_<subject>_wgid_ix0
- repos_<subject>_wpk_ix0
Procedure: How to Upload Your Metadata in Omni-HealthData Governance Console
- Navigate to the OHDGC Login Page for your host and domain.
For example:
http://omnihealthdata.ibi.com:9501/ogc
Note: In version 3.16, the default port has changed from 9090 to 9501.
- Log on using the preauthorized WSO2 Local (Primary) credentials, which can be used to perform other startup actions until
site-specific credentials and permissions are added.
For example:
- Username: primary/super_a
- Password: supera123
The Omni Governance Console Setup page opens, as shown in the following image.
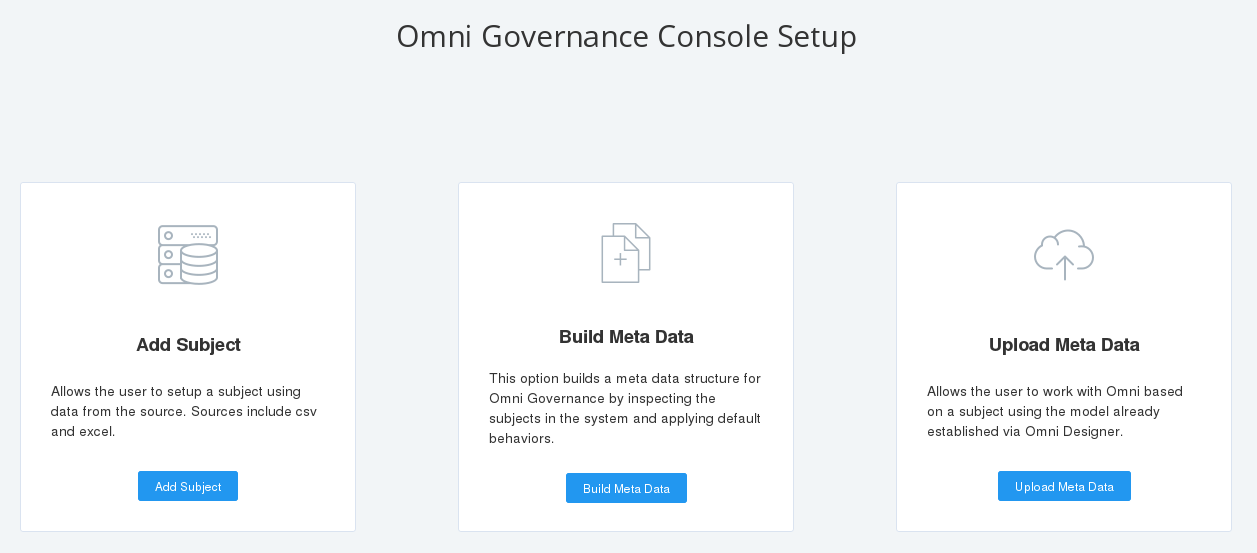
- Click Upload Meta Data.
The Upload Metadata dialog box appears, as shown in the following image.
- Click Choose File and navigate to the following folder:
/data/omni/product/omnihealthdata/ohdgc/ogc/bin/ibi/mdata
- Select the MData.xml file.
- Ensure that the Validate after upload check box is selected, then click Upload.
OHDGC opens and displays the 360 Viewer page, as shown in the following image.
Omni Server and OHDGC are now installed and ready for use.