Installing Omni-HealthData
|
How to: |
Omni-Gen Server and Omni-HealthData Governance Console (OHDGC) can be installed on a Windows platform by running the latest TIB_ohd_3.16.0_win_x86_64.exe file.
This .exe file must be run as an administrator.
The Windows installer prompts you with a series of configuration questions, and automatically installs and configures components based on the responses you provide.
Procedure: How to Install Omni-HealthData
To install Omni-HealthData:
- Download the latest installer (TIB_ohd_3.16.0_win_x86_64.exe), and copy this file to a directory on your system.
Note: Omni-Gen Version 3.16 is packaged with iWay Data Quality Server (DQS) Version 12. When you download Omni-HealthData from the edelivery.tibco.com site, you will receive a temporary key for the DQS software. If you need a permanent key, contact Customer Support.
- Navigate to the directory containing the installer using File Explorer.
- Right-click the TIB_ohd_3.16.0_win_x86_64.exe file, and select Run as administrator from the menu.
The InstallAnywhere window opens and prepares the installation.
When the installation is ready, the Introduction pane opens, as shown in the following image.
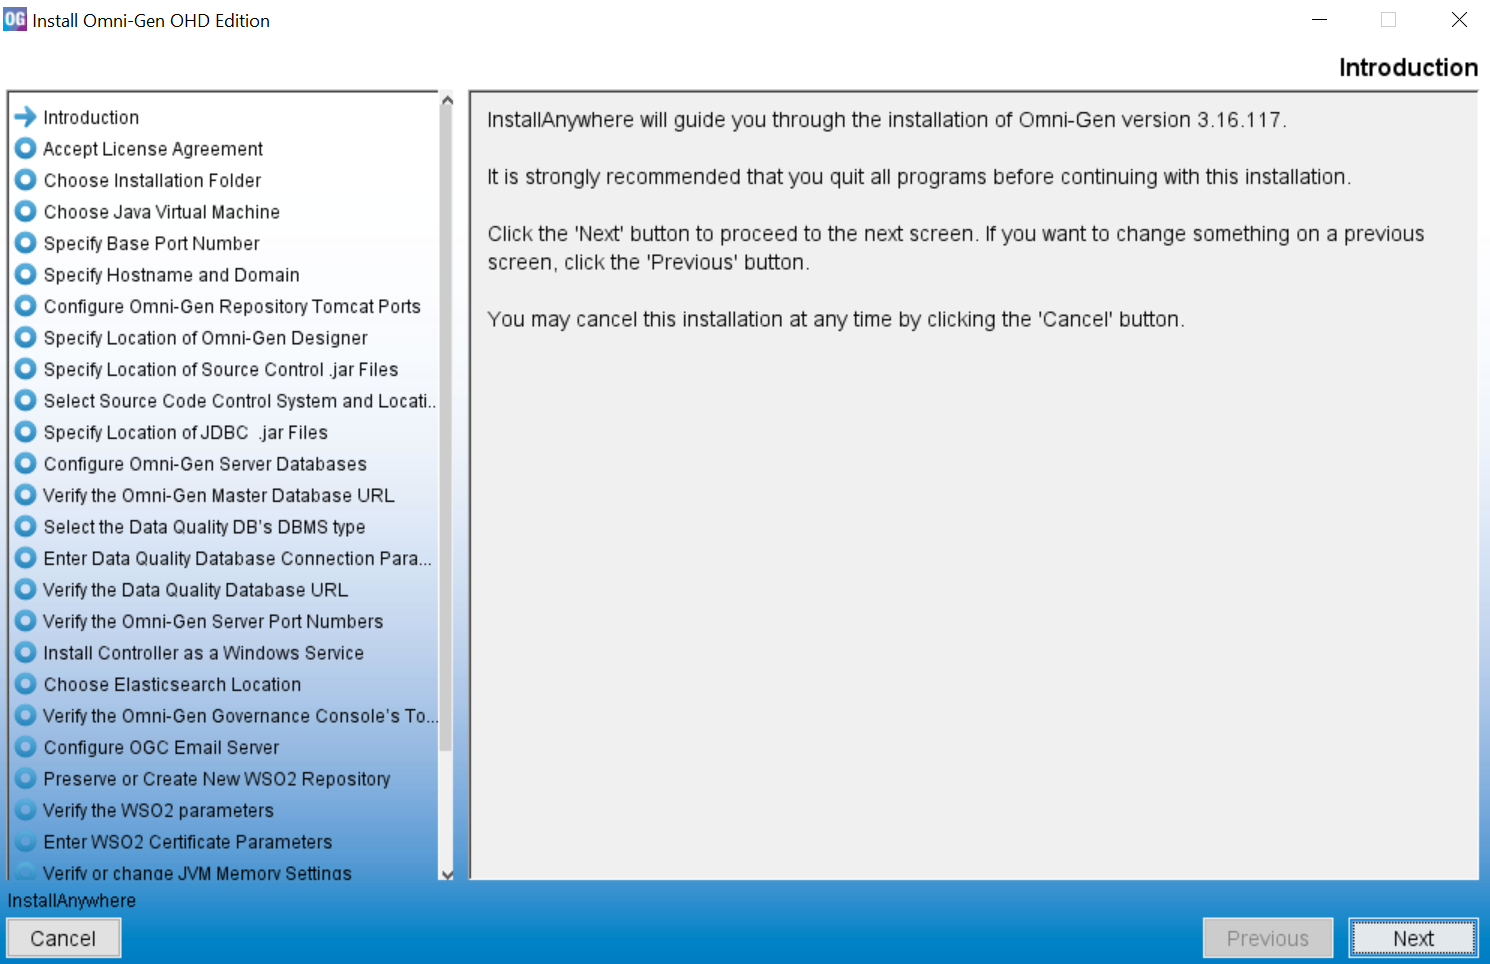
- Click Next to continue.The Accept License Agreement pane opens, as shown in the following image.
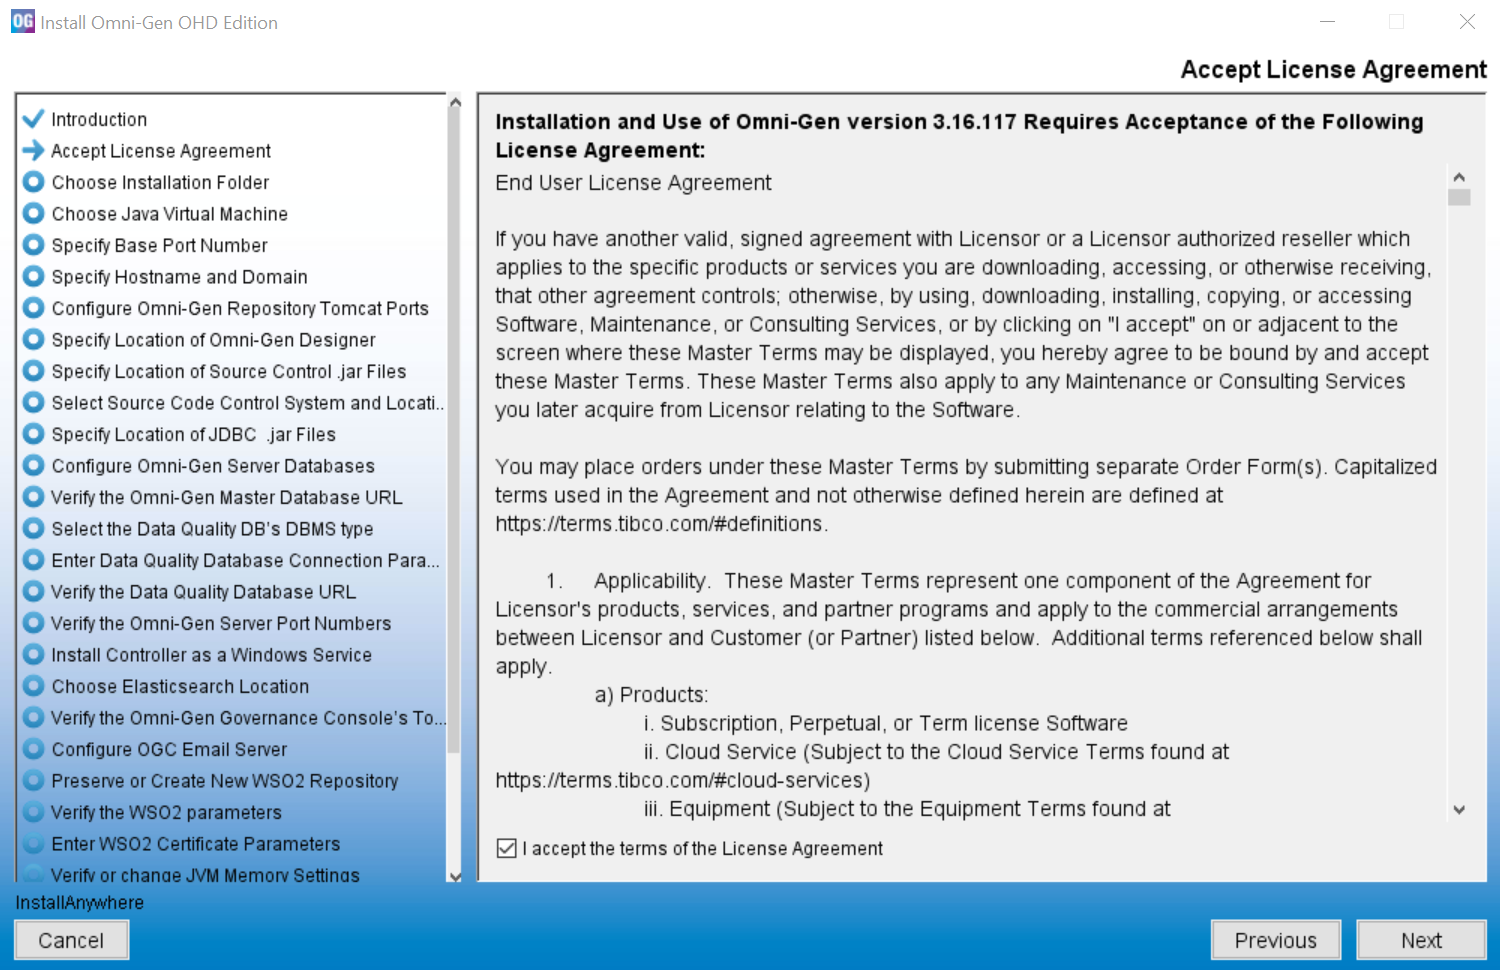
- Read the License Agreement, select the I accept the terms of the License Agreement check box, and then click Next.
The Choose Installation Folder pane opens, as shown in the following image.
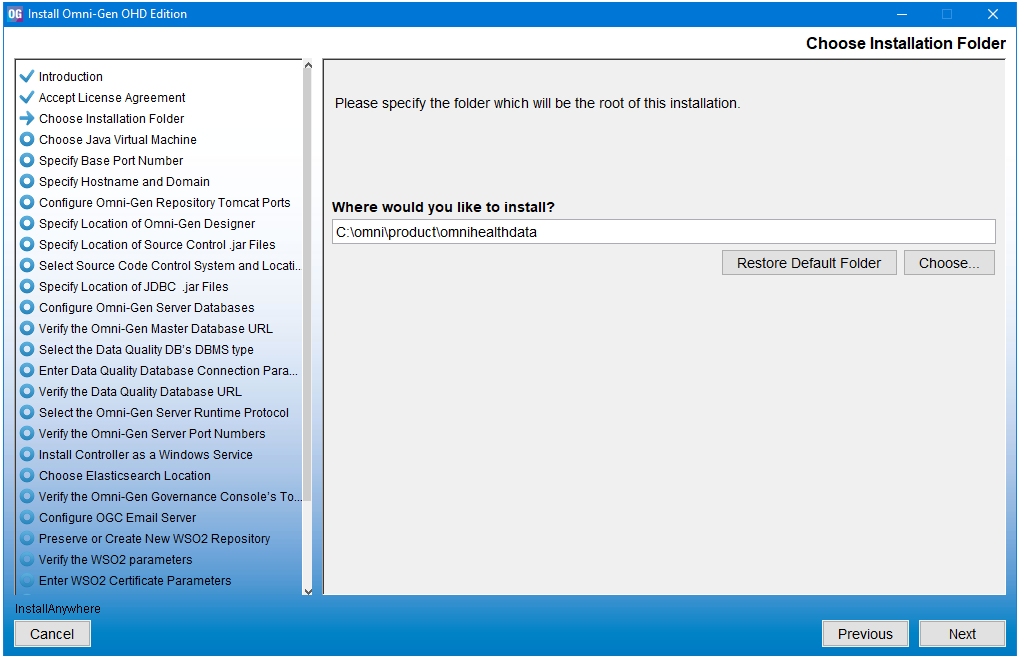
- In the Where would you like to install? field, type or browse to the location where you want to install the Omni-HealthData components.
For example:
C:\omni\product\omnihealthdata
- Click Next.
The Choose Java Virtual Machine pane opens, as shown in the following image.
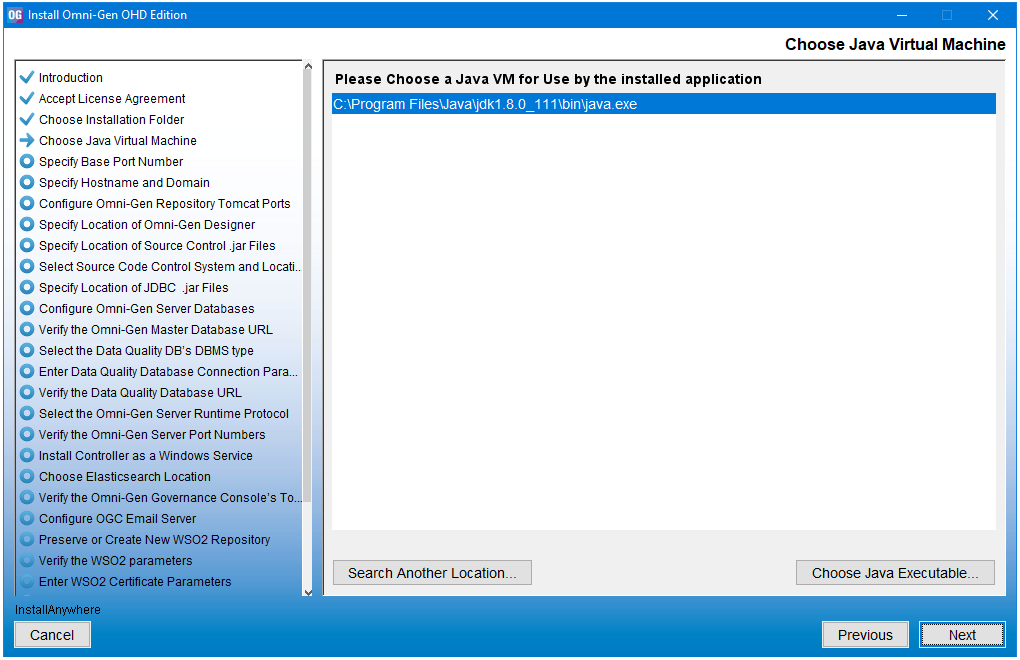
- Ensure that the Java version you select is version 1.8 or higher, and then click Next.
The Specify Base Port Number pane opens, as shown in the following image.
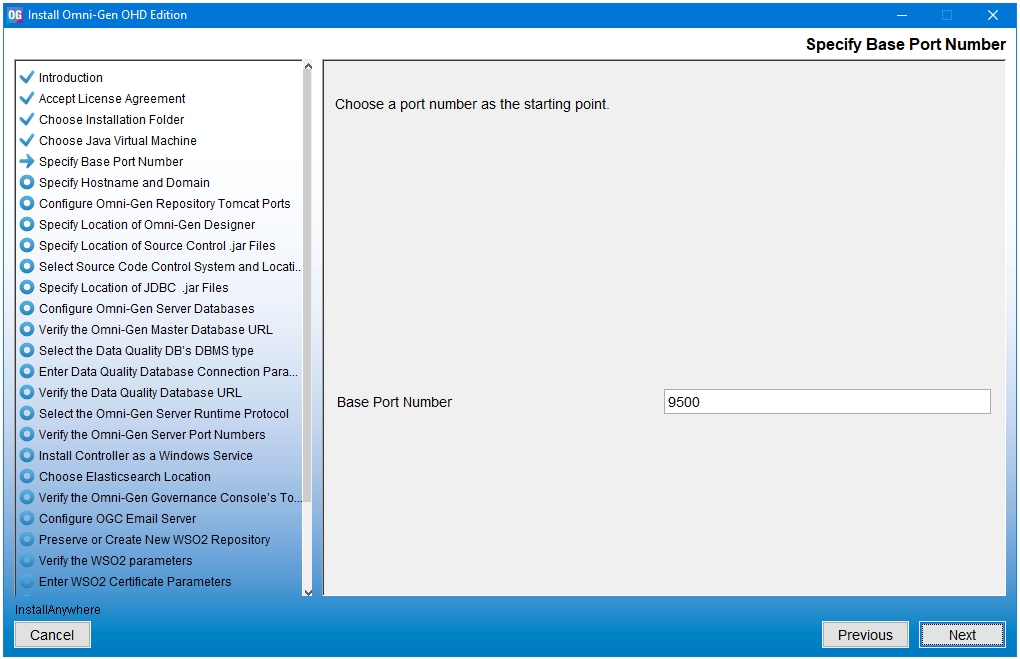
- Type a port number to use, or click Next to accept the default base port number.
The Specify Hostname and Domain pane opens, as shown in the following image.
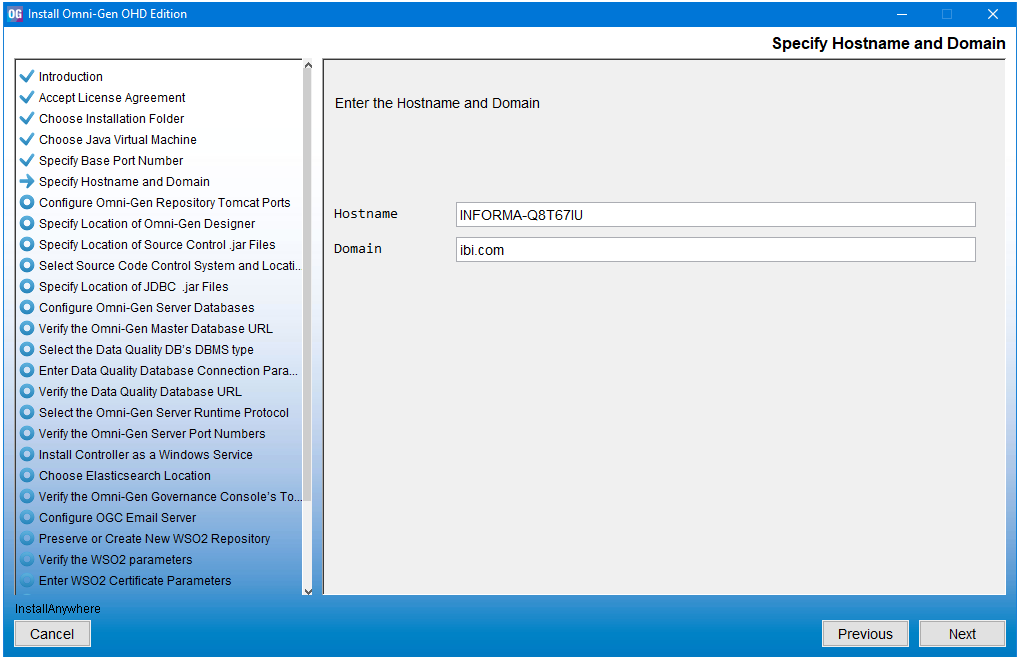
The default host name is the machine on which you are currently installing.
- Type the domain name, and then click Next.
The Specify Location of JDBC .jar Files pane opens, as shown in the following image.
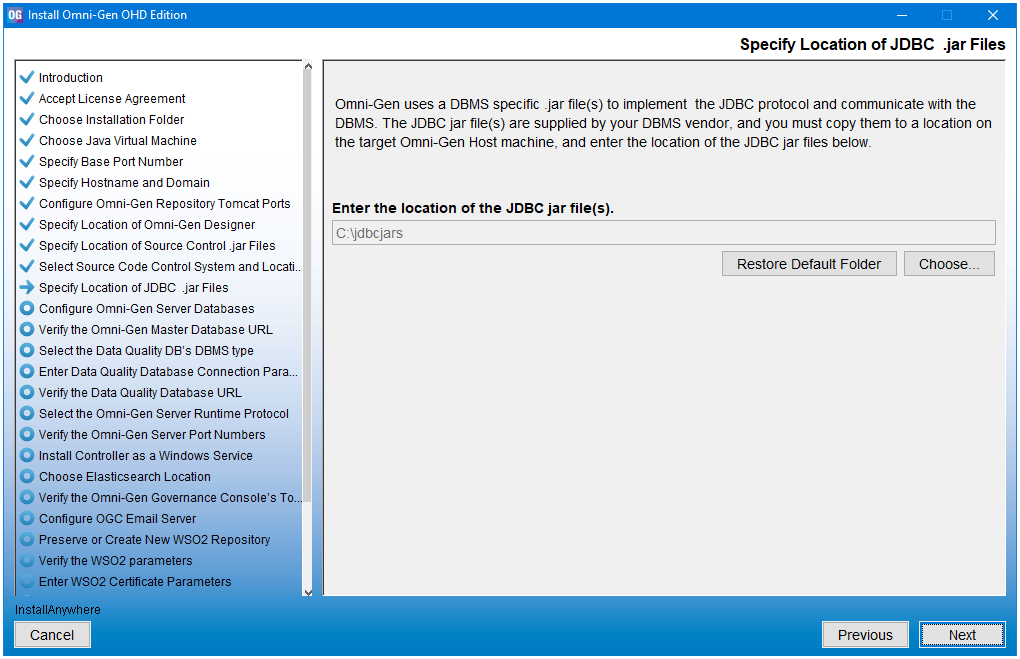
- Type or browse to the location of the jar files, and then click Next.
The Configure Omni-Gen Server Databases pane opens, as shown in the following image.
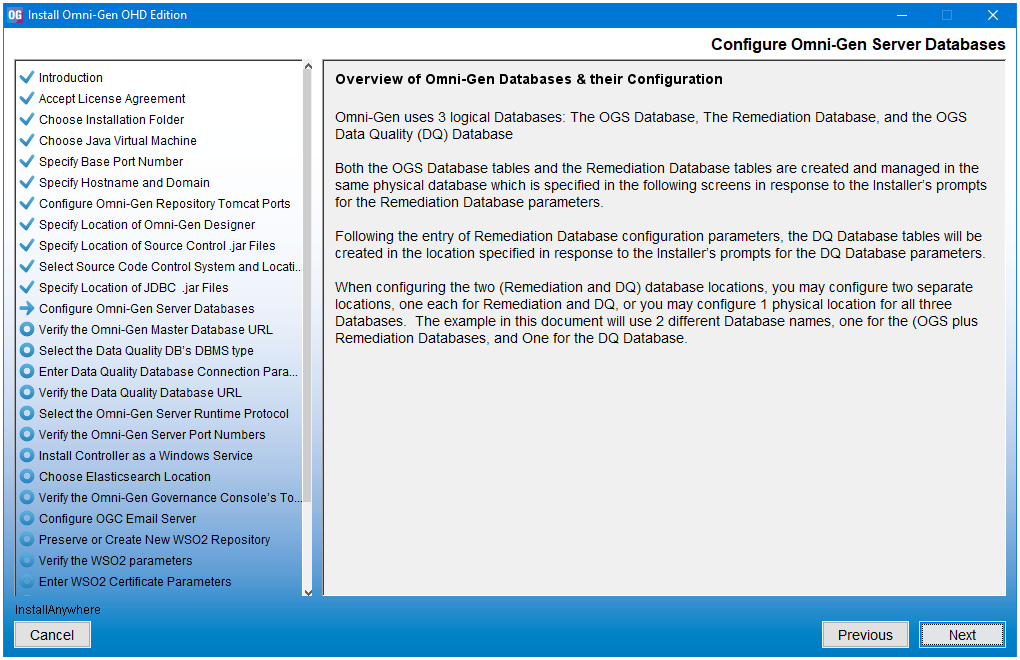
- Click Next to continue.
The Select the DBMS type of the Remediation Database pane opens, as shown in the following image.
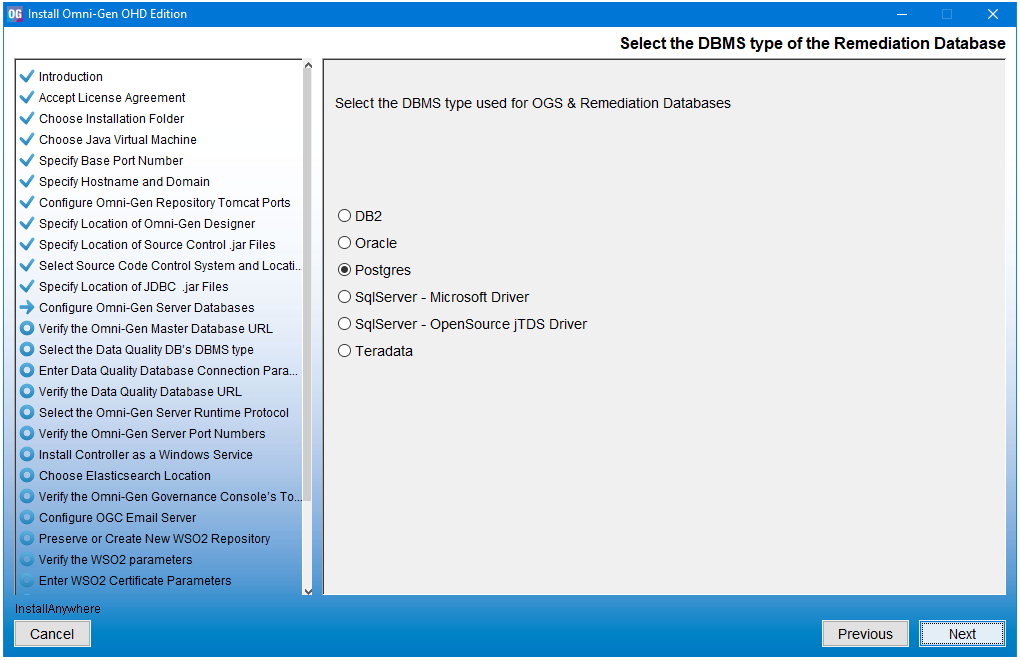
- Select the type of DBMS to use for the Omni-Gen Server and Remediation databases. The default DBMS is Postgres.
- Click Next.
The Enter OGS Database Parameters: Oracle, Postgres, Teradata pane opens, as shown in the following image.
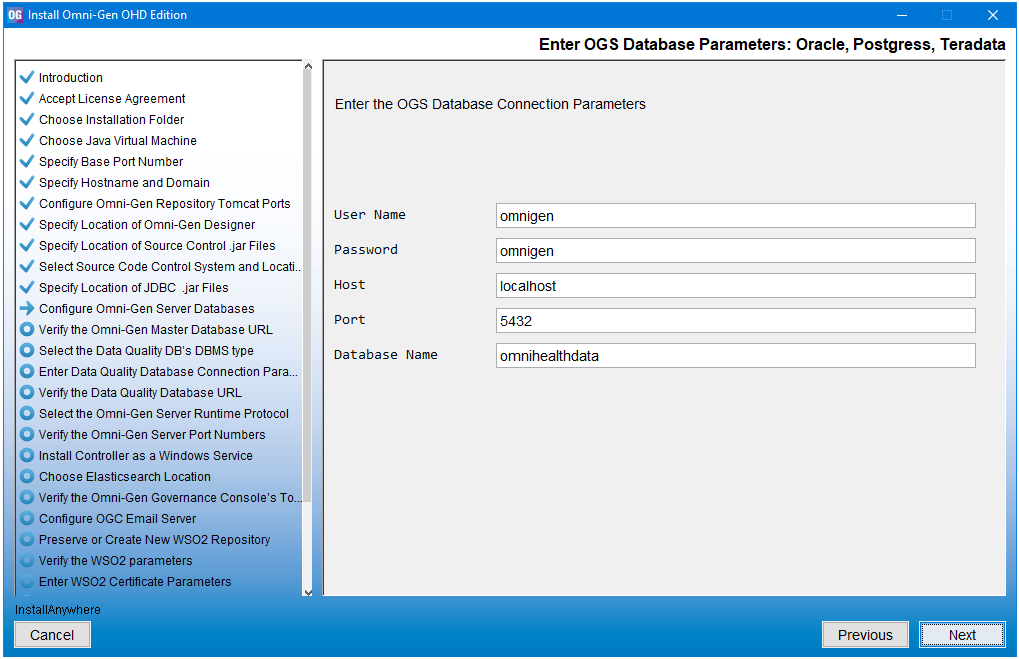
- Type the database connection parameters, and then click Next.
The Verify the Omni-Gen Master Database URL pane opens, as shown in the following image.
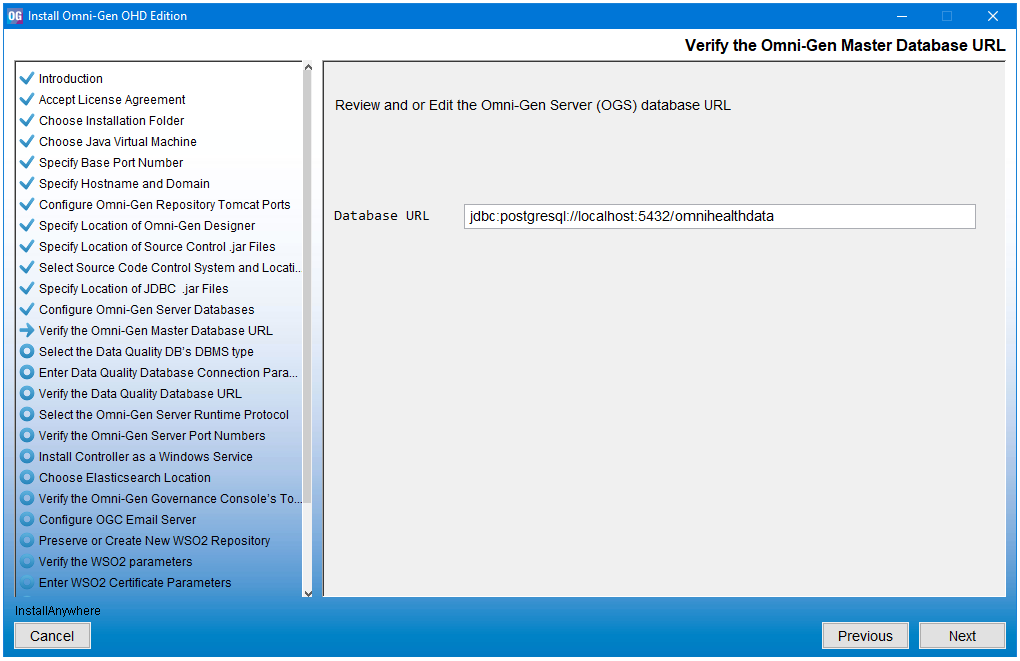
- Specify the URL to the Omni-Gen Server database, and then click Next.
A test connection is made to the specified target DBMS based on the specified parameters.
If you receive a message indicating that your connection test failed, verify your DBMS parameters and that your database name exists in the DBMS you are using.
When your database exists and the user name, password, and host are correct, the Omni-Gen Server Database Connection Test Passed pane opens, as shown in the following image.
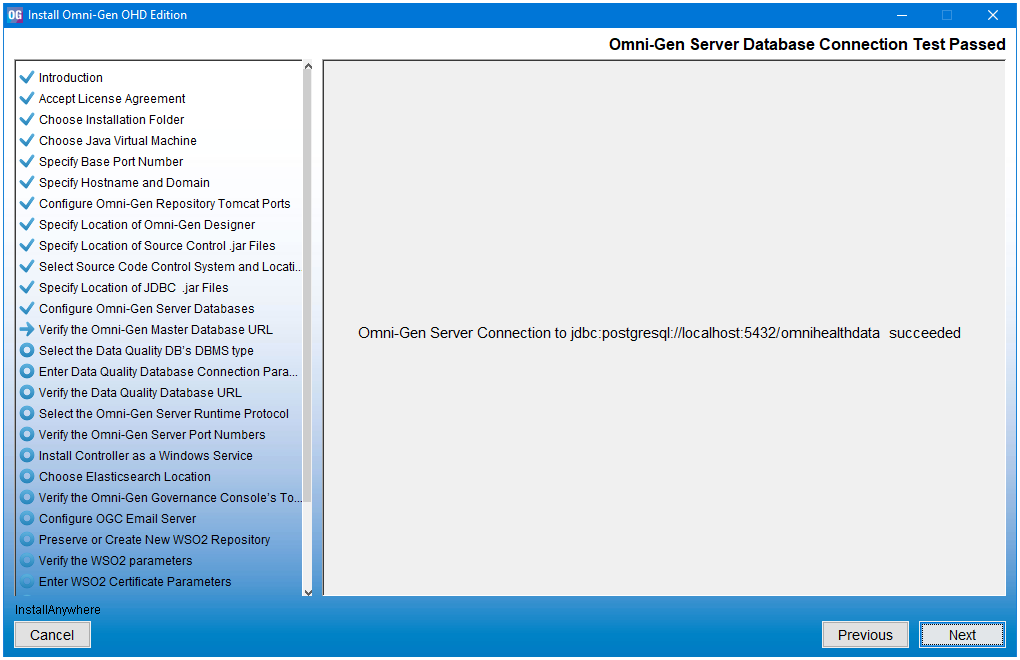
- Click Next.
The Select the Data Quality DB's DBMS type pane opens, as shown in the following image.
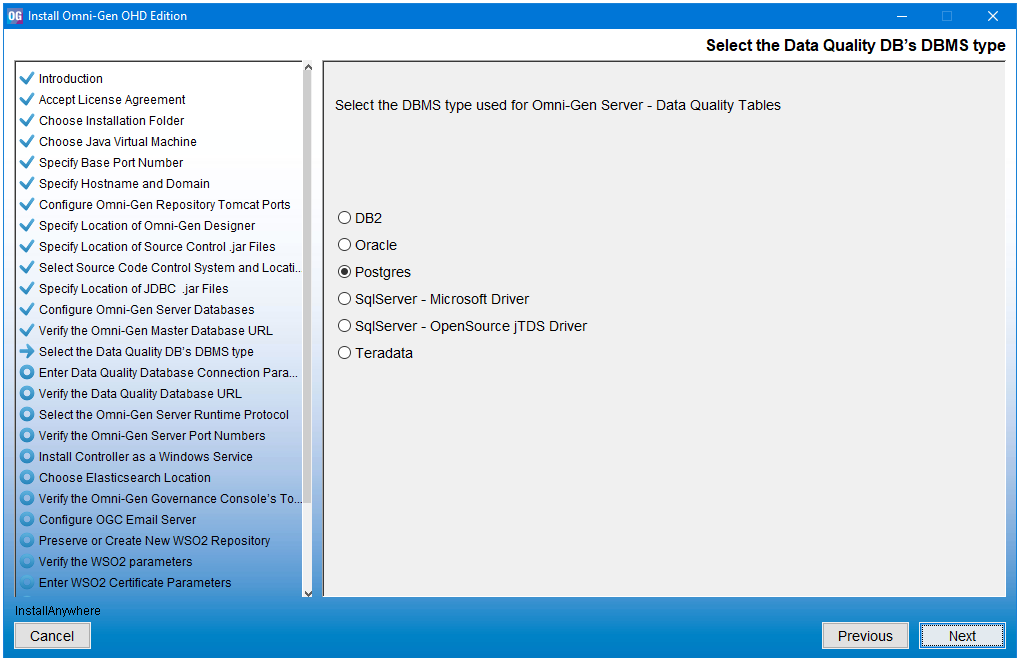
- Select the type of DBMS to use for the Omni-Gen Server, and then click Next.
The Enter DQ Database Parameters: Oracle, Postgres, Teradata pane opens, as shown in the following image.
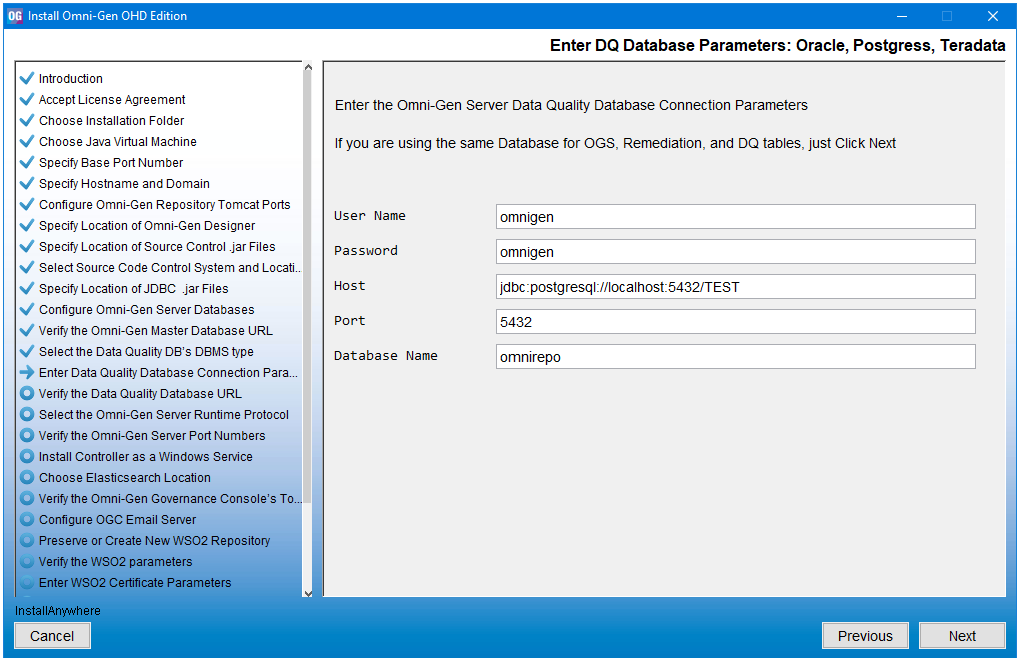
- Type the database connection parameters, and then click Next.
The Verify the Data Quality Database URL pane opens, as shown in the following image.

- Specify the URL to the Data Quality database, and then click Next.
A test connection is made to the specified target DBMS based on the specified parameters.
If you receive a message indicating that your connection test failed, verify your DBMS parameters and that your database name exists in the DBMS you are using.
When your database exists and the user name, password, and host are correct, the Data Quality Database Connection Test Passed pane opens, as shown in the following image.
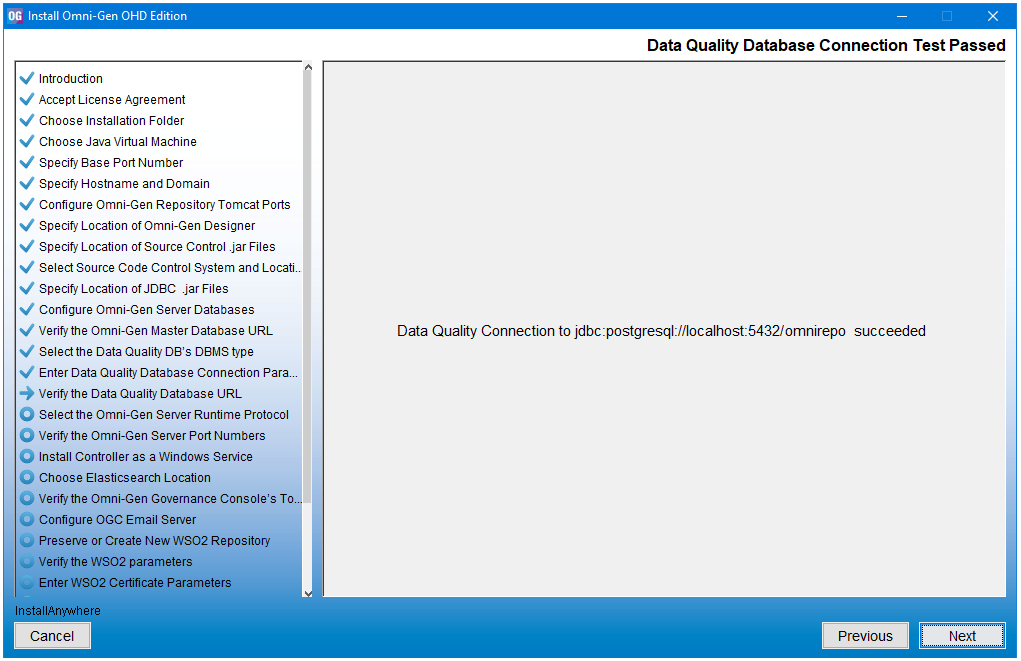
- Click Next.
The Select the Omni-Gen Server Runtime Protocol pane opens, as shown in the following image.
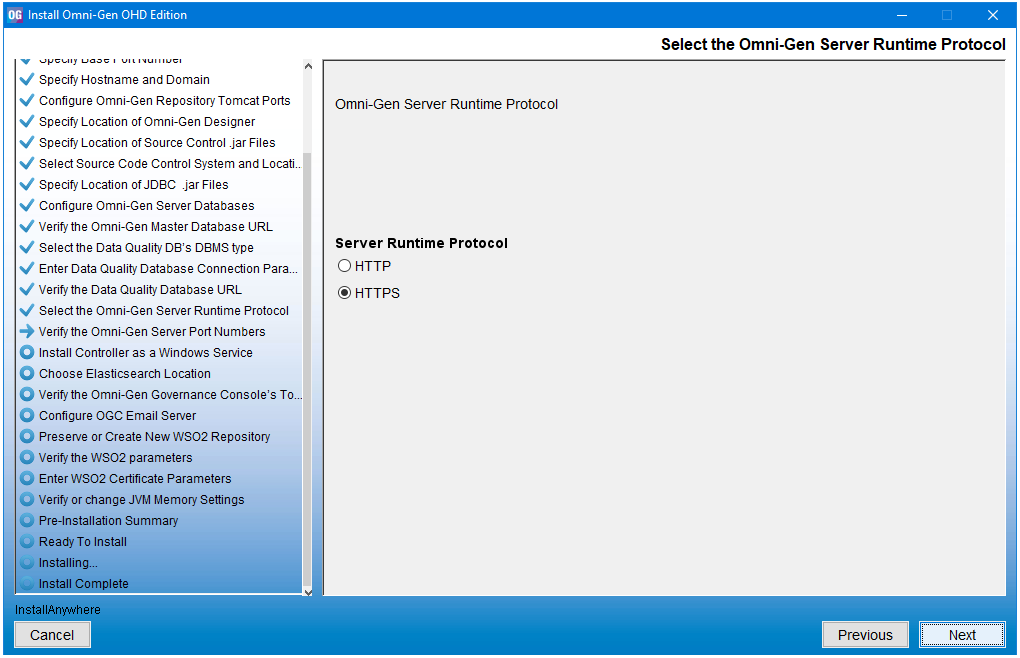
- Select the HTTP or HTTPS protocol, and then click Next. The default value is HTTPS.
The Verify the Omni-Gen Server Port Numbers pane opens, as shown in the following image.
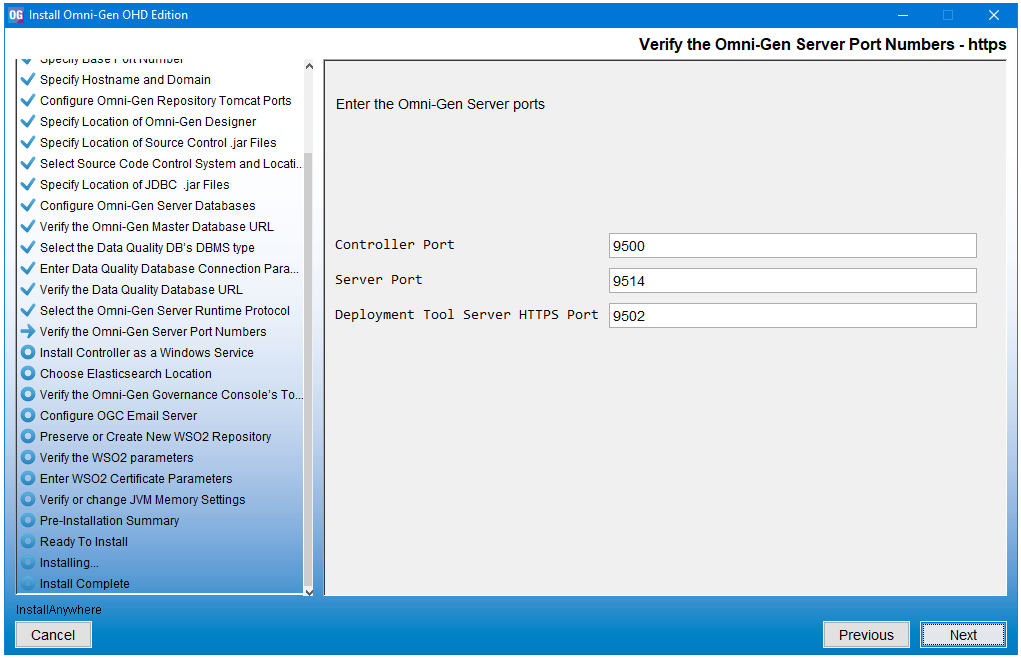
- Click Next to continue.
The Install the Controller as a Windows Service pane opens, as shown in the following image.
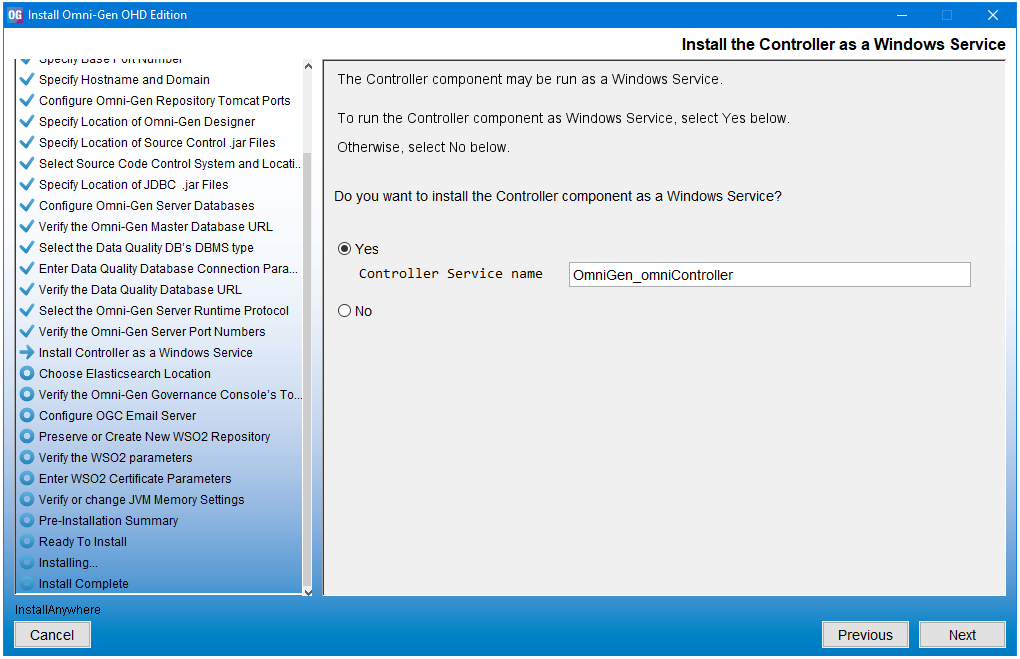
- Select whether you want to install the Omni-Gen Controller as a Windows service. The default value is No.
Note: It is strongly encouraged that you select Yes for ease of administration. If you select Yes, you will be prompted for the service name. You may type the service name in the Controller Service name field, or accept the default value, OmniGen_omniController.
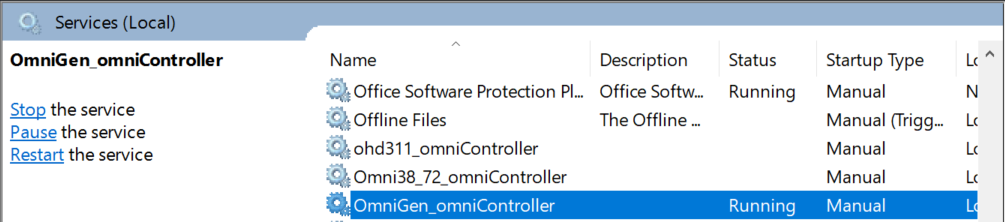
The OmniGen_omniController service is shown in the following image.
- Click Next.
The Verify the Omni-Gen Governance Console's Tomcat Parameters pane opens, as shown in the following image.
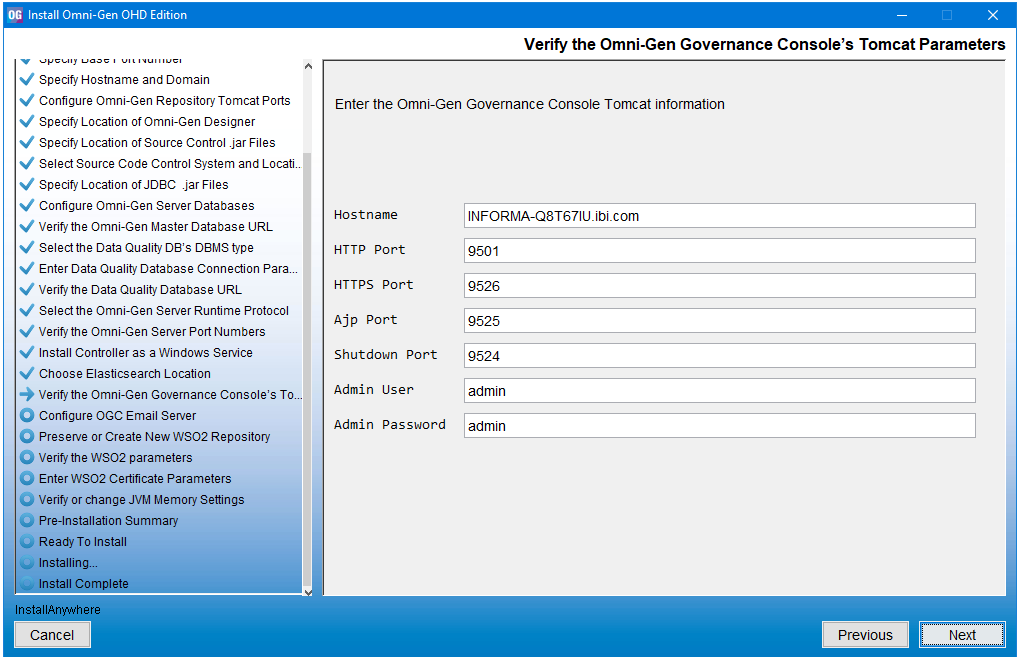
- Verify the parameters and modify the values accordingly, if required.
- Click Next.
The Configure OGC Email Server pane opens, as shown in the following image.
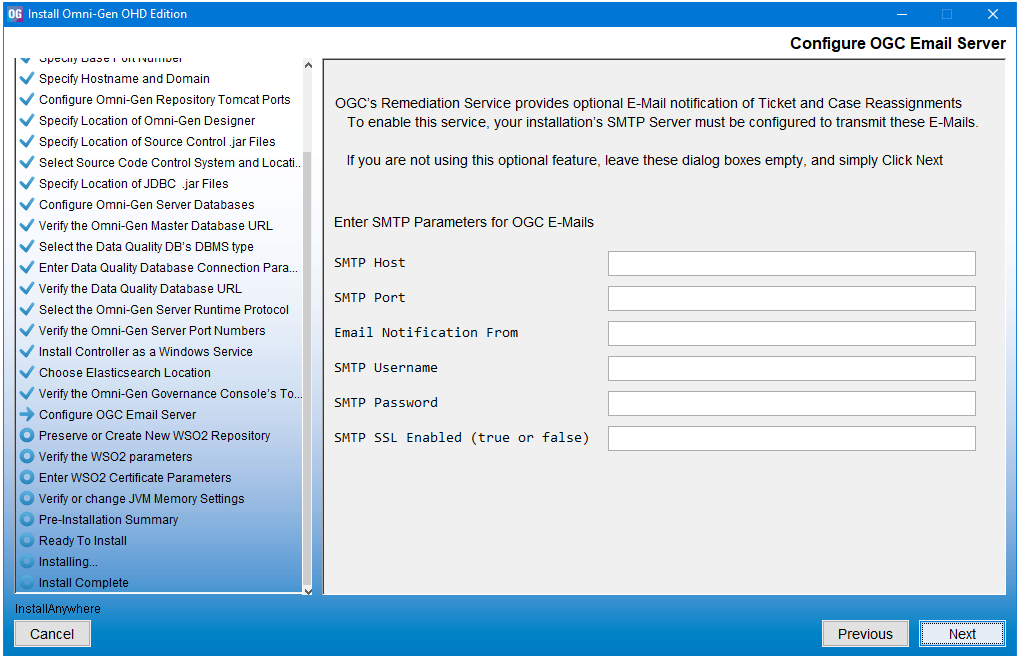
- If you are not using this optional feature, leave the field boxes empty, and then click Next.
The Preserve or Create New WSO2 Repository pane opens, as shown in the following image.
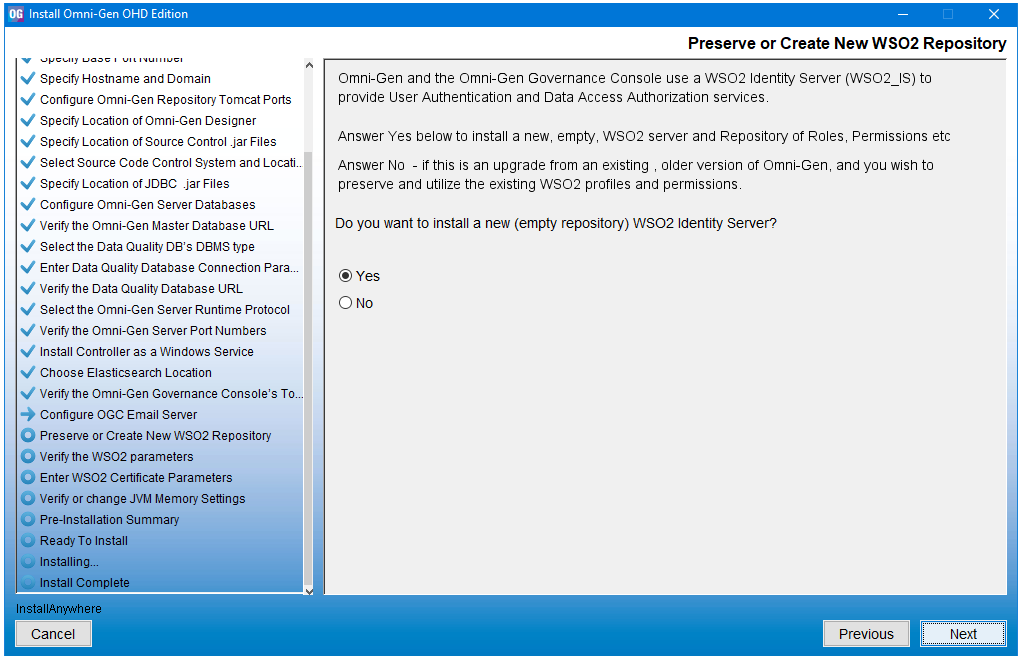
- For new installations, ensure that Yes is selected, and then click Next.
The Verify the WSO2 parameters pane opens, as shown in the following image.
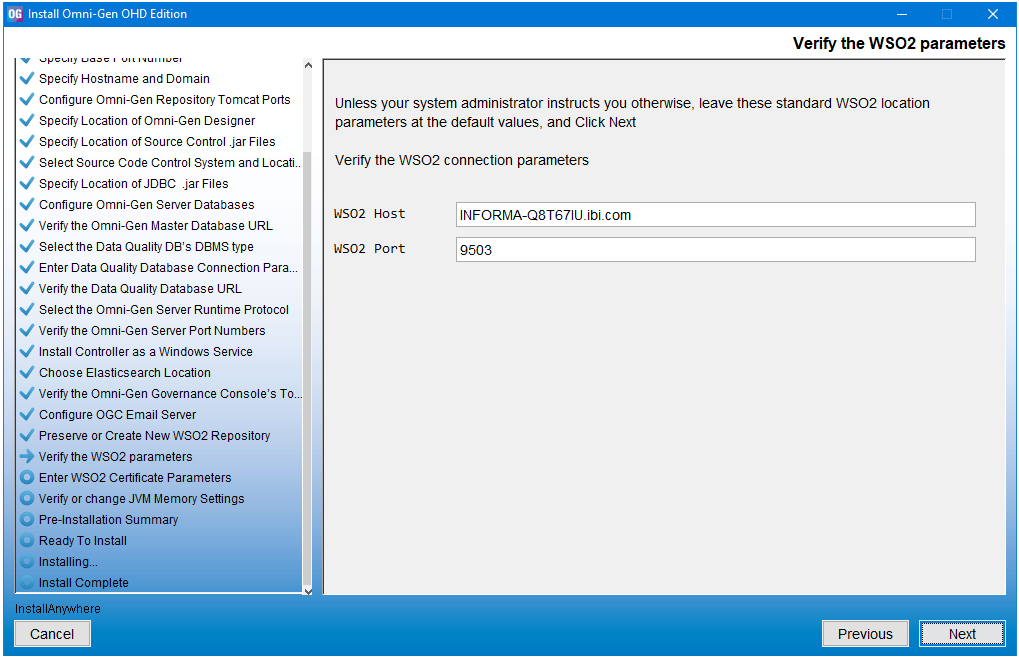
- Verify the parameters, and then click Next.
The Enter WSO2 Certificate Parameters pane opens, as shown in the following image.
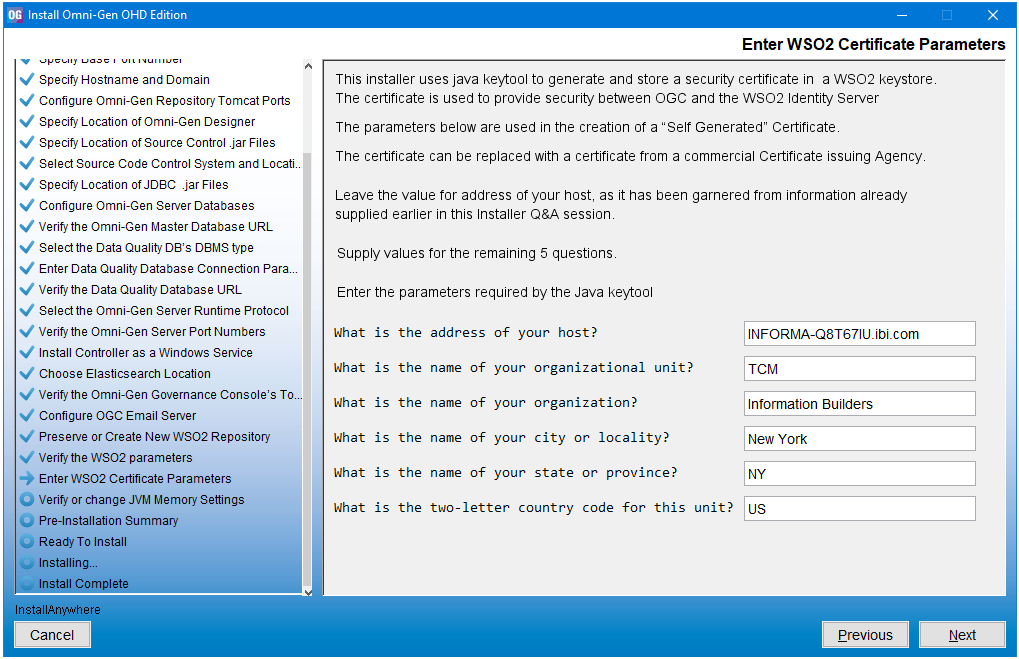
- Collect the parameters to generate the certificate for the WSO2 Identity Server (IS).
These parameters are used to build a unique certificate to secure the communication between the Omni-HealthData Governance Console (OHDGC) and WSO2 Identity Server (IS). Ensure that the address of your host is correct (not localhost), and then type values for the remaining parameters.
- Click Next.
The Verify or change JVM Memory Settings pane opens, as shown in the following image.
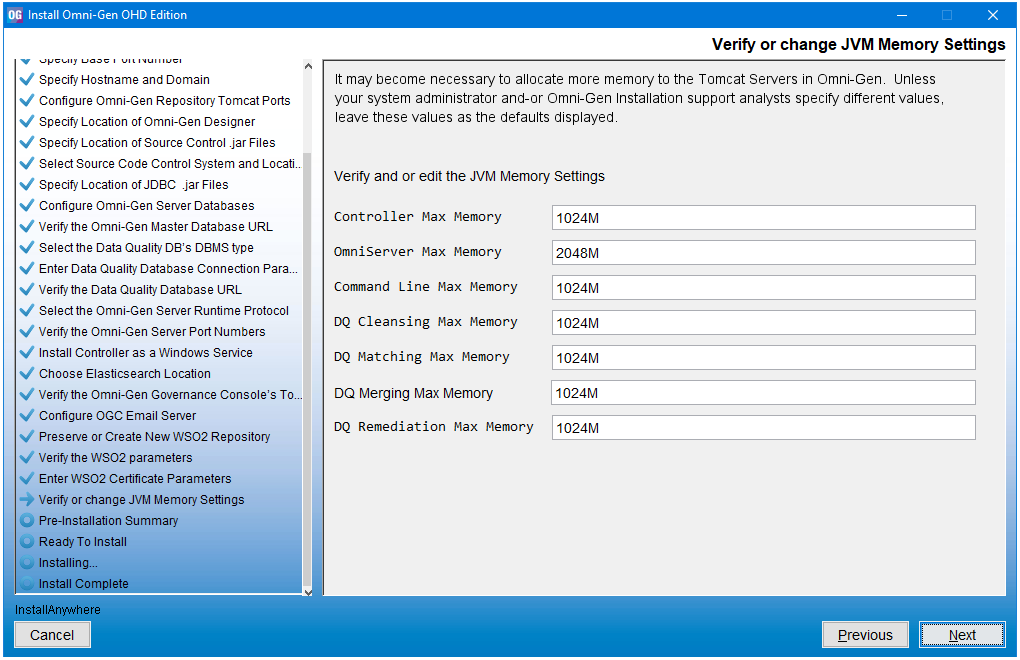
- Verify the settings and modify the values accordingly, if required.
- Click Next.
The Pre-Installation Summary pane opens.
- Review the installation settings that you specified, and then click Next.
The Ready To Install pane opens, indicating that the configuration is complete and ready for installation.
- Click Install to proceed with the installation.
The Installing Omni-Gen pane opens, which displays the progress of the installation.
The installation is complete when the Install Complete pane opens, as shown in the following image.
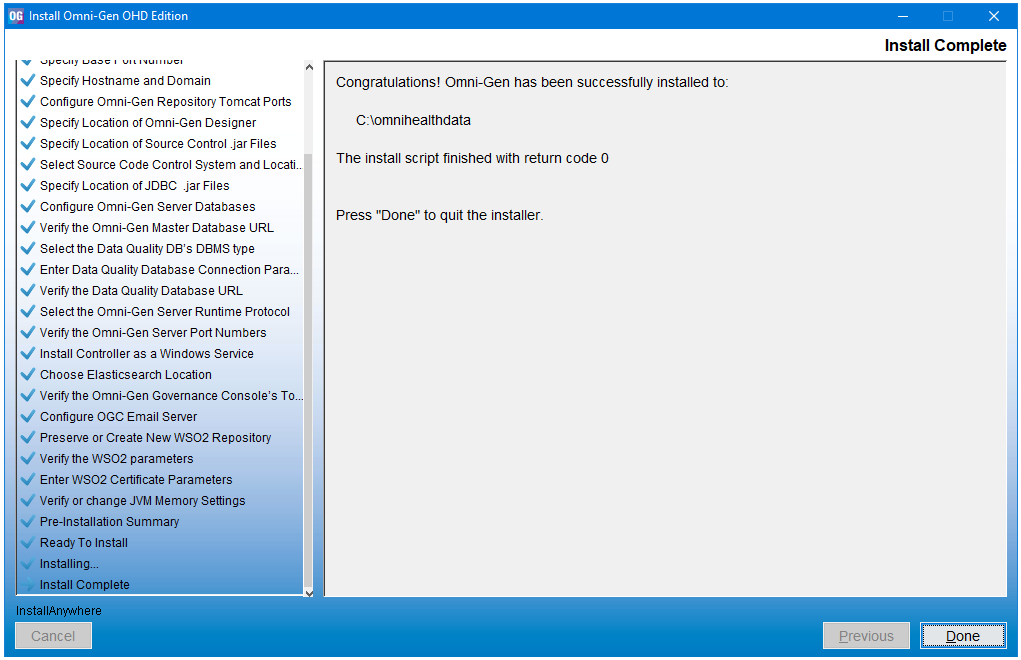
- Click Done.
- If Windows Service is implemented:
- Navigate to Windows Services Manager.
- Start the service specified in step 24 above, and continue to step 40.
For example:
OmniGen_omniController
- If Windows Service is not implemented:
- Navigate to the omnigen home directory.
For example:
C:\omni\product\omnihealthdata\omnigen
- Navigate to the OmniServer directory
For example:
C:\omni\product\omnihealthdata\omnigen\OmniServer
- Open a command prompt window and type the following command:
omni start-controller
- Press Enter.
Note: When the installation has completed, a BUILD SUCCESSFUL message appears, but the startup process continues for a few minutes. You must wait for this process to complete before proceeding to the next step.
- Navigate to the omnigen home directory.
- When the startup process has completed, proceed to Completing Post-Installation Tasks.