Installing Omni-Gen™ for Customer
|
Topics: |
|
How to: |
This section describes how to install Omni-Gen™ for Customer.
Omni-Gen™ for Customer Components Configuration Overview
Omni-Gen™ for Customer can be installed on Windows (64-bit) platforms.
The Omni-Gen installer is developed using InstallAnywhere and follows common installer models.
First, installation information is collected from the user through a series of prompts. Then, an image is installed to the file system specified by the user, and finally, the contents of the image are configured based on the collected information.
Omni-Gen™ Installation Prerequisites
Before Omni-Gen™ for Customer, which includes Omni-Gen Server (OGS) and the Omni Governance Console (OGC), are installed, ensure that the following prerequisites are configured on your environment:
-
One or two empty database schemas must be built and ready for use.
Note: The creation of the database is generally the responsibility of a database administrator.
- A database administrator's user name and password for the database(s) must also be available.
OmniGen uses the following logical sets of tables to perform MDM and OGC functions:
- Mastering (Database) Tables. This is automatically created in the same database, specified in the prompts for the Remediation Database of the OmniGen Installer.
- Remediation Tables. This is automatically created in the same database, specified in the prompts for the Remediation Database of the OmniGen Installer.
- Data Quality Repository Tables (commonly referred to as the "repo" database). This is created in the location specified in the prompts for the Data Quality (DQ) Database of the OmniGen Installer. When configuring the two (Remediation and DQ) database locations, you can configure two separate locations for Remediation and DQ, or you can configure one location for all the tables. The example in this document uses two different database names, one for Remediation tables and the other for DQ tables.
- A database administrator's user name and password for the database(s) must also be available.
- Java Development Kit (JDK) Version 1.8.121 or higher.
Note: Omni-Gen Server (OGS) and Omni Governance Console (OGC) requires Java Development Kit (JDK) version 8.
- Verify that the JAVA HOME environment variable is defined properly.
- Verify that %JAVA HOME%\bin is the first element in your PATH.
- Acquire the required DBMS specific JDBC .jar files for use by OGC and ensure
these files are available on the machine where OGC will be installed.
- DB2: db2jcc4.jar, db2jcc_license_cu.jar
- Oracle: ojdbc7.jar
- Postgres: postgresql-9.3-1102.jdbc4.jar
- SQL Server (Microsoft): sqljdbc42.jar
- SQL Server (Open Source): jtds-1.3.1.jar
- Ensure that the database server is configured to allow TCP connections and that the TCP ports are active.
- Ensure that you have the proper administrative rights to modify
the Java CA certificate (cacerts) store and add files to the following
directory:
JAVA_HOME/jre/lib/security
Modifying cacerts is required for interacting with the WSO2 Identity Server (WSO2 IS).
- Source Management (Software Versioning and Revision Control System)
A source management system, such as Apache Subversion (SVN) or Git must be installed on a local or remote system. The iWay Data Quality Server (DQS) design-time environment must be updated with the proper plug-in to source manage the DQS-related components in the configured source management system. You can obtain the required plug-in for the Eclipse-based environment from the source management system provider or a third-party.
- GBG Loqate Address Verification
Loqate is used to facilitate address cleansing operations and must be installed on the system where Omni-Gen™ for Customer is running.
The recommended installation location (destination folder) is C:\loqate, which matches the default location that is specified in the Data Quality (DQ) cleansing plans that are prepackaged with Omni-Gen™ for Customer. If you choose a different installation location, then you will have to manually update the Loqate step in each DQ cleansing plan with your specific path.
For more information on downloading Loqate and obtaining a required license, contact iWay Customer Support. For more information on installing and configuring Loqate, see the Omni-Gen™ Address Cleansing (Loqate) Installation and Configuration Guide.
Procedure: How to Install Omni-Gen Server and Omni Governance Console on Windows
This procedure assumes that a database server (for example, an MS SQL Server), a Repository Server (for example, SVN), and iWay Data Quality Suite (DQS), are already installed.
- Verify that the JAVA HOME environment variable (for Java Development Kit version 8) is defined properly and that %JAVA HOME%\bin is the first element in your PATH.
- Download the installer (omnigen-installer-3.10.1491-Windows-CUSTOMER.exe) from the Information Builders Technical Support Center.
- In the File Explorer, right-click the downloaded omnigen-installer-3.10.1491-Windows-CUSTOMER.exe file and select Run as administrator.
The InstallAnywhere window appears, as shown in the following image.
When the install is ready to begin, the Install Omni-Gen CUSTOMER Edition window opens, as shown in the following image.
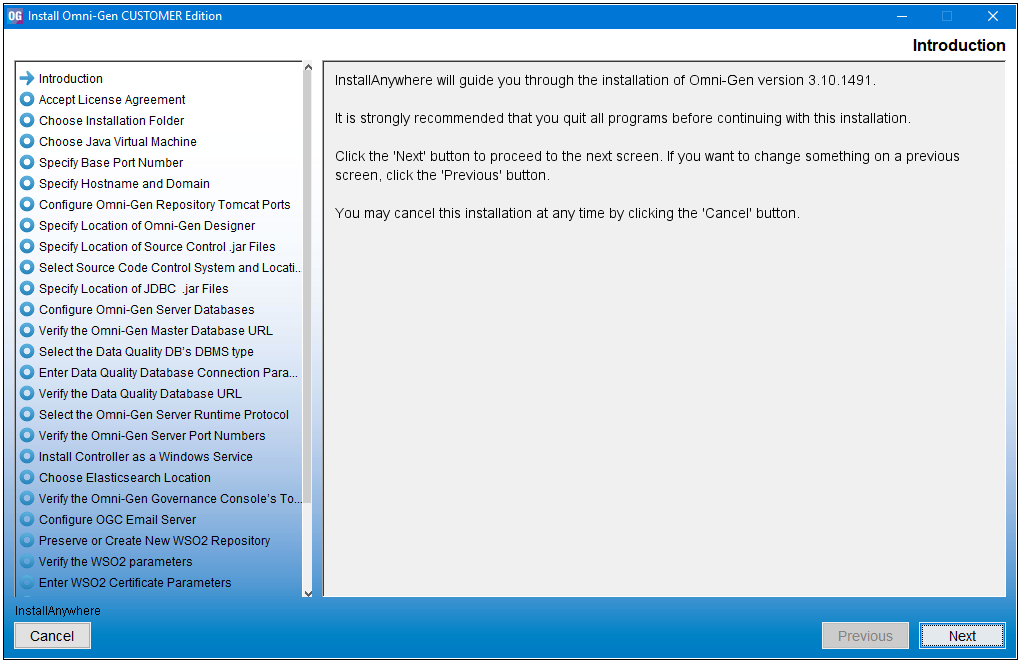
- Click Next.
The Accept License Agreement dialog box opens, as shown in the following image.
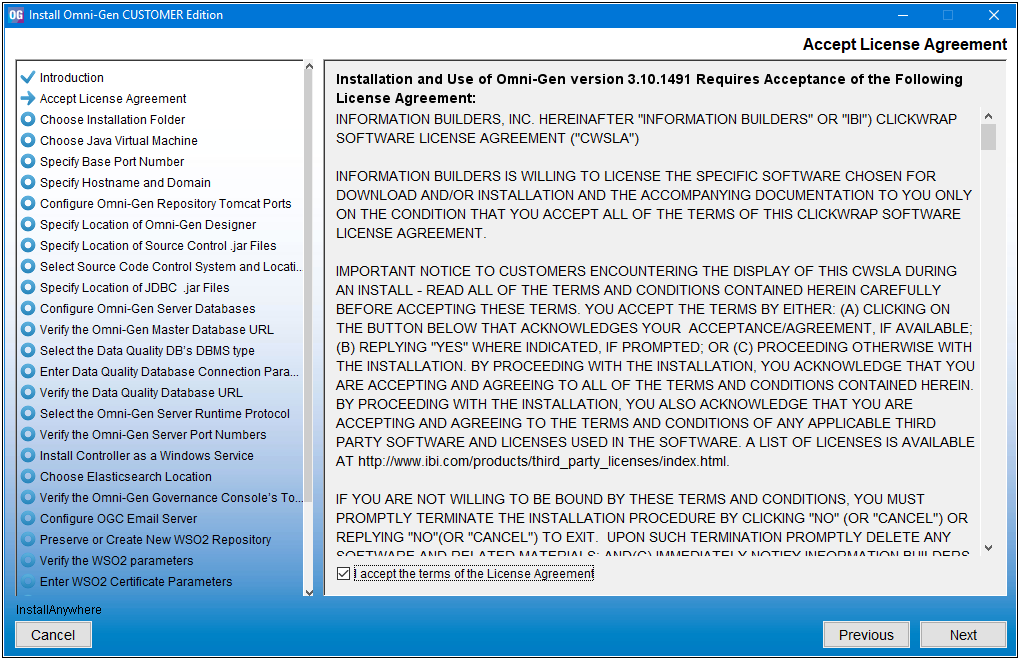
- Read the License Agreement, select the I accept the terms of the License Agreement check box, and then click Next.
The Choose Installation Folder dialog box opens, as shown in the following image.
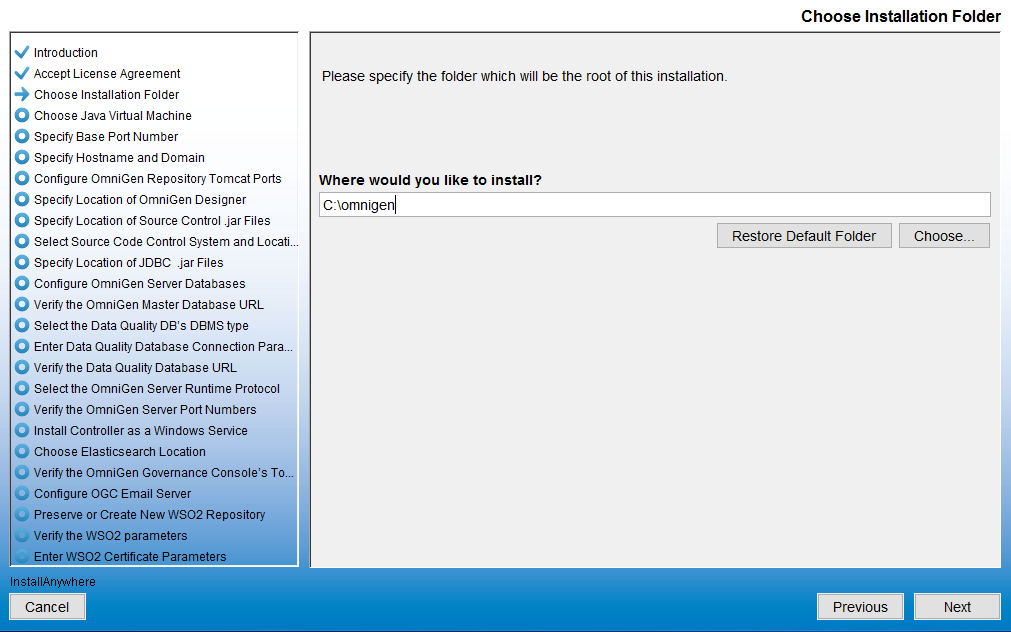
- In the Where would you like to install field, type the location where you wish to install all of the required files for Omni-Gen.
The installer will create a file tree named OmniGen in the location you have specified. For example, if you accept the default location as C:\, then the installer will install Omni-Gen to:
C:\OmniGen
- Click Next.
The Choose Java Virtual Machine dialog box opens, as shown in the following image.
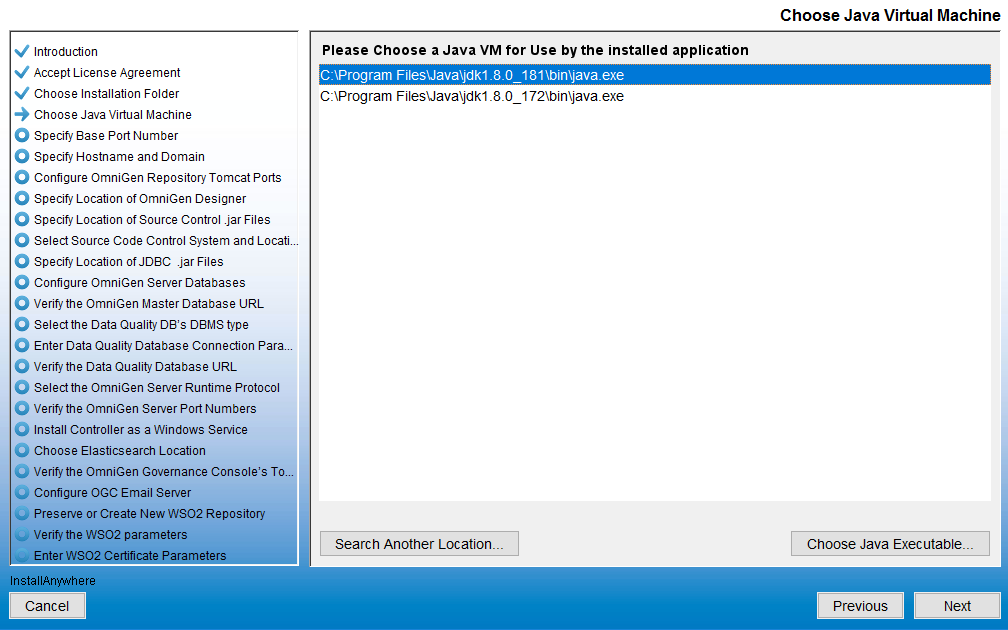
- Ensure that the Java version located is version 1.8 or higher, and then click Next.
As of Omni-Gen version 3.6.0, the Specify Base Port Number dialog box opens, as shown in the following image.
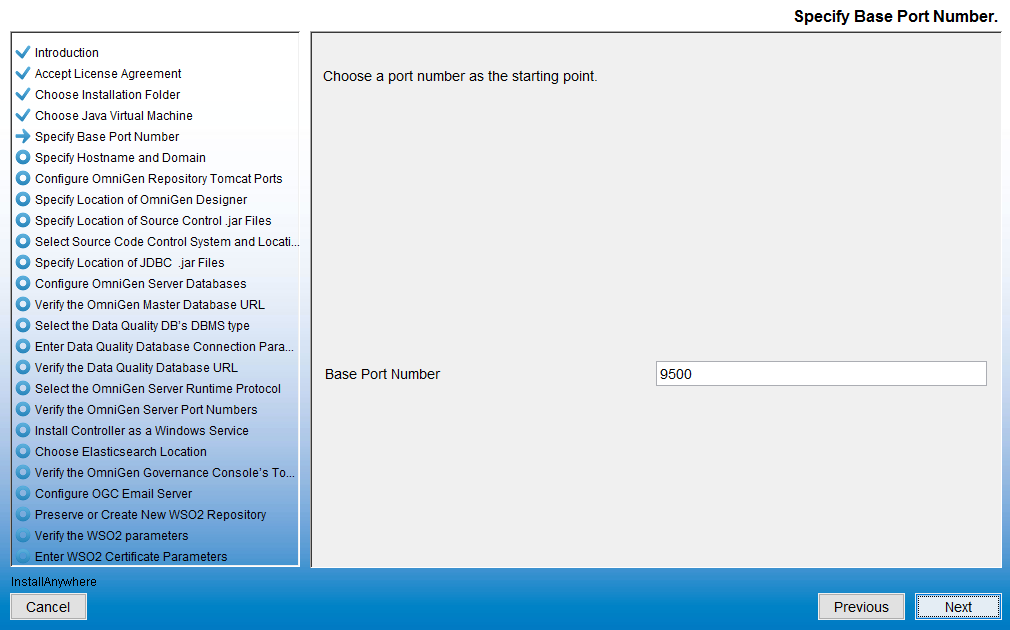
- Specifying a base port number automatically assigns a set of port numbers for use by Omni-Gen components, and is used when
installing more than one instance of Omni-Gen on a single machine. If you are installing a second instance of Omni-Gen, or
need to configure different ports to avoid conflicts with systems already deployed on your Omni-Gen host, then see your system
administrator. Otherwise, click Next to continue.
The Specify Hostname and Domain dialog box opens, as shown in the following image.
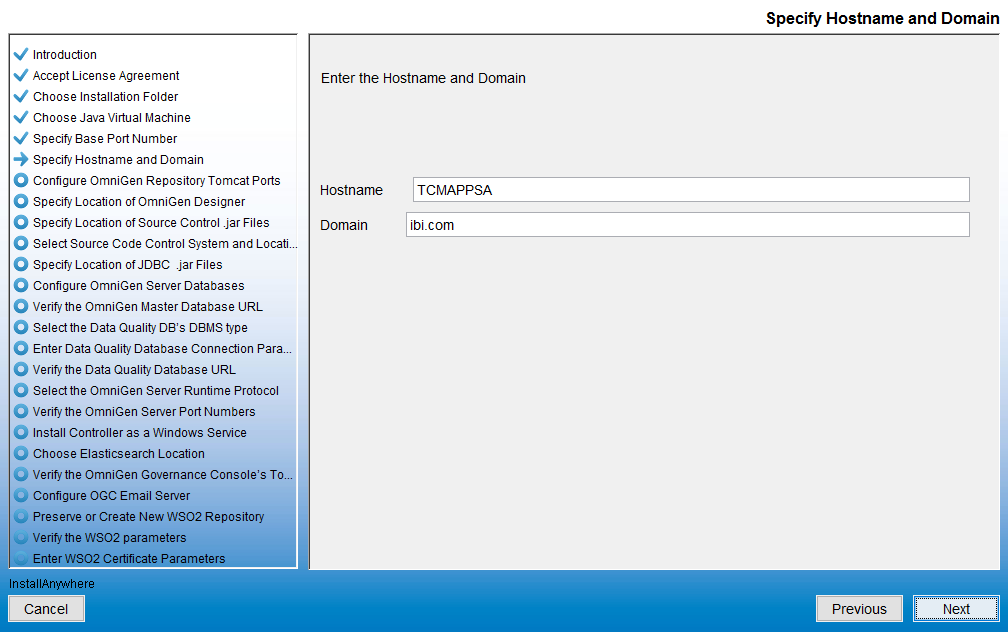
The default host name is the machine on which you are currently installing.
- In the Domain field, type the host domain, and then click Next.
The Configure OmniGen Repository Tomcat Ports dialog box opens, as shown in the following image.
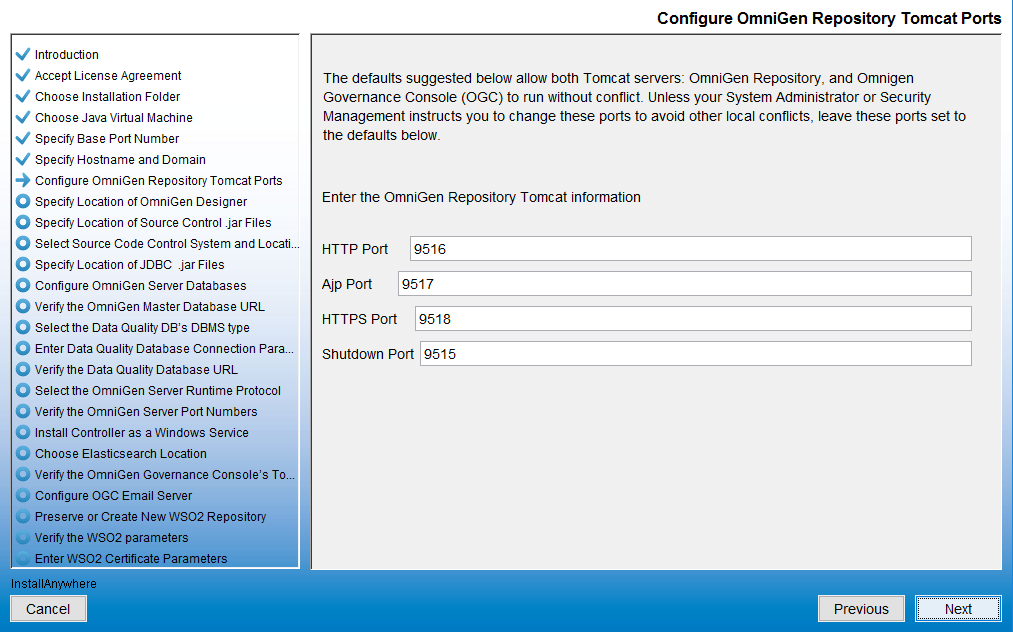
- Verify the ports that are indicated by default and modify accordingly, if required.
- Click Next.
The Specify Location of OmniGen Designer dialog box opens, which prompts for the parameters that define the location of Omni Designer, as shown in the following image.
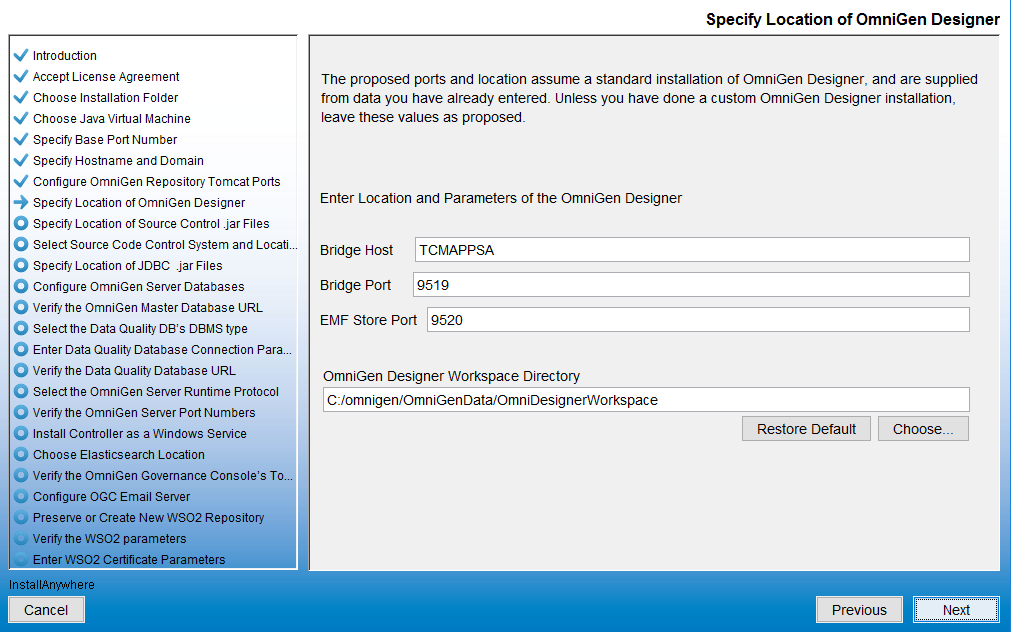
- Accept the default parameters, and then click Next.
The Specify Location of Source Control .jar Files dialog box opens, which prompts you to select a folder containing the Source Code Control System (SCCS) .jar files, as shown in the following image.
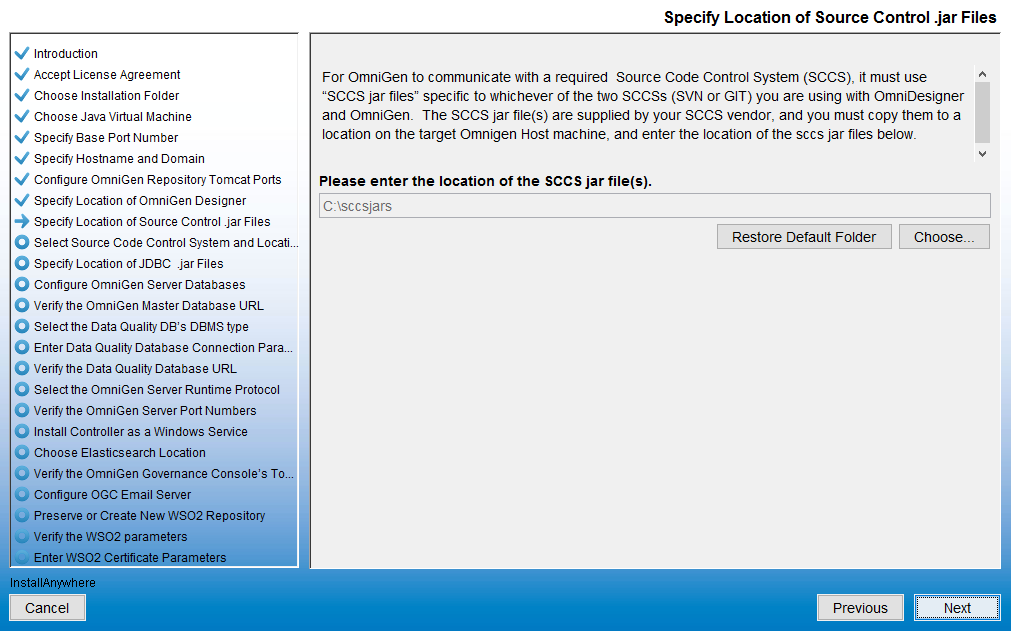
- Change the location of the SCCS .jar files, if necessary, and then click Next.
If you have not created a folder for the SCCS .jar files, then the following message displays:
If you receive this message, click Cancel and then create a new folder. Place the SCCS .jar files in that folder and click Choose in the Specify Location of Source Control .jar Files pane to navigate and select that new folder.
The Select Source Code Control System and Location dialog box that opens, as shown in the following image.
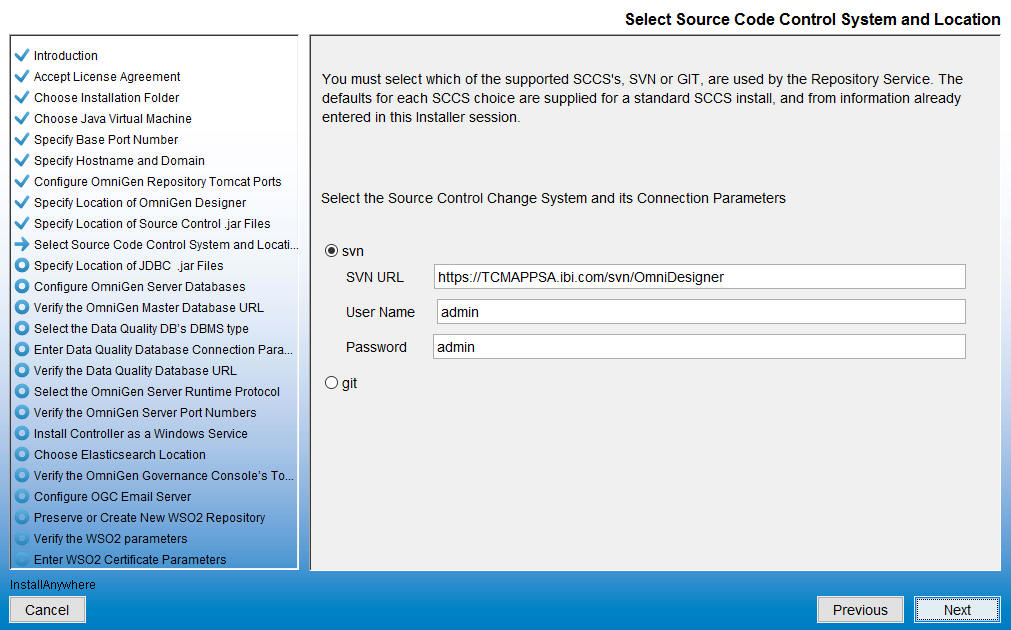
- Define the location and credentials for your source control repository by selecting either svn or git.
- Click Next.
The Specify Location of JDBC .jar Files dialog box opens, as shown in the following image.

- Specify the location of your JDBC .jar files, and then click Next.
The Configure OmniGen Server Databases dialog box opens, which provides an overview regarding Omni-Gen databases and configuration parameters, as shown in the following image.
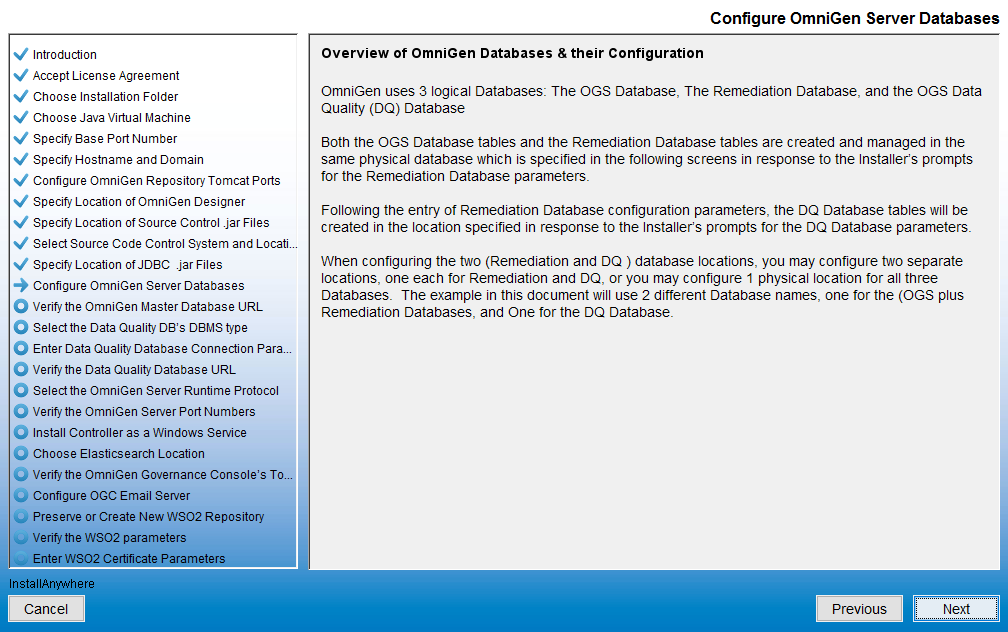
- Review this information, and then click Next.
The Select the DBMS type of the Remediation Database dialog box opens, as shown in the following image.
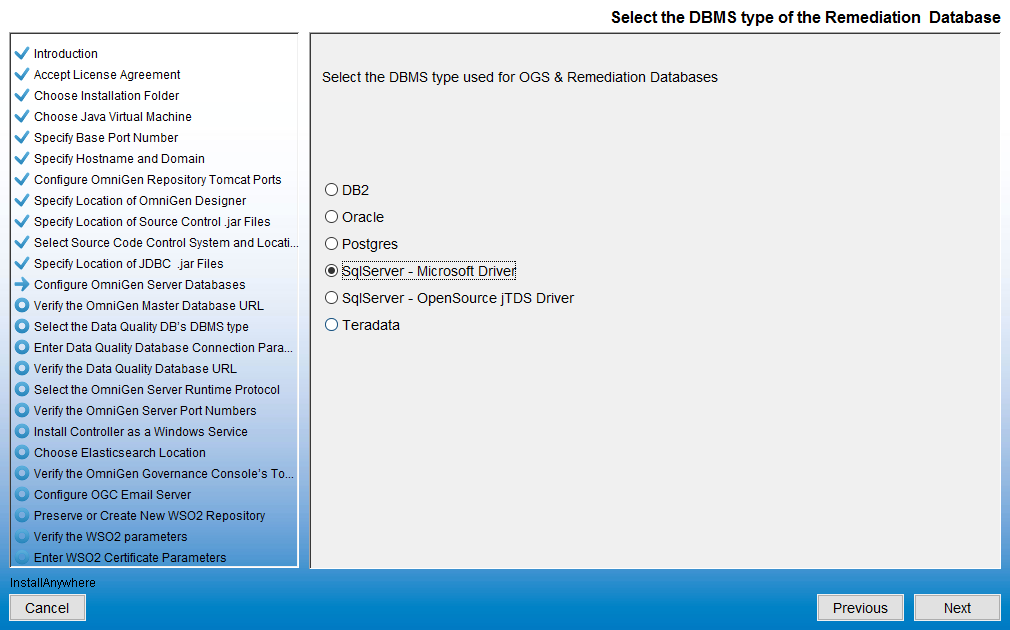
- Specify the database that you want to use for Omni-Gen Server (OGS) and the Remediation database.
- Click Next.
The Enter OGS Database Parameters: SQL Server with Microsoft or Open driver dialog box opens, as shown in the following image.
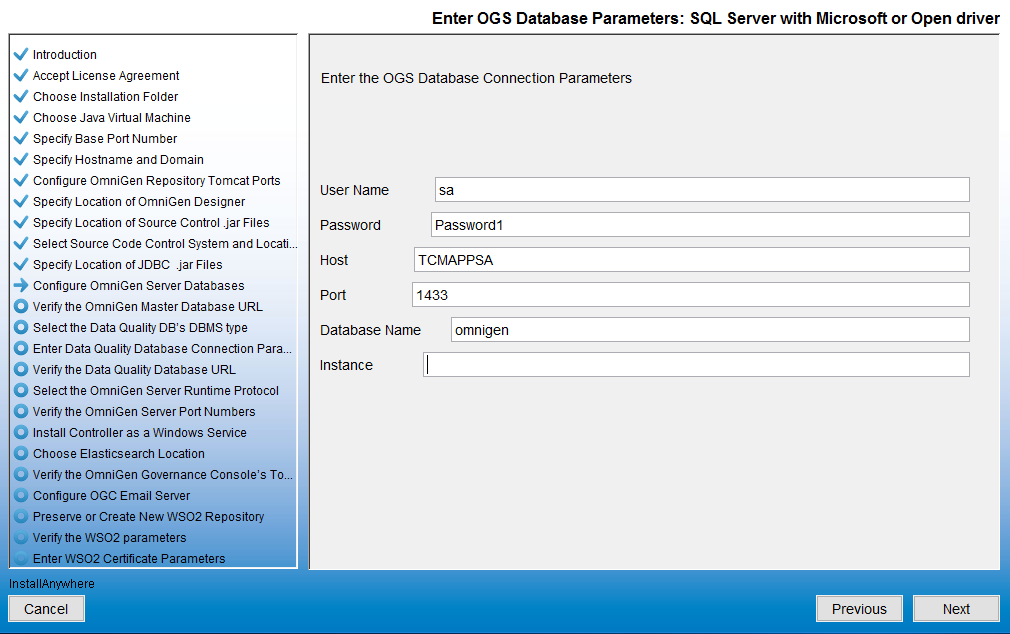
- Specify the DBMS-specific parameters for the combined OGS and Remediation database, and then click Next.
The Verify the OmniGen Master Database URL dialog box opens, as shown in the following image.
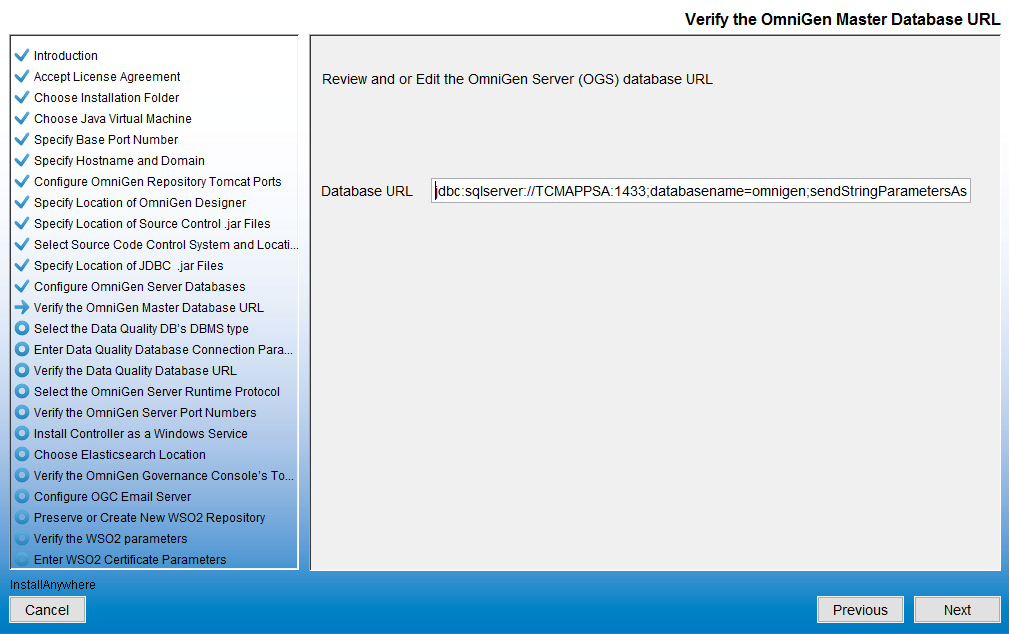
- Verify the database URL and click Next.
If you receive a message indicating that your connection test failed, verify that your database name exists in SQL (or the DBMS you are using).
When your database exists and the user name, password, and host are correct, the following message appears, indicating that your connection test passed for the specified database.
- Click Next to continue.
The Select the Data Quality DB's DBMS type dialog box opens, as shown in the following image.
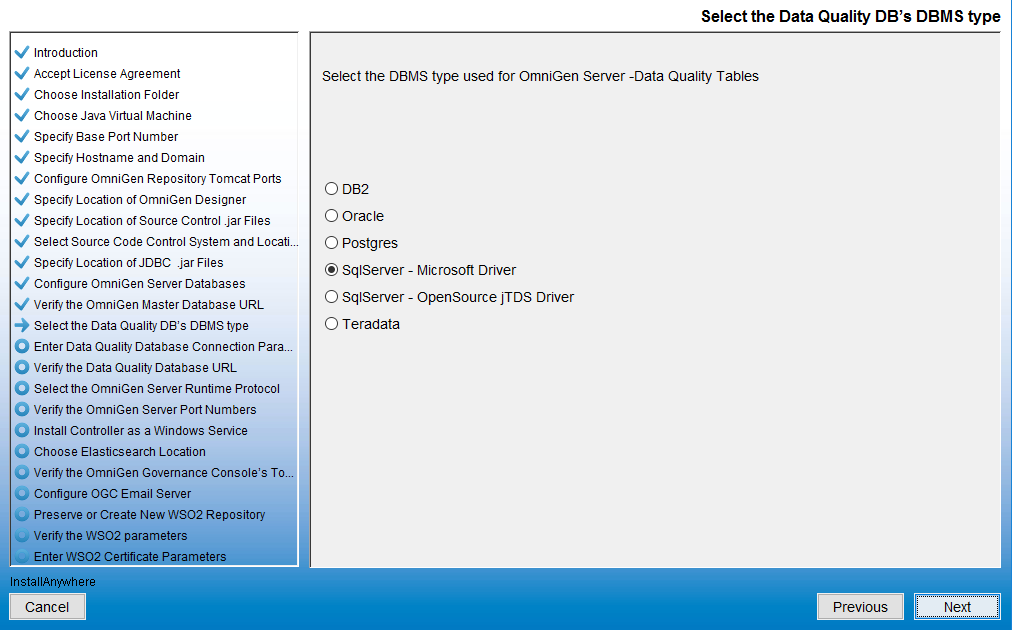
- Select the DBMS type used for the Data Quality (DQ) database, and then click Next.
The Enter DQ Database Parameters: SQL Server with Microsoft or Open driver dialog box opens, as shown in the following image.
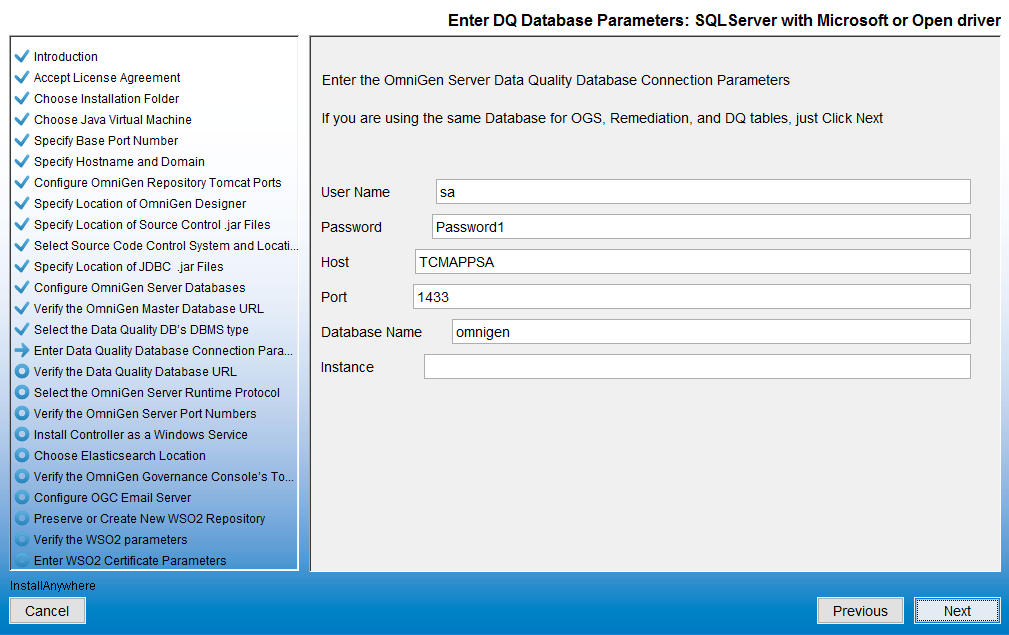
- If you are using the same database for OGS, click Next, or type new parameters for the DQ database, and then click Next.
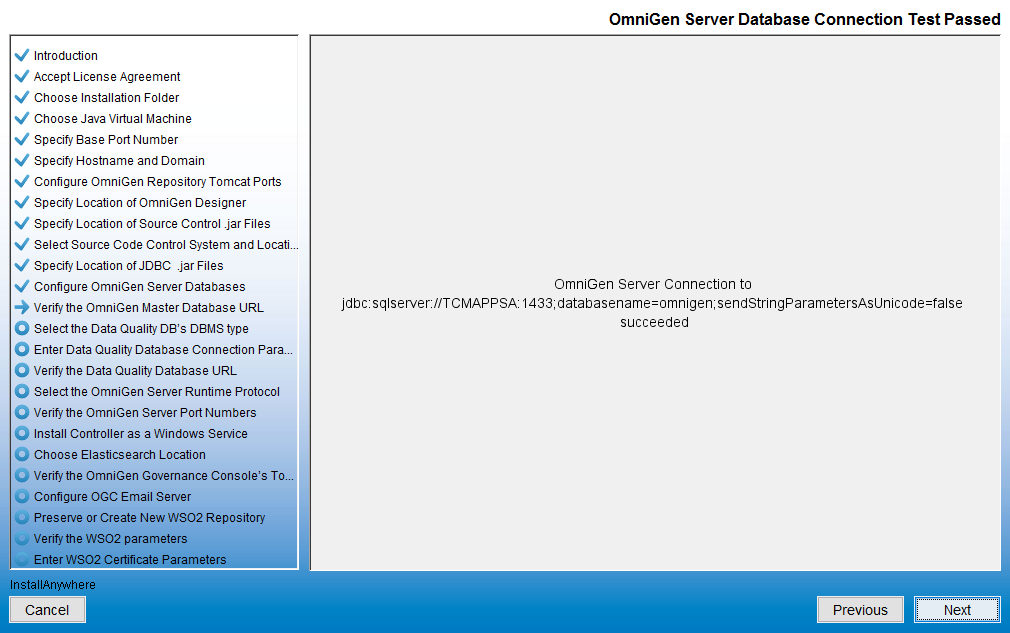
The Verify the Data Quality Database URL dialog box opens, as shown in the following image.
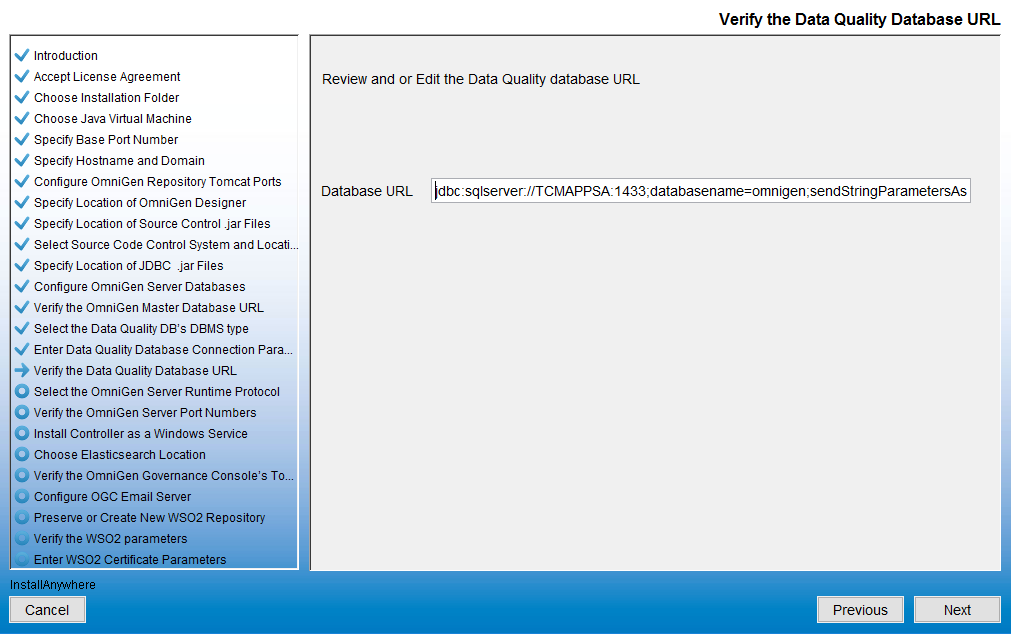
- Verify the database URL, and then click Next.
If the test is successful, then the Data Quality Database Connection Test Passed dialog box opens, as shown in the following image.
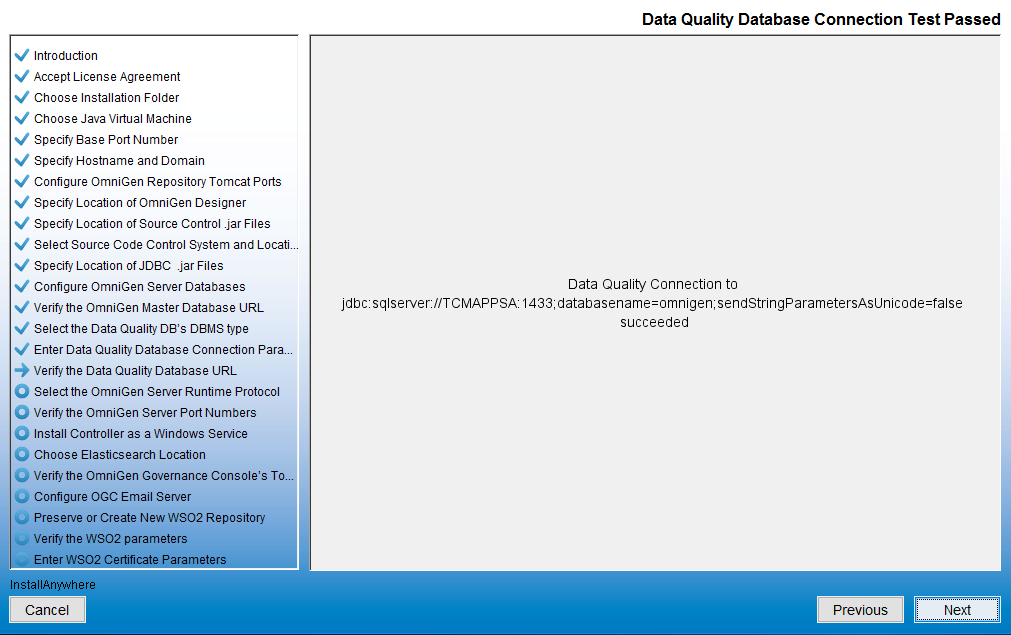
If the test is not successful, click Previous twice, correct the connection parameters, and retest the URL.
- Click Next.
The Select the OmniGen Server Runtime Protocol dialog box opens, as shown in the following image.
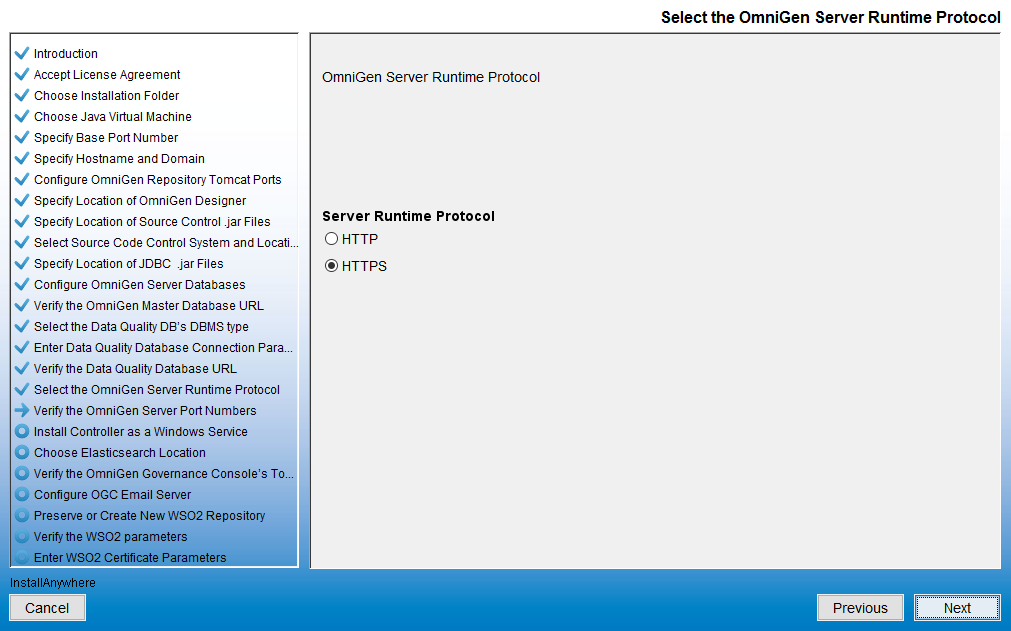
- Select the desired server runtime protocol, and then click Next.
The Verify the OmniGen Server Port Numbers dialog box opens, as shown in the following image.
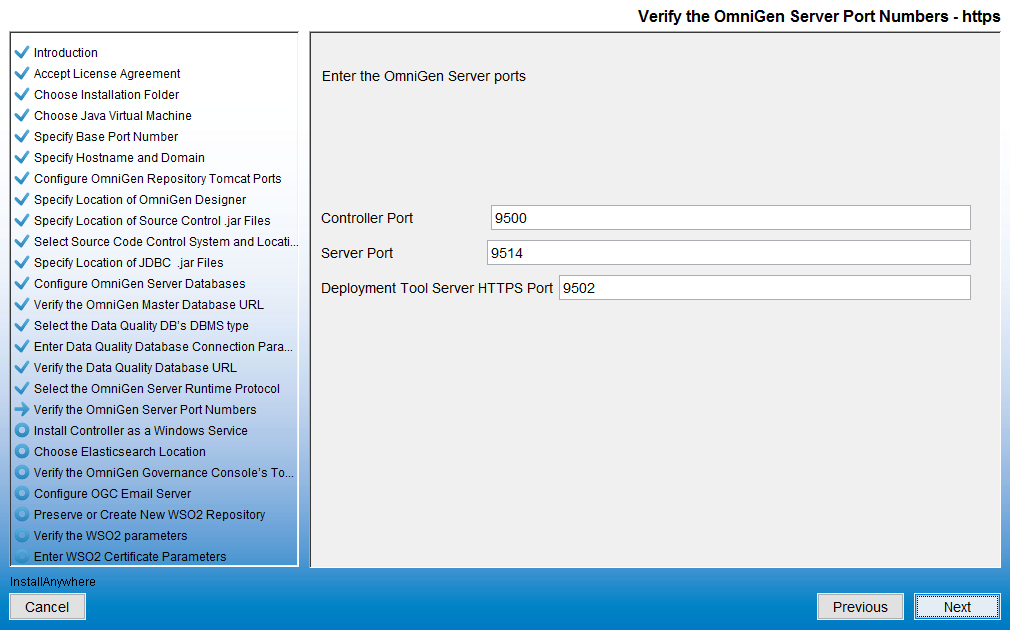
- Accept the default values, but change them if the infrastructure manager informs you of a conflict and recommends changes to alternate available ports.
- Click Next.
The Install the Controller as a Windows Service dialog box opens, as shown in the following image.
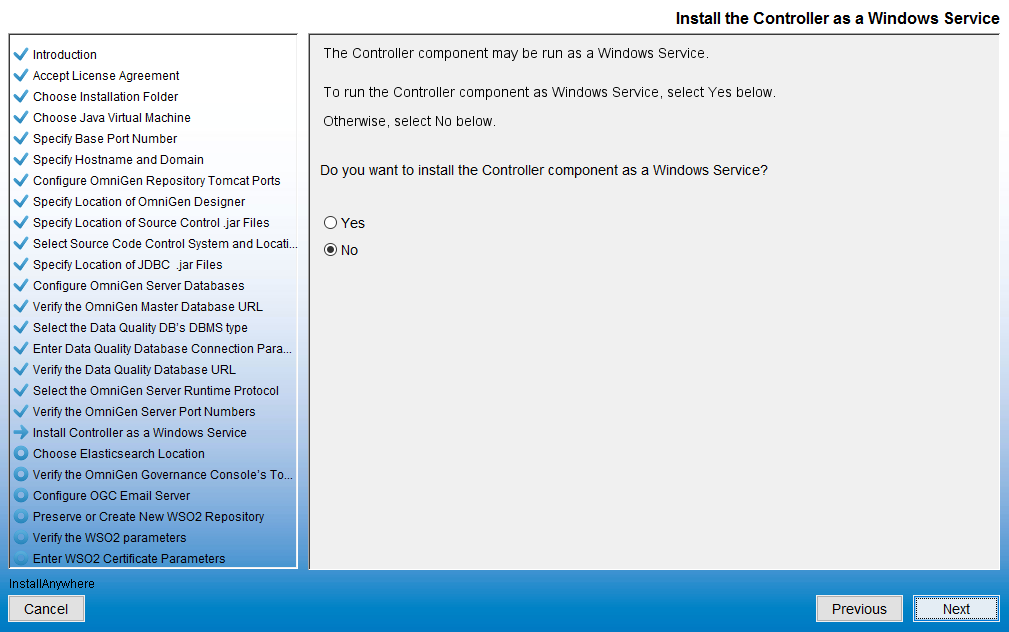
- Accept the default or modify, as required, and then click Next.
The Use Included Elasticsearch or Existing one dialog box opens, as shown in the following image.
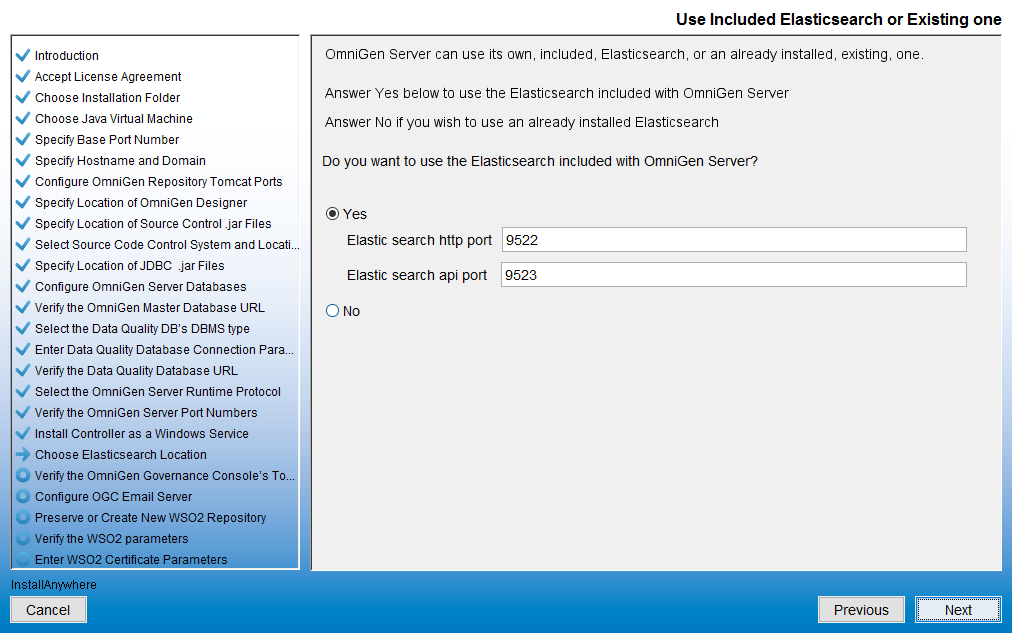
- Accept the default or modify, as required, and then click Next.
The Verify the OmniGen Governance Console's Tomcat Parameters dialog box opens, as shown in the following image.
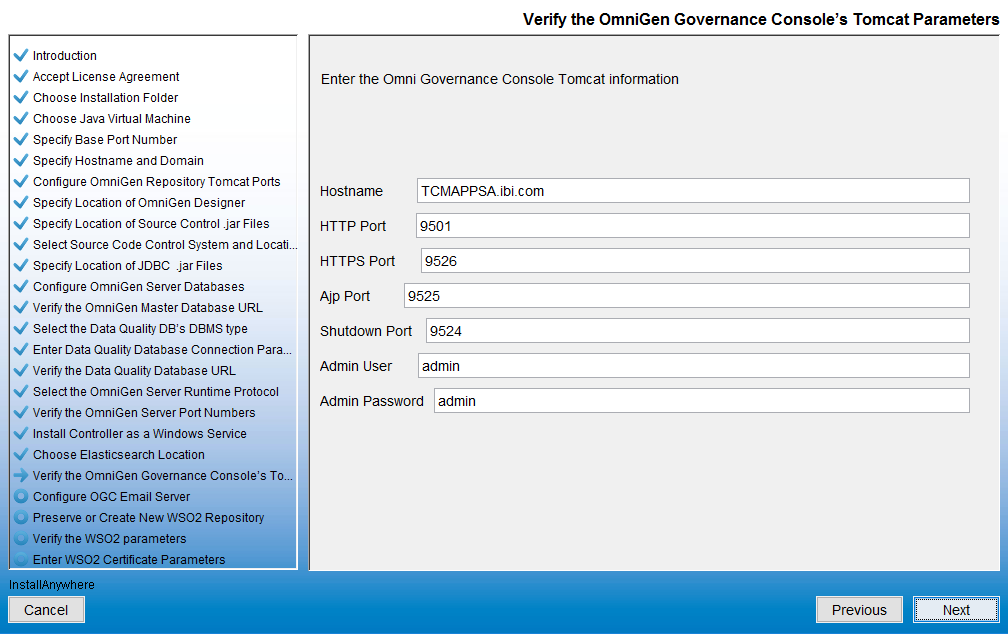
The Hostname parameter defaults to the machine on which you are currently installing Omni-Gen.
- Accept the default values, and then click Next.
The Configure OGC Email Server dialog box opens, as shown in the following image.
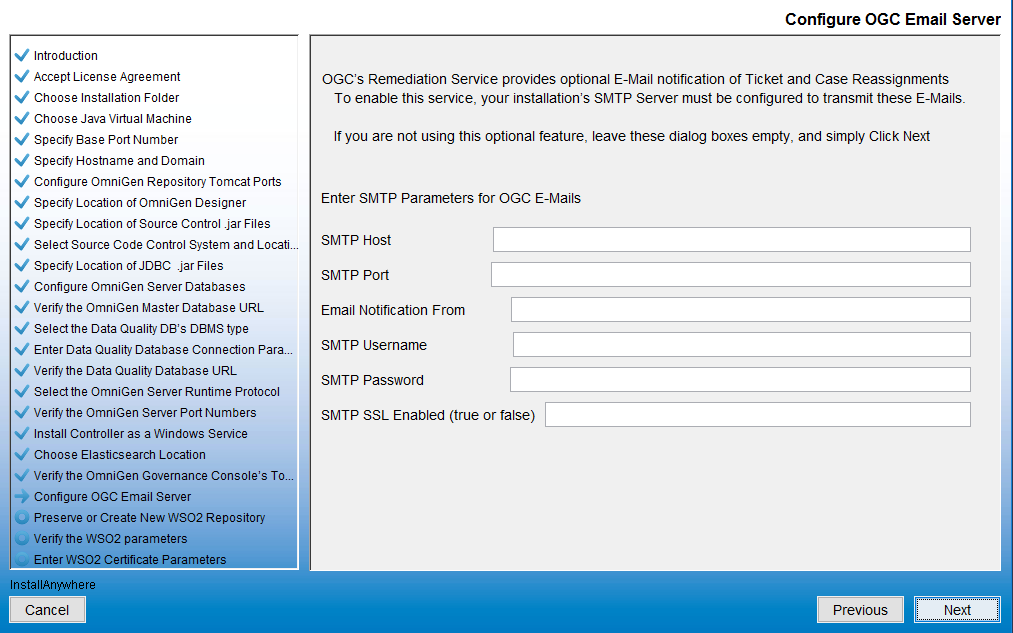
- Unless you are adding the email option, leave the parameter values blank, click Next, and proceed to the Preserve or Create New WSO2 Repository pane in the installer (skip to Step 36).
- To enable the email option, provide values for the following parameters as they apply to your SMTP, email server:
- SMTP Host. Host name of your SMTP server (for example, smtp.ibi.com).
- SMTP Port. SMTP port on that server (usually port 25).
- Email Notification From. Email address from which the Assignment emails will originate (for example, OmniGen_Remediation@ibi.com).
- SMTP Username. User name for accessing the email server.
- SMTP Password. Password associated with the user name for accessing the email server.
- SMTP SSL Enabled (true or false). Specify true if your email server supports or requires SSL authentication.
In addition, each user who will receive email notifications must have a valid email address in their WSO2 user profile.
- Each LDAP user with the Data Steward or Data Supervisor role, and who will receive Assignment emails, must have a valid email address in their Active Directory profile. When it makes the LDAP connection, WSO2 will bring back those email addresses to its Local User Store profile of the user.
- Each hardcoded user in the WSO2 Primary domain must have an email in their WSO2 user profile.
Following the Configure OGC Email Server dialog box, the Preserve or Create New WSO2 Repository dialog box opens, as shown in the following image.
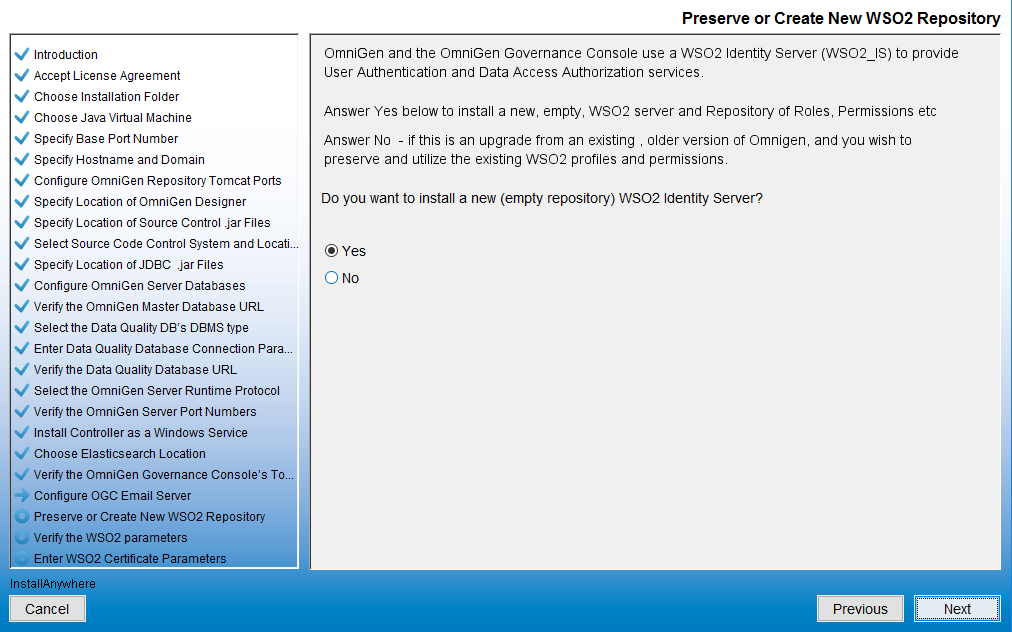
- For new Omni-Gen installations, ensure that Yes is selected, and then click Next.
The Verify the WSO2 parameters dialog box opens, as shown in the following image.
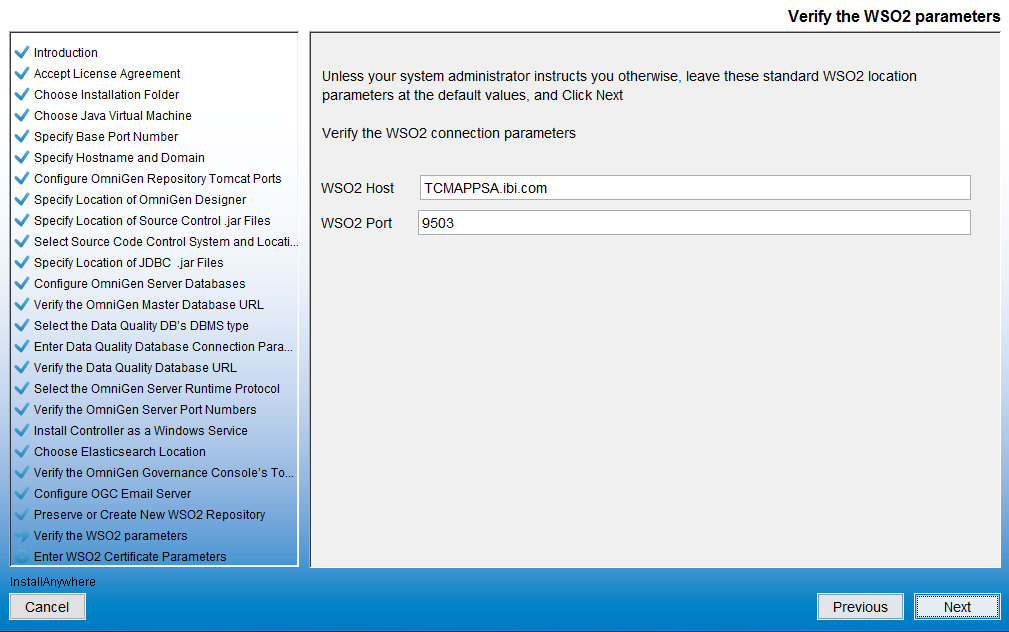
- Confirm the WSO2 parameters, and then click Next.
The Enter WSO2 Certificate Parameters dialog box opens, as shown in the following image.
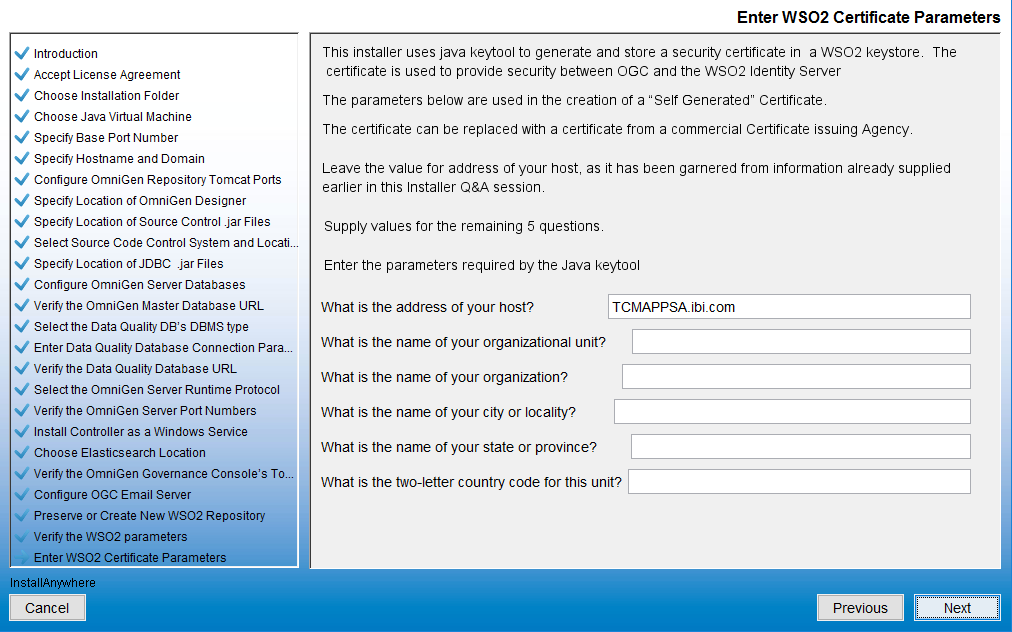
- Collect the parameters to generate the certificate for WSO2.
The parameters are used to build a unique certificate to secure the Omni Governance Console to the WSO2 communication.
- Ensure that the address of your host is correct (not localhost), and then type values for the other parameters. For example:
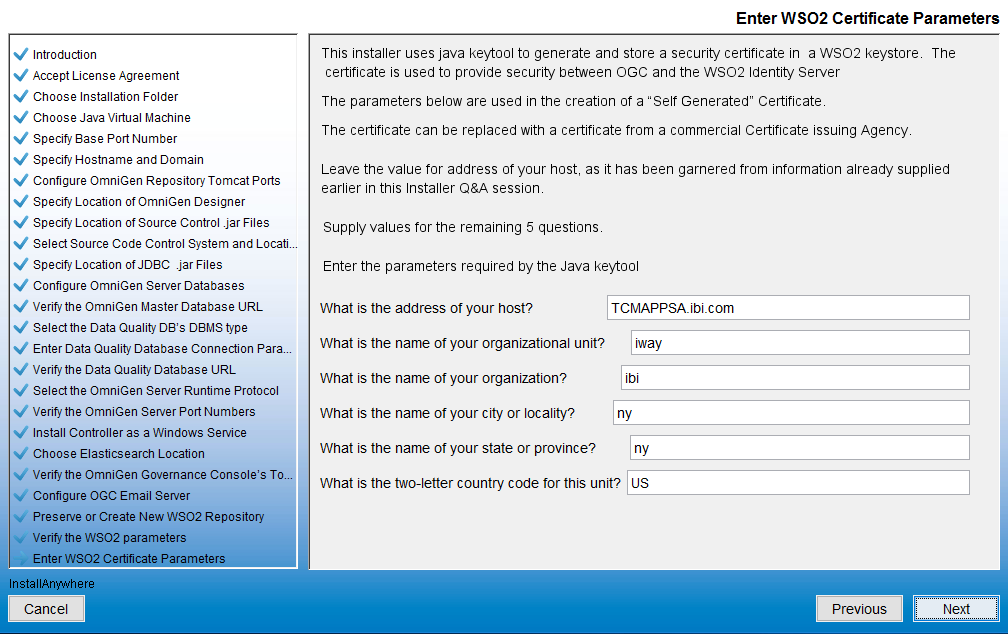
- Click Next.
The Verify or change JVM Memory Settings dialog box opens, as shown in the following image.

- Change the values only if you are instructed by Information Builders or iWay Support analysts, otherwise, click Next.
The Pre-Installation Summary dialog box opens, as shown in the following image.

- Review all of the settings in the Pre-Installation Summary pane, and then click Next.
The Ready To Install dialog box opens, indicating that the configuration for installation is complete, as shown in the following image.
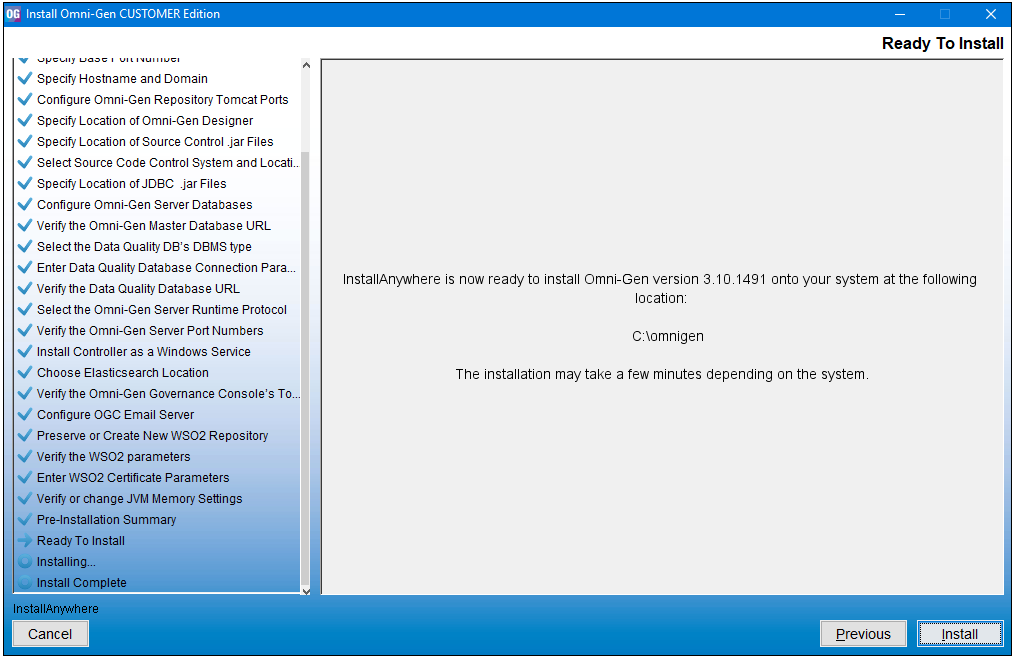
- Click Install to proceed with installation.
Progress of the Omni-Gen Customer Edition installation is shown.
The Omni-Gen installation is complete when the Install Complete dialog box displays, as shown in the following image.
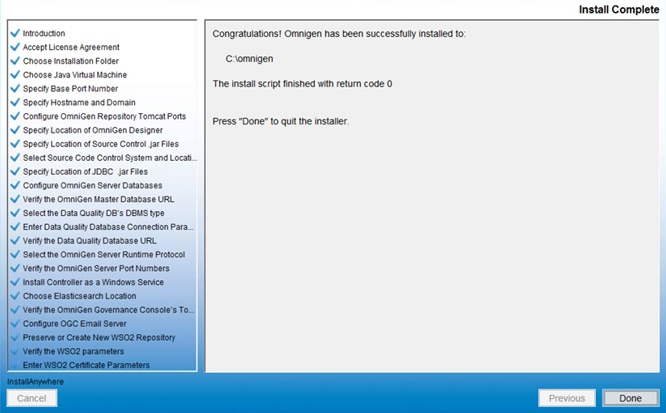
- Press Done to exit the Omni-Gen installer.
You are now ready to configure Omni-Gen™ for Customer. For more information, see Configuring Omni-Gen™ for Customer.