Configuring Omni-Gen™ for Customer
|
Topics: |
This section describes how to configure Omni-Gen™ for Customer to quickly get started with using the product. For more information on detailed use of the related product areas, see the corresponding documentation for Omni-Gen™ Master Data Management (MDM) and Data Quality (DQ) Editions.
Note: Omni-Gen services can be managed from a command line prompt that has been launched using the Run as Administrator option or from the Omni Console. Using the Omni Console to manage Omni-Gen services is highly recommended. However, during certain points of the configuration process, Omni-Gen services must be managed (for example, started or stopped) from a command line prompt. In addition, during the configuration process, specific Omni-Gen services must be running (started) while other services are stopped. Please follow the management of Omni-Gen services (for example, starting and stopping) as described in this documentation.
- Open a command line prompt window using the Run as Administrator option.
The omni start-xx and omni stop-xx commands are accessible from the following folder:
<omni_install>\omnigen\OmniServer
- Change your current directory to \OmniServer as follows:
cd <omni_install>\omnigen\OmniServer
- Execute the following command:
omni start-controller
Note: The controller will take a minute or two to start as it has to initialize the underlying components. It is recommended to start the controller only for the development environment, instead of all of the services using the omni start-all command.
- Use a browser to login to the Omni Console, which can be accessed using the following default URL:
https://host.domain:9500/
Where the host is the host of your machine and the domain is the domain for your machine. The default user ID and password is ibi / ibi.
- Start all of the services if they were not started already. You can start each service one at a time to give them time to
start.

Note: Since there is no bundle currently deployed, you are not able to start the service for Omni Server (under Data Processing) and the five services listed under Data Quality. These services will be started after a deployed bundle is available.
- Open Omni Designer by navigating to C:\omnigen\OmniDesigner and executing OmniDesigner.exe.
- Create a new repository.
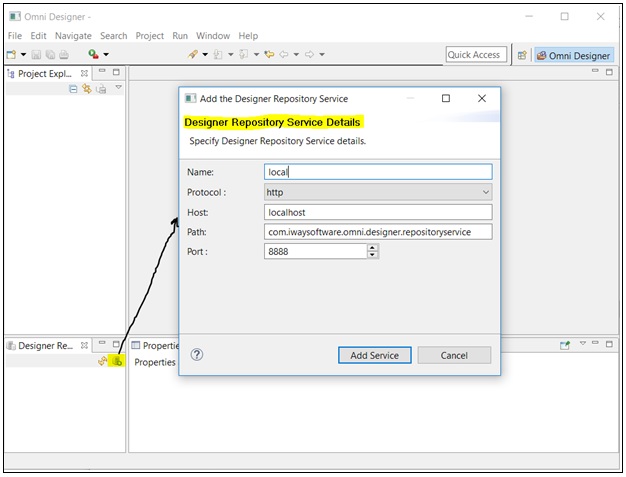
Simply provide a repository name and keep default values for the remaining parameters.
- Connect to your repository using the credentials super / super.
- Import the project that contains the Customer Model and required artifacts into Omni Designer.
Right-click in the Project Explorer area, select Import Project, and then click from Release Bundle, as shown in the following image.

- Select your local repository into which the project will be imported. Browse to the Customer project located in:
C:\omnigen\OmniGenData\OmniCustomer\OmniGenForCustomer.zip
- Provide a project name (for example, Customer) and then click Finish, as shown in the following image.
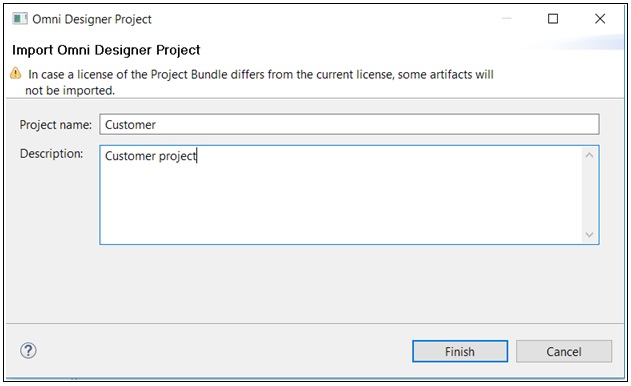
Please wait a minute until the system loads all of the artifacts.
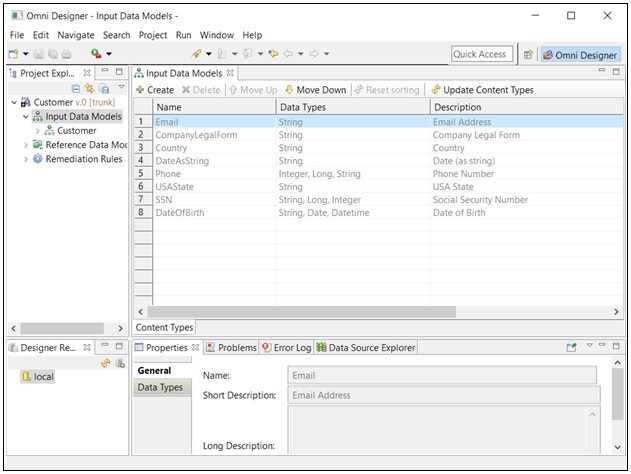
After the project is imported, you will see the model load and can review it, as shown in the following image.
If any changes are made to this project, right-click the Customer project and select Commit, as shown in the following image.
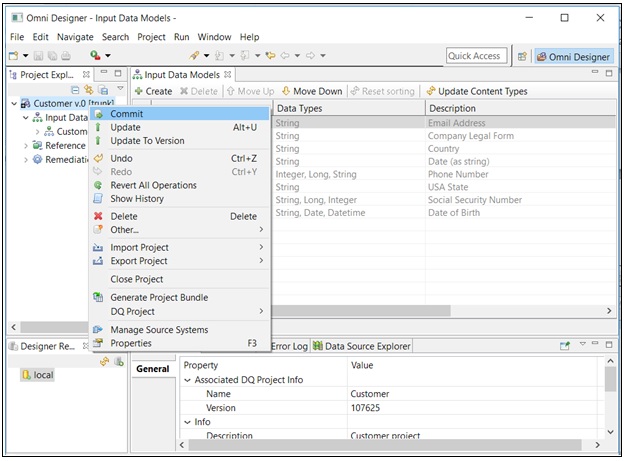
Note: The Commit option is available only if the project has been updated.
This will commit changes to the source management system.
You can now generate a project bundle for deployment.
- Right-click the Customer project and select Generate Project Bundle, as shown in the following image.

- Provide a description (optional) and select the proper bundle versioning.
Please wait a minute for the project bundle to generate.
- Once this process has finished, close Omni Designer and navigate to http://localhost:8090/ to create the deployable project bundle.
This process gathers all of the artifacts for DQ, Remediation, Model, OGC, and others, and packages them for deployment into runtime. A deployable project bundle is written to disk as a .zip file.

- Click the green run icon to generate a deployment bundle.
- Return to the Omni Console at https://host.domain:9500/pages/deployment, where you are taken directly to the Deployment page.
- Click Install Bundle and browse to the project bundle that you recently generated, which is located in the following directory by default:
C:\omnigen\deploymentbundle

Please wait a minute to install as the system must load all of the artifacts and establish all of the repositories.
You will see the deployment steps as they are being executed, as shown in the following image.

- Upon completion, the system will be configured for the given domain mastering.

Now it is time to start the services.
- Navigate to Services and start all of the remaining services for data processing.
After all of the services up and running, the system is ready for data load, processing, and data access.
Loading Metadata (MData) Using the Omni Governance Console
- Access the Omni Governance Console (OGC) by using the following URL:
http://localhost:9090/ogc/
Login with your credentials based on your policy access. The default credentials are:
- User name: super_a
- Password: supera123
- In the Administration tab, click Upload Meta Data on the Omni Governance Console Setup screen to load the predefined set of metadata, which defines the layout of the screens
in OGC.

Note: You can customize this view and you can also export or import the definition for sharing. The Mdata file is located in the following directory:
C:\omnigen\OmniGenData\mdata
- Once the MData is loaded, you can navigate the various console components. If you had loaded sample data, then you would see
this data populated throughout the console. Otherwise, you will see only column layouts with no data, as shown in the following
image.
