Enabling Authorization Permission From OGC Using Group Names Through LDAP
|
How to: |
This section describes how to enable authorization permission from OGC using Group Names through LDAP.
Procedure: How to Enable Authorization Permission from OGC Using Group Names Through LDAP
- Connect to the WSO2_IS system administration console. For example:
https://your-wso2hostname:9443
- From the WSO2 homepage, log on with the WSO2_IS username and password of the administrator.
The WSO2 Identity Server opens, as shown in the following image.
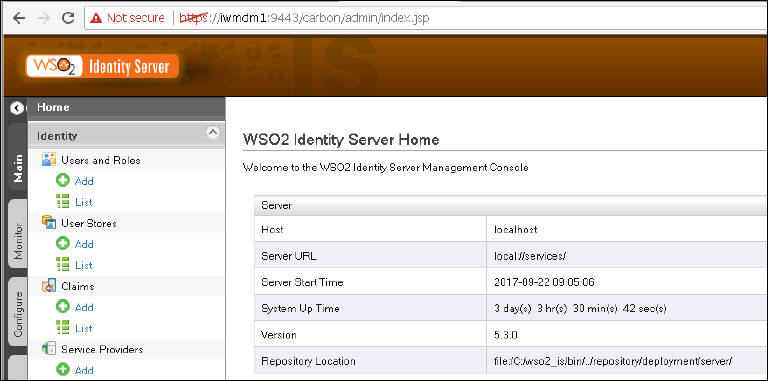
- Click the Main tab at the left edge of the window.
- Click Identity, select User Stores, and then click Add.
The Add New User Store window appears, as shown in the following image.
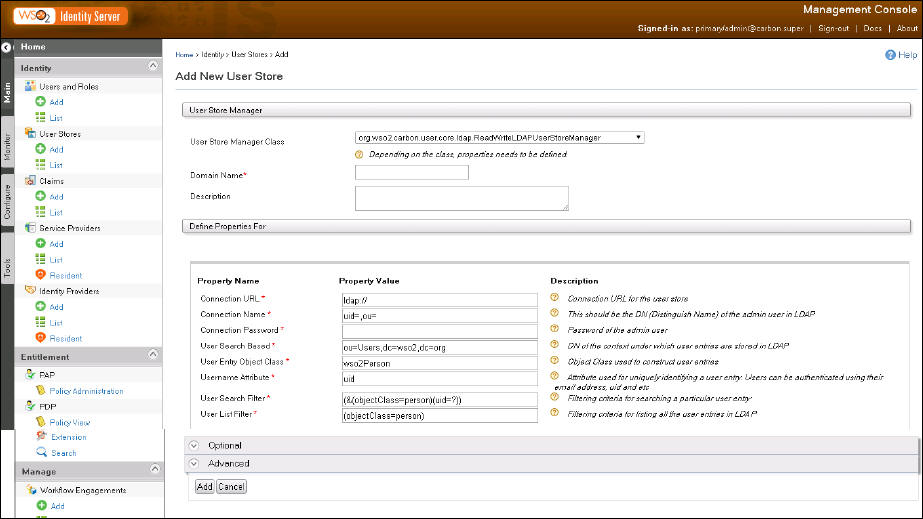
- Complete the fields in the Property Value section.
Note: The example below is based on configuring an LDAP connection to an MS Active Directory server.
- Change the User Store Manager Class drop-down list to:
org.wso2.carbon.user.core.ldap.ReadOnlyLDAPUserStoreManager
- In the Domain Name field, enter a value for your domain name of your user name (for example, OGCUSERS).
Note: This domain name will be used by all users logging in to OGC. Their user names will be entered as:
OGCUSERS/corporate_userid
- Enter the equivalents from the table below as defined on your Active Directory system.
Parameter
Value
Connection URL*
ldap://iwadc-vm.iwaydev.ibi.com:389
Connection Name*
CN=Administrator,CN=Users,DC=iwaydev,DC=ibi,DC=com
Connection Password*
(Enter this last!)
User Search Base*
CN=Users,DC=iwaydev,DC=ibi,DC=com
Username Attribute*
sAMAccountName
User Search Filter*
(&(objectClass=user)(sAMAccountName=?))
User List Filter*
(&(objectClass=user)(memberOf=CN=OGCUSERS,CN=Users,DC=iwaydev,DC=ibi,DC=com))
Note: An asterisk denotes a required field.
- Expand Optional and then enter the following values into the corresponding fields:
Parameter
Value
User DN Pattern
(Nothing, leave blank)
Display name attribute
sAMAccountName
Read Groups
Select the check box.
Group Search Base
CN=Users,DC=iwaydev,DC=ibi,DC=com
Group Name attribute
cn
Group Search Filter
(&(objectClass=group)(cn=?))
Group List Filter
(objectClass=group)
Role DN Pattern
(Nothing, leave blank)
Membership Attribute
member
Member of Attribute
(Nothing, leave blank)
Enable Escape Characters at User Login
Select the check box.
- Leave the Advanced section as is, as shown in the following image.
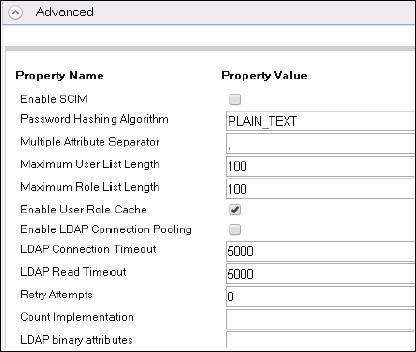
- Enter the password in the Connection Password field.
- Scroll down to the bottom of the form and click Add.
- Confirm the information that appears in the User Stores are being Updated pop-up window.
- Click the Main tab, select User Stores, and then click List.
The new User Store Name (for example, OGCUSERS) appears.
- Click Users.
The new User Store Name also appears in the ALL USER STORE DOMAINS drop-down list, as well as the new domain users with the User Store name prefix which are listed in the name listl.