Accessing the Consumption View Console
You can access the Consumption View console through the Omni Console or directly by using a URL.
Omni Console Access
From the Omni Console, click Consoles in the left pane
The Consoles page opens, as shown in the following image.
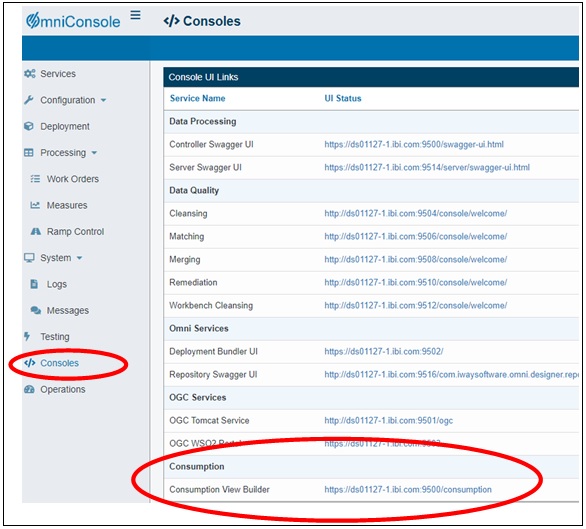
Scroll down this page and click the URL to the right of the Consumption View Builder entry.
Direct URL Access
Open a web browser and enter the following URL in a new browser tab:
https://hostname:9500/consumption
where:
- hostname
- Is the name of your system and domain where Omni-Gen and Consumption View is installed and hosted.
- Log in with the proper credentials.
Consumption View opens, as shown in the following image.

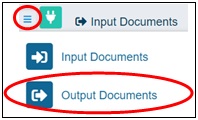
- Click the collapse menu icon (also referred to as a hamburger button) on the left to access the drop-down menu, which includes
options to select Input Documents or Output Documents, as shown in the following image.
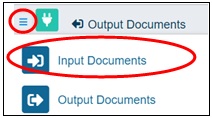
- Click Input Documents.
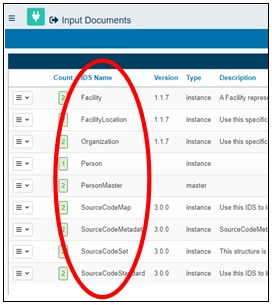
The Input Documents Specification (IDS) screen is displayed and the IDS Name column will be pre-populated based on the deployment bundle that you deployed in the Omni Console, as shown in the following image.
- Click Output Documents from the menu, as shown in the following image.
This screen will show the Output Document Specification (ODS) created based on the IDS as defined by the deployment bundle, as shown in the following image.

Initially, the list will be blank until an ODS is created.
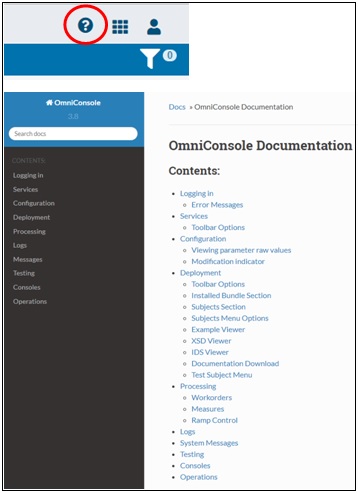
- You can access the online help for the Omni Console by clicking the question mark (?) icon, as shown in the following image.
- To quickly access additional Omni-Gen consoles, click the Omni Applications (checker box) icon, as shown in the following
image.
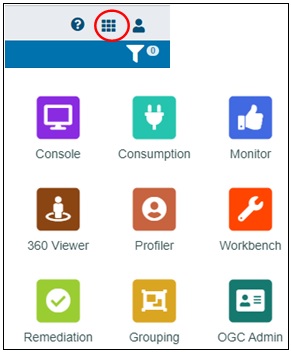
Selecting a console icon will open that console in a new browser tab.
Note: Some console icons will be active as of Omni-Gen version 4.0 or higher.
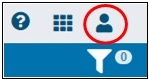
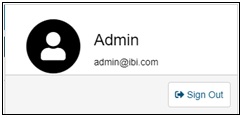
- The user profile of the user who is currently logged in is available by clicking the User Profile icon, as shown in the following
image.
The following example shows a user profile for an admin user.
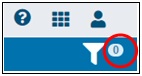
- To access filters, click the funnel icon or the filter counter in the circle adjacent to the icon, as shown in the following
image.
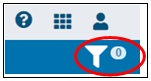
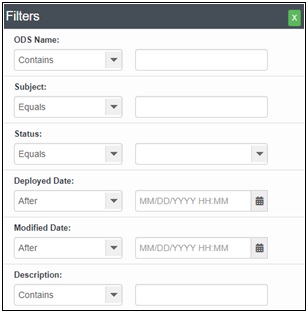
In the Output Documents screen, the Filters dialog box opens, as shown in the following image.
In the Input Documents screen, the Filters dialog box opens, as shown in the following image.
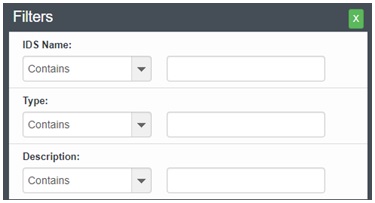
Drop-down menus provide lists of available filter options for each section.
After filters have been created, the filter counter will indicate the number of filters that have been created. Clicking on the filter counter will also open the Filters dialog box.