Installing Loqate on Windows
|
How to: |
Loqate is used to enable address validation operations. Loqate must be installed on the system where Omni-Insurance is currently running.
Procedure: How to Install Loqate on Windows
You must stop the Omni Server and all Omni services before installing Loqate. To install Loqate on Windows platforms:
- Create the following directory on your file system:
C:\loqate
- Download the files required to install Loqate from the Loqate website (https://www.loqate.com/en-us/).
- Right-click the setup_64.exe installation file for Loqate, and select Run as Administrator from the context menu.
The Welcome to the Loqate Install Wizard dialog box opens, as shown in the following image.
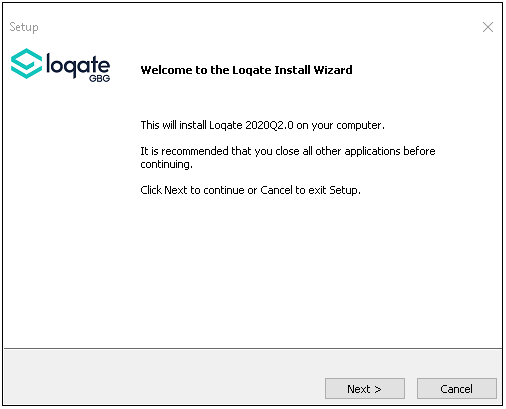
- Click Next.
The Select Components dialog box opens, as shown in the following image.

- Accept all of the components that are selected by default for installation and then click Next.
The Choose Destination Location dialog box opens, as shown in the following image.
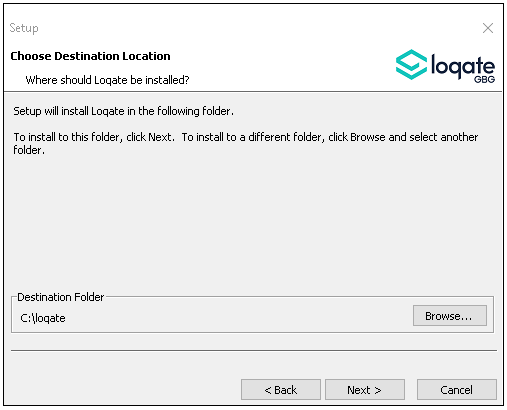
Note: The recommended installation location (destination folder) is C:\loqate. If you choose a different installation location, then you will have to manually update the Loqate step in each validation plan with your specific path.
- Ensure that C:\loqate is specified as the destination folder and then click Next.
The Start Copying Files dialog box opens, as shown in the following image.
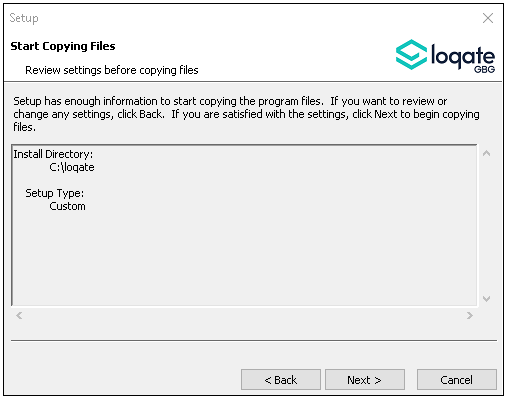
- Click Next.
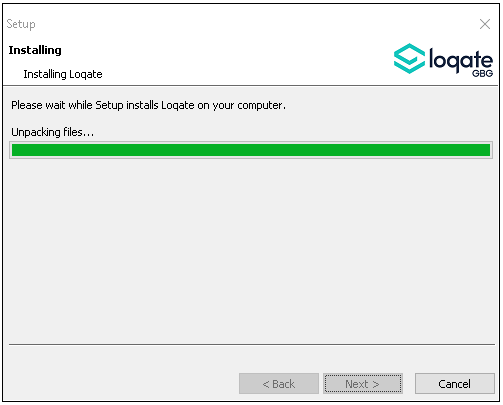
The Installing dialog box opens and displays a progress bar for the Loqate installation, as shown in the following image.
During the installation, the Data Installation dialog box opens, as shown in the following image.
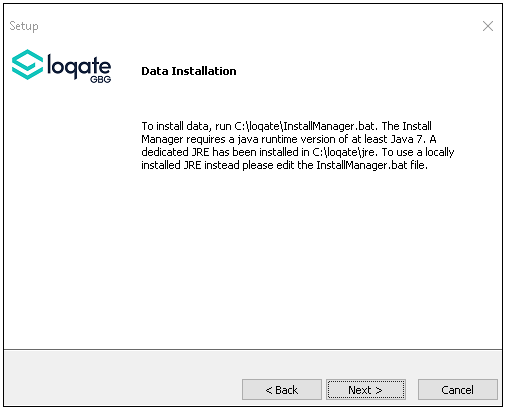
- Click Next to continue.
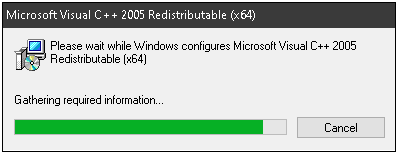
A Microsoft Visual C++ 2005 Redistributable (x64) pop-up dialog box may open, as shown in the following image. You can ignore this pop-up dialog box.
When the installation is complete the Loqate Install Wizard Complete dialog box opens, as shown in the following image.
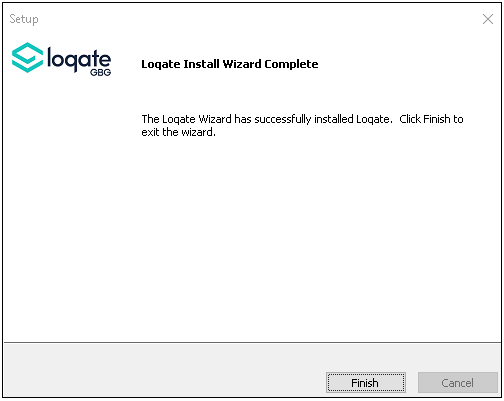
- Click Finish.
Verify that your system PATH environment variable has been updated to include the Loqate installation location (for example, C:\loqate).
You are now ready to install Global Knowledge Repository data on your system.
- On your file system, navigate to the Loqate installation directory. For example:
C:\loqate
- Double-click the InstallManager.bat file.
The Welcome to the Installation Manager dialog box opens, as shown in the following image.
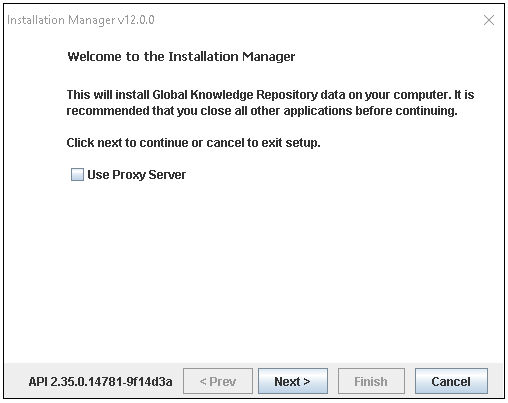
- Click Next.
The Choose Data Installation Location dialog box opens, as shown in the following image.
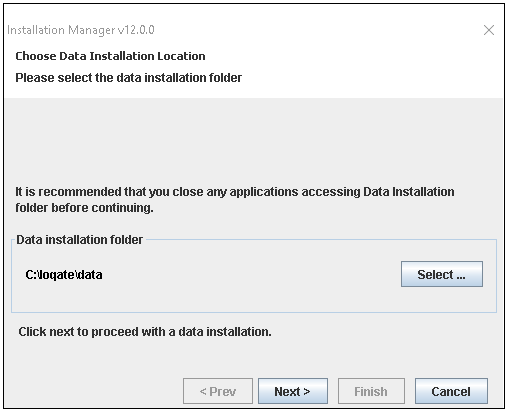
- Click Select.
On the Select Data Install Folder dialog box, navigate to, and select, the following directory:
C:\loqate\data
- Click OK.
You are returned to the Choose Data Installation Location dialog box.
- Click Next to continue with the installation.
The Enter License Information dialog box opens, as shown in the following image.
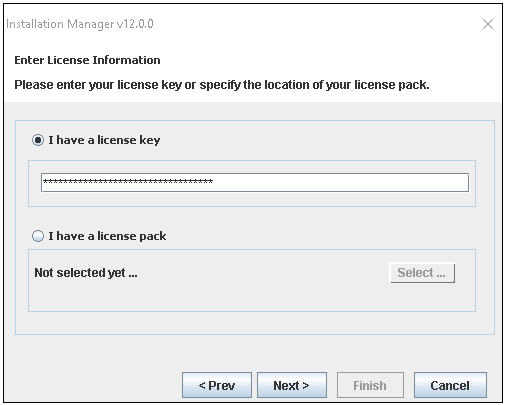
- Type the Loqate license key, and then click Next.
The License Details dialog box opens, as shown in the following image.
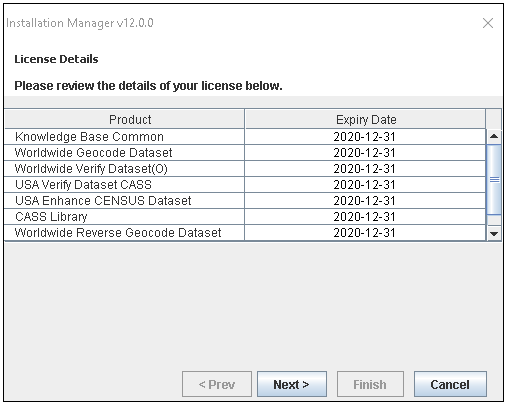
Note: The list of products that is displayed will vary depending on your license.
- Confirm the license details and then click Next.
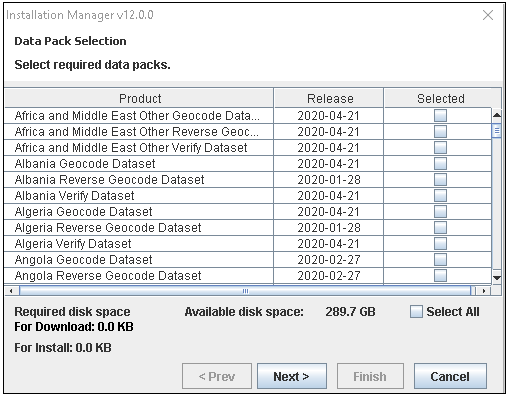
The Data Pack Selection dialog box opens, as shown in the following image.
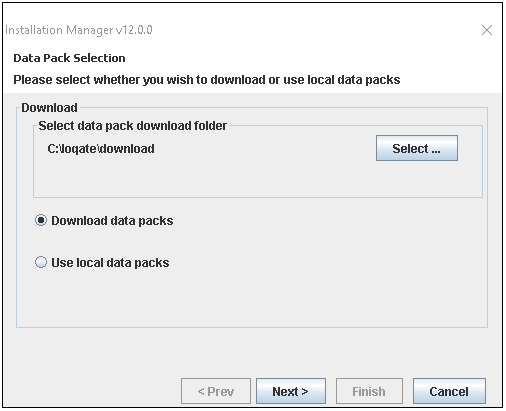
- Click Select.
Navigate to, and select, the location of the data pack download folder. For example:
C:\loqate\download
- Click OK to close the dialog box and then click Next on the Data Pack Selection dialog box to continue.
- Deselect the Select All check box, as shown in the following image.
Note: The list of products that is displayed will vary depending on your license.
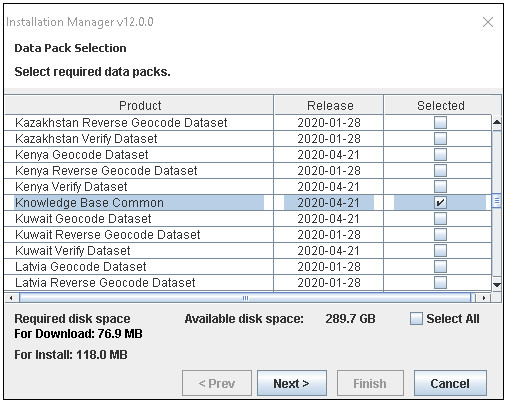
- In the list of data packs, select only the data packs for which you are licensed. You must select Knowledge Base Common,
as shown in the following image.
- Click Next to continue.
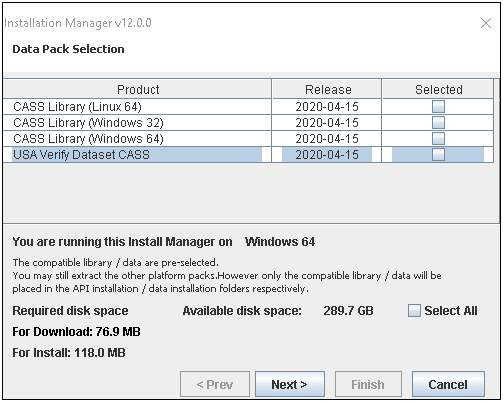
- Deselect all CASS library data packs, and then click Next, as shown in the following image.
The Install Options dialog box opens, as shown in the following image.
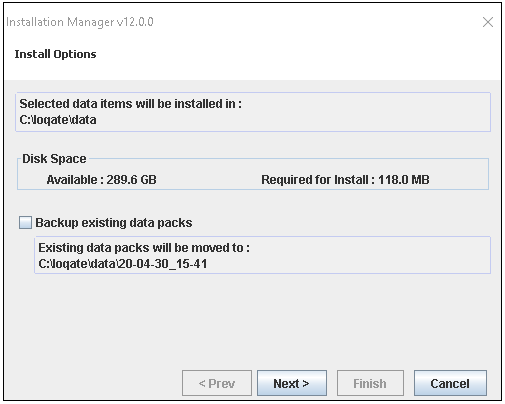
- Click Next.
The download proceeds and displays its progress.
- Wait for the download to complete, which can take a few minutes, and then click Next to continue.
The Installation Manager Completed dialog box opens, as shown in the following image.
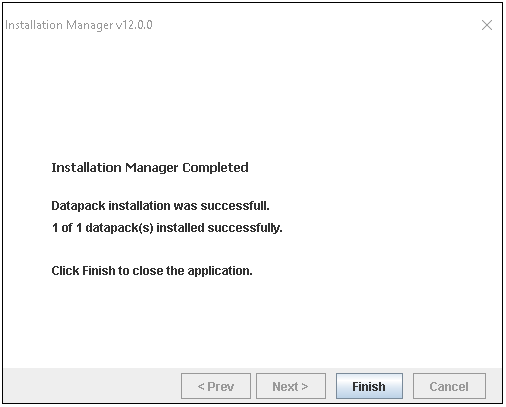
- When the installation is complete, click Finish.