Uninstalling the Omni Designer Plugin
|
How to: |
This section describes how to uninstall the Omni Designer Plugin.
Procedure: How to Uninstall the Omni Designer Plugin
- Open your Eclipse environment.
- Click Help in the menu bar, and
then select About.
The About Eclipse dialog box opens, as shown in the following image.
- Click Installation Details.
The Eclipse Installation Details dialog box opens, as shown in the following image.
- Select Omni Designer Tools from
the list of installed software and then click Uninstall.
The Uninstall Details pane opens, as shown in the following image.
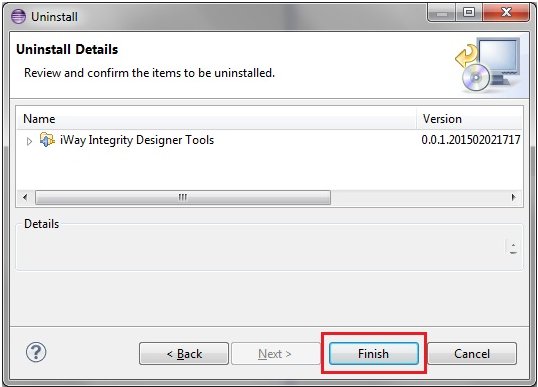
- Click Finish.
After the Omni Designer uninstallation process has completed, you are prompted to restart your Eclipse environment, as shown in the following image.
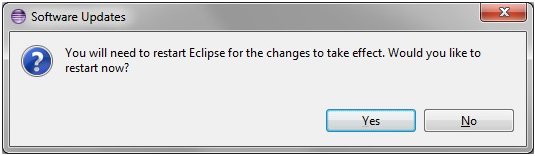
- Click Yes to restart your Eclipse environment.
You must now delete all data pertaining to the previous installed version of Omni Designer plug-in.
- Navigate to the .emfstore folder (located at the workstation
where the Omni Designer plug-in was installed) and delete all of
its contents.
Note: Do not remove the .emfstore folder while your Eclipse instance with Omni Designer plugin is opened and running, otherwise problems with loading emfstoreClient.keystore will appear. To resolve these issues, restart Eclipse.
You can now open and use a clean Eclipse workspace.