Importing Archives
|
|
How to: |
This section describes how to import archives using the iWay Service Manager Administration Console.
Procedure: How to Import Archives
To import archives:
- Navigate
to Tools, Archive Manager in the iSM console.
The Archive Manager screen is displayed.
- Select the
third option, Add/Create/Download/Delete Archives, and then click Next,
as shown in the following image.

The Add/Create/Download/Delete Archives pane is displayed.
- Click Add and
browse to the NAS2_Demo.zip archive on your file system.
Note: For your convenience and for reference purposes, a copy of the NAS2_Demo.zip archive is attached to this document. The NAS2_Demo.zip archive contains all the preconfigured iWay components (for example, listeners, process flows, channels, etc.) that are used and referenced in this NAS2 configuration.
For PDF-compatibility purposes, the file extension of the NAS2_Demo.zip archive is temporarily renamed to .zap. After saving this file to your file system, you must rename this extension back to .zip before it can be imported to iWay Service Manager.
- Click Next,
as shown in the following image.

- Once the archive is added, select Back to navigate back to the Add/Create/Download/Delete Archives pane.
- Once back
at the Add/Create/Download/Delete Archives pane, select the second
option, Import components from a repository archive, and click Next,
as shown in the following image.

The Import components from a repository archive pane is displayed.
- Select NAS2_Demo
and click Next to add the components, as
shown in the following image.

- Check all
items that are displayed and click Next to
import them.
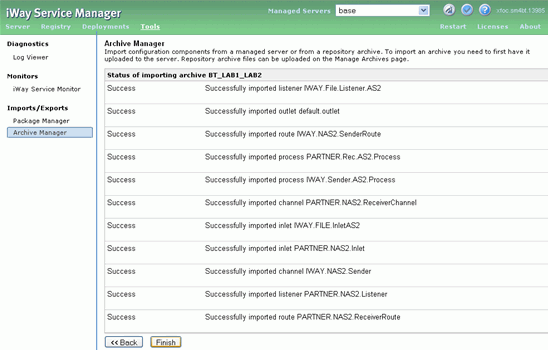
A pane displaying the outlets that were imported is displayed.
- After all
the outlets have been imported successfully, click Finish,
as shown in the following image.
