Configuring Listeners
|
How to: |
This section describes how to configure listeners using iSM.
Procedure: How to Configure a Listener
- Ensure that iSM is running.
On Windows, you can start iSM by clicking Start, selecting Programs, iWay 7.0 Service Manager, and then Start Service Manager for the configuration you are currently using.
For more information on starting and stopping iSM, see the iWay Service Manager User Guide.
- Open a browser window and point to the following URL:
http://host:port/ism
where:
- host
-
Is the host machine on which iSM is installed.
- port
-
Is the port on which iSM is listening. The default port is 9999.
On Windows, alternatively, you can click Start, select Programs, iWay 7.0 Service Manager, and then click Console.
A logon dialog box opens.
- Type a user name and password for the configuration you
are using, and click OK.
The iWay Service Manager Administration Console opens.
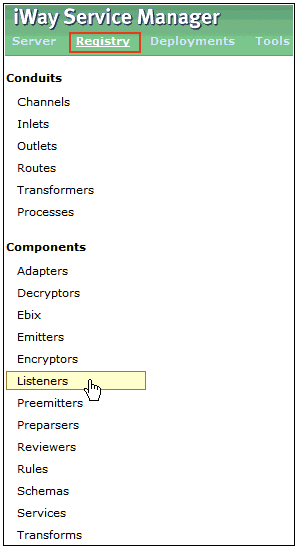
- Click Registry in the top pane,
and then click Listeners in the left pane,
as shown in the following image.
The Listeners pane opens, as shown in the following image.
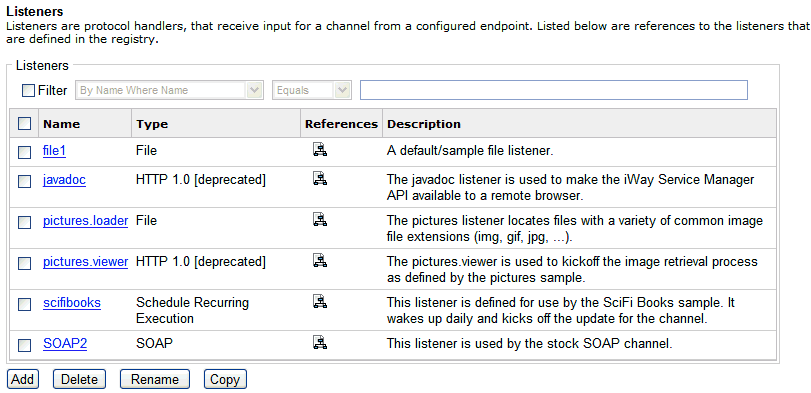
The table provided lists all the previously configured listeners and a brief description for each.
- Click Add.
The Select listener type pane opens, as shown in the following image.
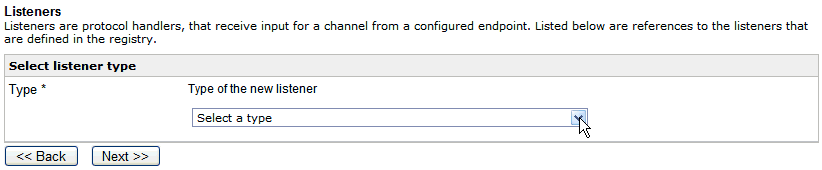
- Select the type of listener that you want to configure
(for example, FTP[S] Client, FTP[S] Server, or SFTP)
from the Type drop-down list and click Next.
A configuration parameters pane for the selected listener opens. For example, the following image shows a portion of the Secure FTP (SFTP) listener configuration pane.
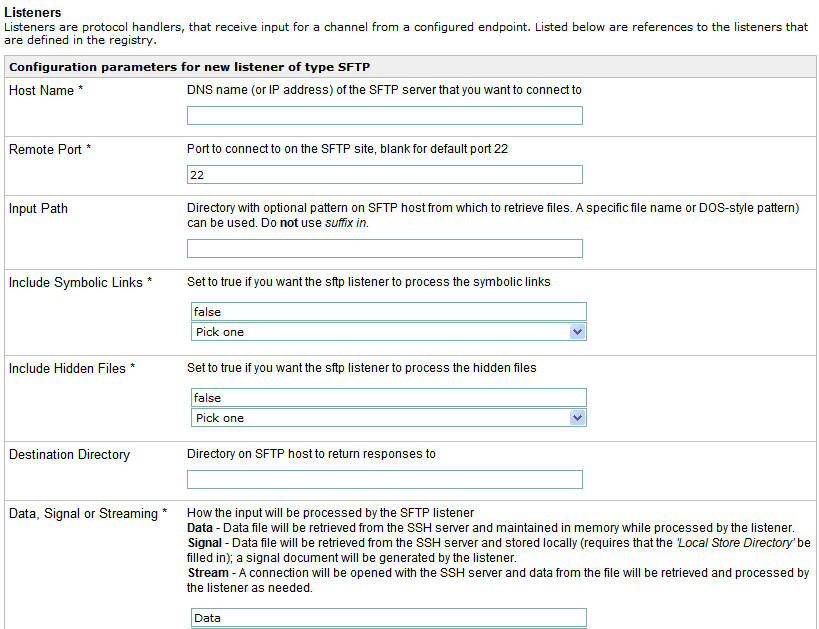
Note: The parameters prefixed with an asterisk (*) in the listener configuration pane are required.
- Provide the appropriate values for the listener parameters. In most cases, you will need to scroll down the page to view all of the available parameters for the selected listener.
- Click Next at the bottom of the
page to continue.
A listener name and description pane opens, as shown in the following image.
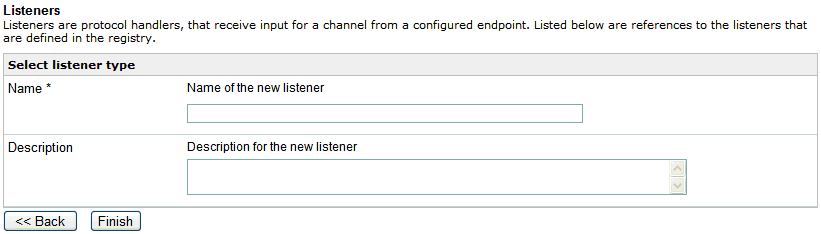
- Enter a name for the selected listener and a brief description (optional).
- Click Finish.
You return to the Listeners pane, where the new listener that has been configured is added to the table of available listeners.
You can use this listener as part of your channel configuration where the business logic will be applied to the received messages.