Configuring a Listener Using iWay Integration Tools
|
How to: |
This section describes how to configure a listener using iWay Integration Tools (iIT).
Procedure: How to Configure a Listener Using iWay Integration Tools
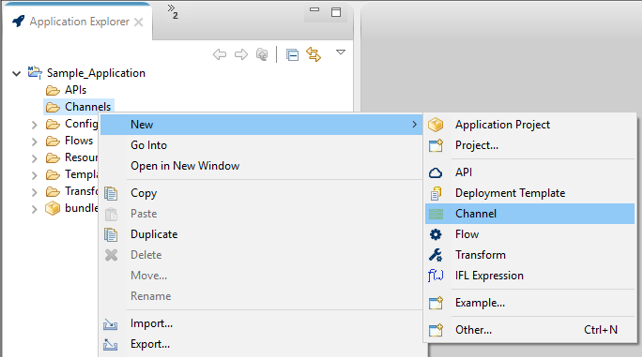
- Using iWay Integration Tools, create a new channel within an application project. Right-click the Channels subfolder under your application project, select New, and then click Channel from the context menu, as shown in the following image.
The Channel Object dialog box opens, as shown in the following image.
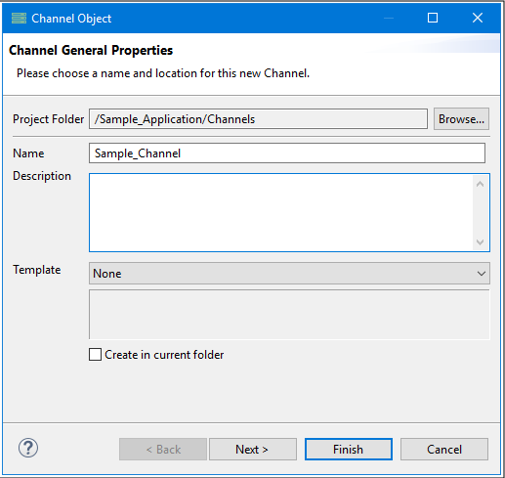
- Specify a name (required) and a brief description (optional) for your channel and then click Finish.
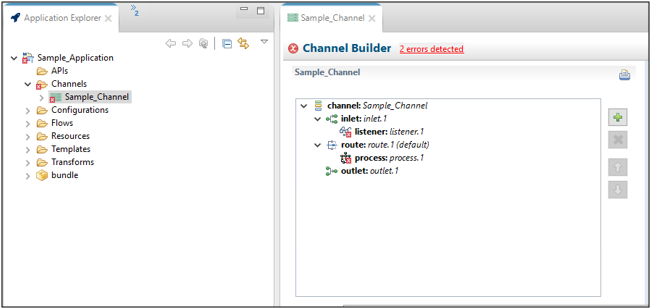
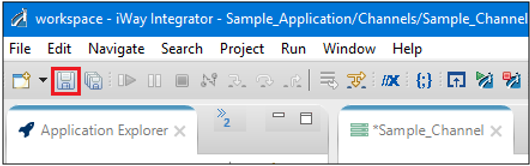
The new channel appears as a node under your Channels subfolder in the left pane. The Channel Builder also opens as a new tab in the workspace area. The name of this tab corresponds to the channel name you specified (for example, Sample_Channel), as shown in the following image.
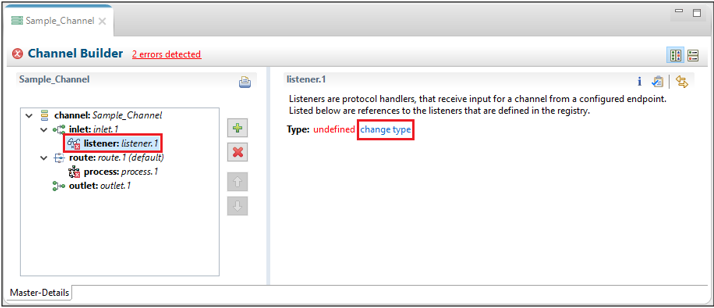
- In the left pane of the Channel Builder, click listener: listener.1 under the inlet:inlet.1 node, and then click change type, as shown in the following image.
The Modify listener type dialog box opens, as shown in the following image.
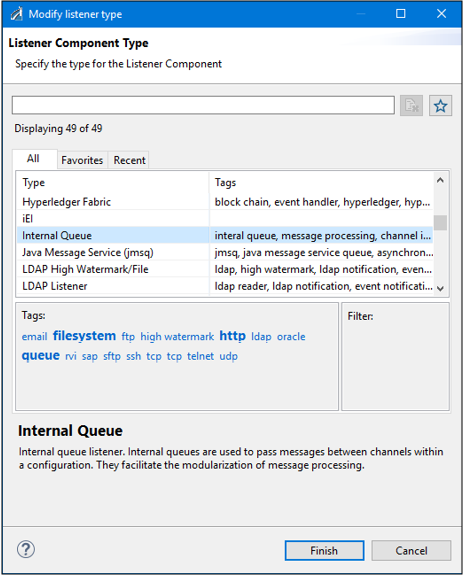
- Scroll through the list of available listeners and select the
specific listener that you want to configure (for example, Internal Queue).
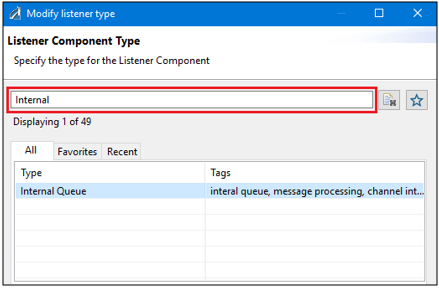
Note: You can also quickly filter through the list by typing part of the listener name in the filter field, as shown in the following image.
- After you have selected your listener in the Modify listener type dialog box, click Finish.
The Channel Builder is refreshed with your selected listener, as shown in the following image.
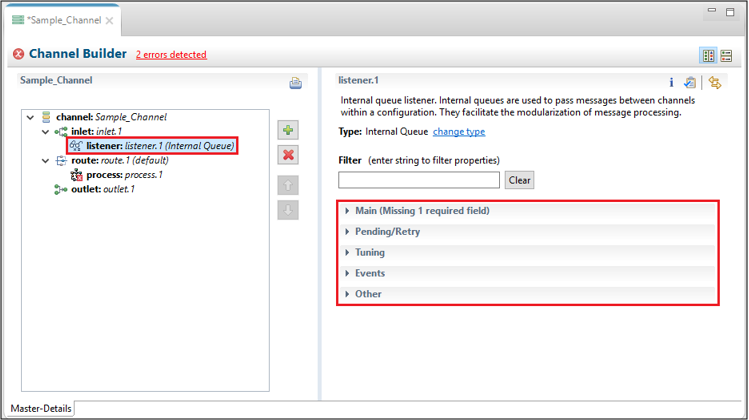
Notice that the name of the listener is appended to the listener: listener.1 node in the left pane. Configuration parameters for the selected listener are organized into expandable groups, which can be accessed in the right pane.
In the following image, the Main configuration parameter group has been expanded. The name of any required parameter appears in red.
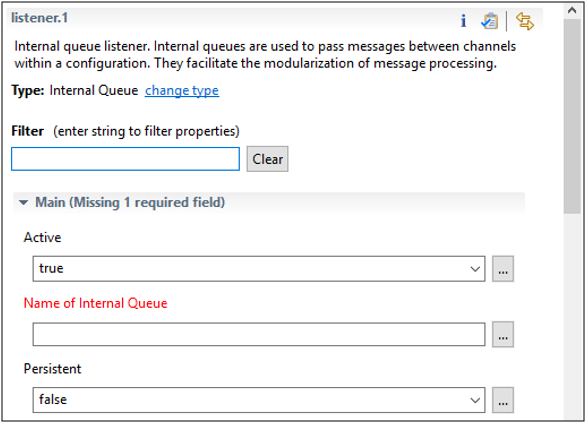
- Provide the appropriate values for the configuration parameters as required for the selected listener.
- Click Save to save any changes you made to your listener and/or channel, as shown in the following image.
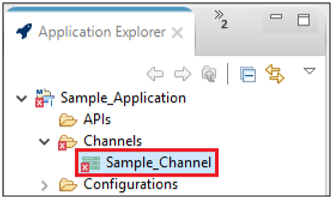
To modify your listener and/or channel at any point, double-click the channel under your application project, as shown in the following image.
The Channel Builder will open as a tab in the workspace area.