Configuring and Using Schema Sets
|
How to: |
A schema can be assigned to a Start object in a flow to describe the input document.
Procedure: How to Assign a Schema to a Start Object
To assign a schema for a Start object in a flow:
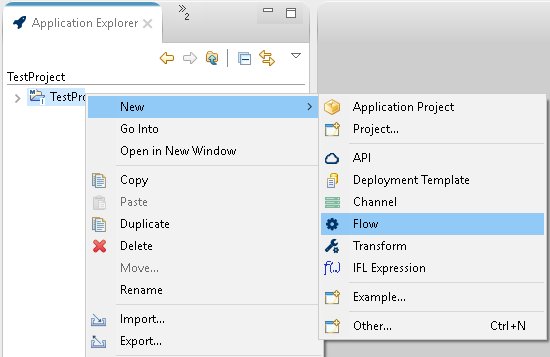
- Right-click the Flows folder
in your Application Project, select New,
and then click Flow.
The New Flow Wizard opens and displays the General Properties pane, as shown in the following image.
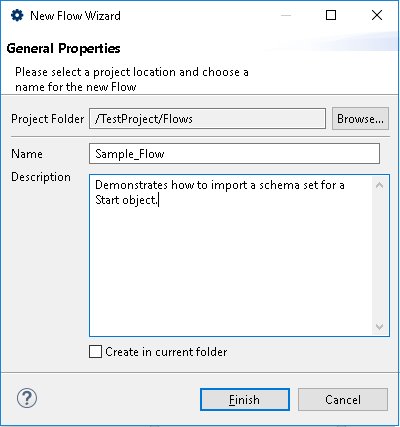
- Provide a name for your flow (required) and a brief description (optional).
- Click Finish.
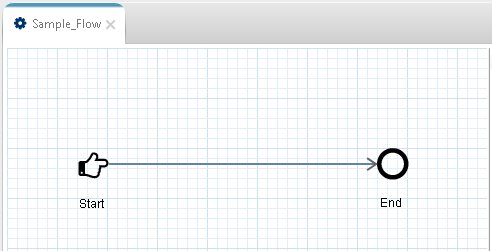
The new flow is created in the designer workspace with a default Start object, as shown in the following image.
- Click the Start object.
The Properties tab in the lower pane displays the properties for the selected Start object.

- In the Schema tab in the left
pane of the Properties tab, click the ellipsis button to the right of the Schema
field (Browse project for Schema).
The Select Schema dialog box opens, as shown in the following image.
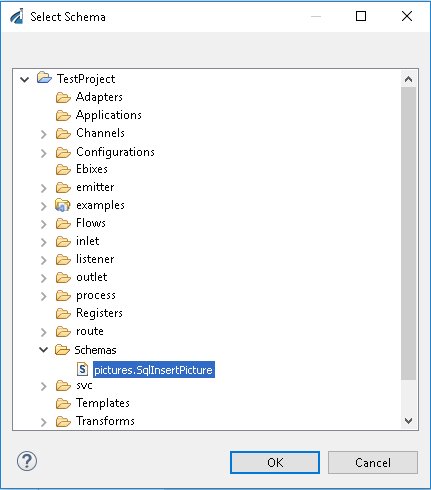
- Expand the Schemas folder in your
Application Project, and select the schema document that you want to add.
The input schema properties for the Start object are now defined in the Properties tab, as shown in the following image.
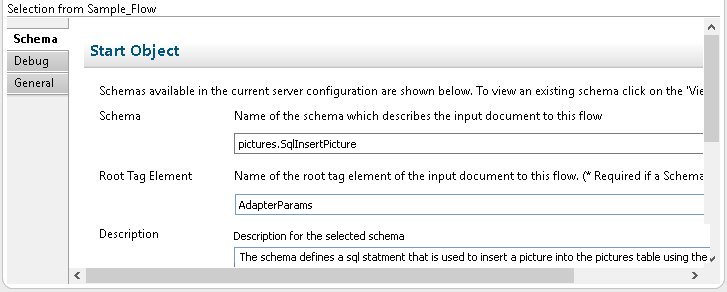
You can also assign a schema for an End object in a flow to describe the output document.