Working With Application Projects
|
Topics: |
An Application Project is a container of resources used to create your integration solution. The Application Project helps you organize your resources in a logical manner and provides facilities for working with those resources.
Creating an Application Project
To create a new Application Project:
- Select File, choose New,
and then Project from the main
menu.
You can also right-click anywhere within the Application Explorer view, select New and then Project from the context menu.
- In the Select a wizard dialog box, expand iWay Integration and select Application Project.
The New Project wizard opens as shown in the following image.
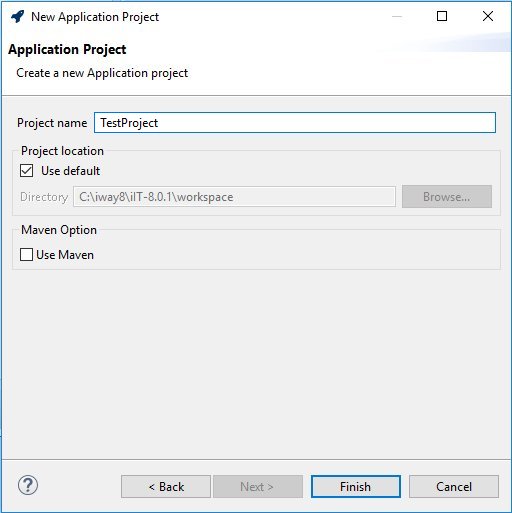
- Enter a name for the project in the Project name field (for
example, TestProject) and click Finish.
A new project with the name you selected will appear in the Application Explorer window as shown in the following image.
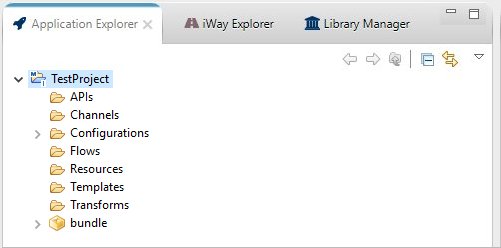
You will also see other folders that were created to hold different types of resources. These folders are just for your convenience and it is optional to put resources in them.
Changing a Default Export Location
To change the default export location for a resource type:
- Select the Application Project that you wish to change and right-click to open the context menu.
- Select Properties. The properties for the Application Project opens.
- Expand the iWay Integration > Export Folders branch in the left pane.
- Select the Enable project specific settings checkbox.
- Click the folder in the Default Folder column for the type that you wish to change. An ellipsis (...) will appear that allows you to browse the project's folders and pick a new default location.
- Click Apply.
- Click OK to close the properties page.
Adding a Customization to an Application Project
To add a customization to an Application Project:
- Select the Application Project that you wish to contain the Customization and right-click to open the context menu.
- Select Properties. The properties for the Application Project opens.
- Expand the iWay Integration > Customization branch
of the iWay Integration properties category.
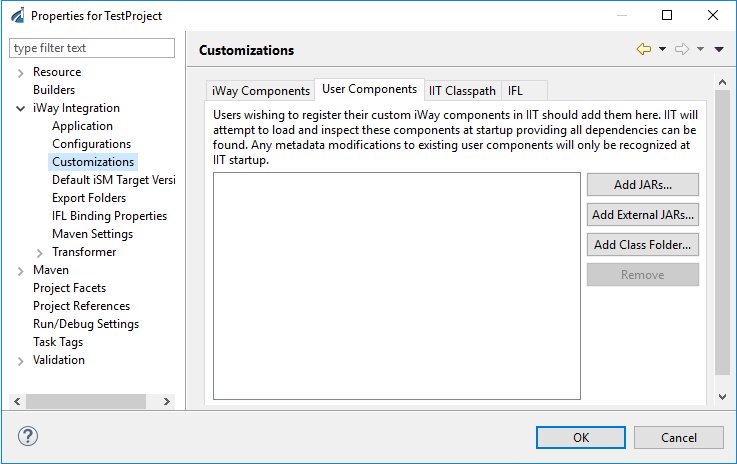
The Customization dialog has four tabs, iWay Components, User Components, IIT Classpath, and IFL, as shown in the following image.
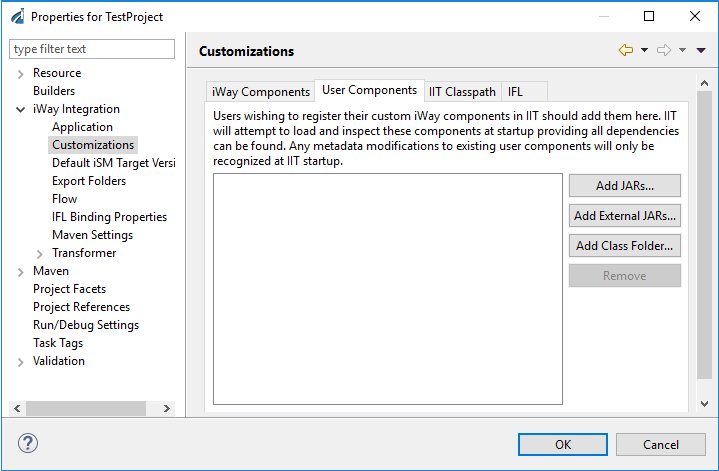
- To add iWay Components, click Import in the iWay Components tab.
The Server Selection dialog box opens, as shown in the following image.
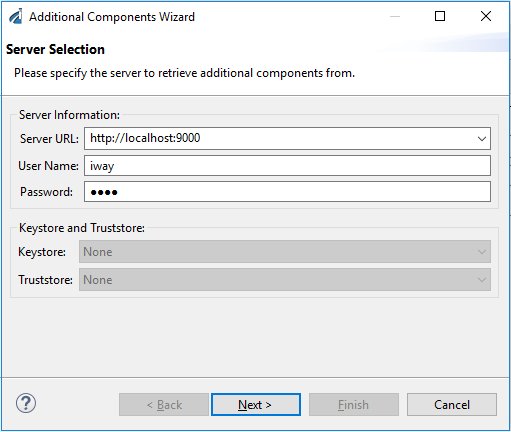
- Click Next.
The Additional Components dialog box opens, , as shown in the following image.
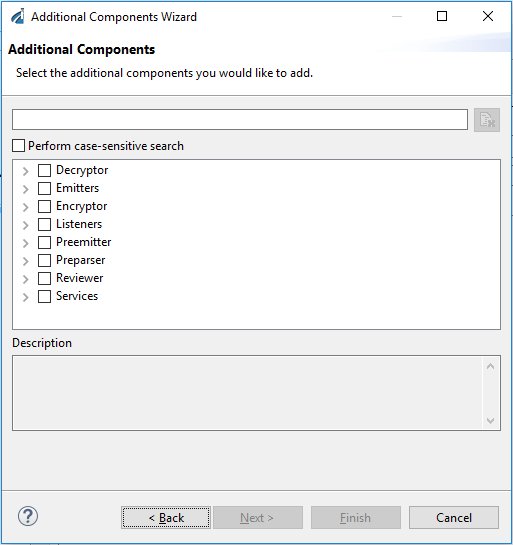
- Select the check box(es) of the components you wish to add and click OK.
- On the User Components tab or IIT Classpath tab, add a JAR from the workspace using the Add JARs button, link
a JAR from the local file system using the Add External JARs button,
or use the Add Class Folder to link classes
from another project, as shown in the following image.
- Click Apply. The Java content will be added to the Application Projects customization classpath.
- To add IFL (iWay Functional Language) functions, click Import in the IFL tab.
- Select the functions you wish to add and click Finish.
- Click OK to close the properties page.
Searching Flows
|
How to: |
Using the Search feature, you can search for specific terms within flows in your Application Projects. This feature is also useful when searching for items, such as Special Register (SREG) names and other parameters.
Procedure: How to Search Across Flows
To search across flows:
- Click the Search icon in
the toolbar, as shown in the following image.

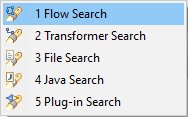
You can also click the down arrow to the right of the Search icon and select Flow Search, as shown in the following image.
The Search dialog opens and displays the Flow Search tab, as shown in the following image.
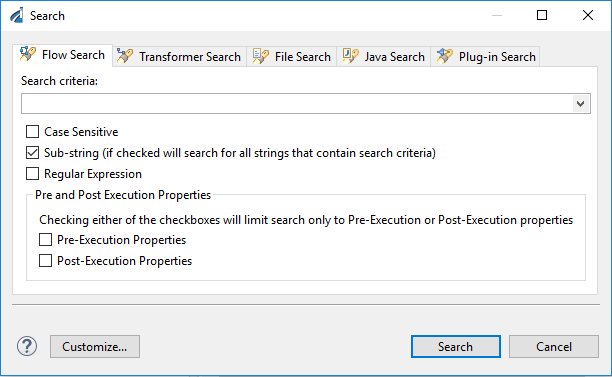
- Enter your search term in the Search criteria field and
select any of the following options, if you want to refine your
search results:
- Case Sensitive
- Sub-string
- Regular Expression
- Pre and Post Execution Properties.
- Click Search.
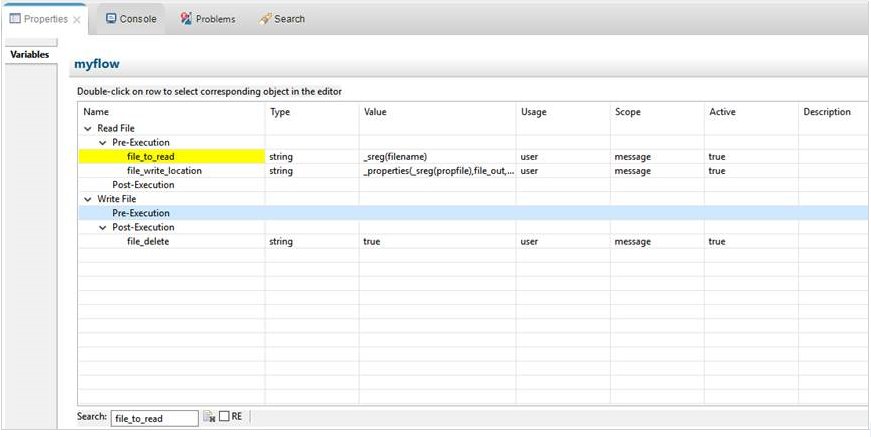
When editing a flow, you can see all the variables in the Properties tab and you can search across them. In this example, the result of a search for the "file_to_read" variable is highlighted for quick access ,and shown in the following image.
Exporting and Importing Application Projects
|
Topics: |
This section describes how to export and import application projects using iWay Integration Tools (iIT).
Exporting Application Projects
To export an application project:
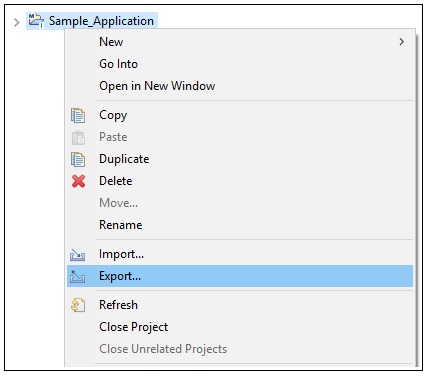
- Right-click an application project in the Application Explorer tab and select Export from the context menu, as shown in the following image.
The Export dialog opens, as shown in the following image.
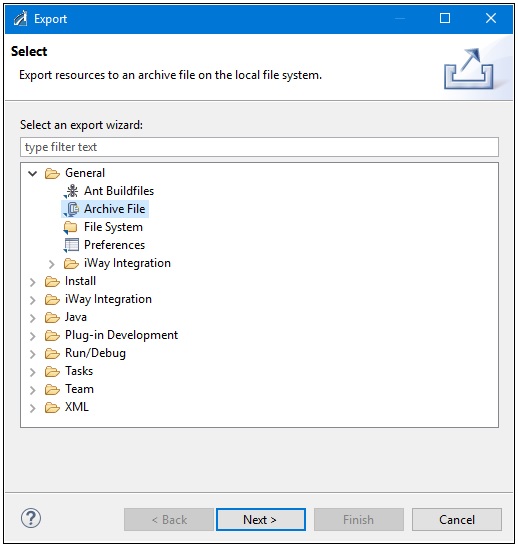
- Expand the General folder, select Archive File, and then click Next.
The Archive file pane opens, as shown in the following image.
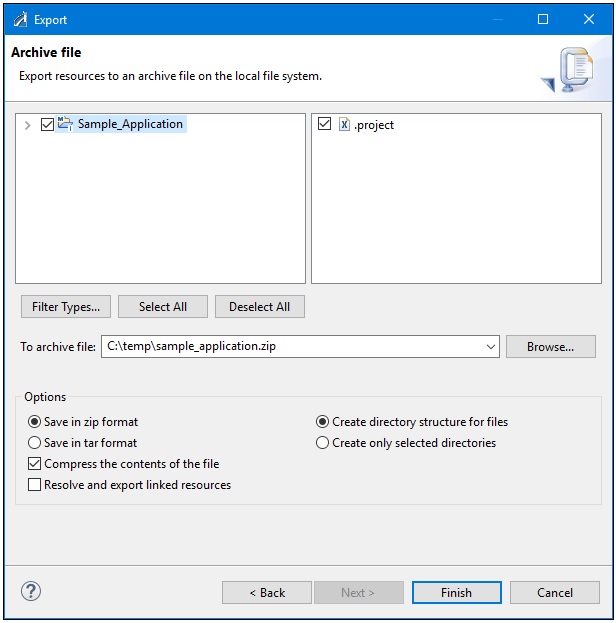
- Browse to a location on your file system where you want to save the archive file that will be generated for your application project (for example, c:\temp).
- Click Finish.
The selected application project is saved as an archive file (for example, sample_application.zip) in the location that you specified.
Importing Application Projects
To import an application project:
- Right-click anywhere in the Application Explorer tab and select Import from the context menu, as shown in the following image.
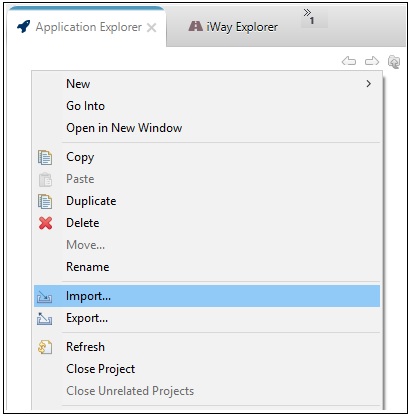
The Import dialog opens, as shown in the following image.
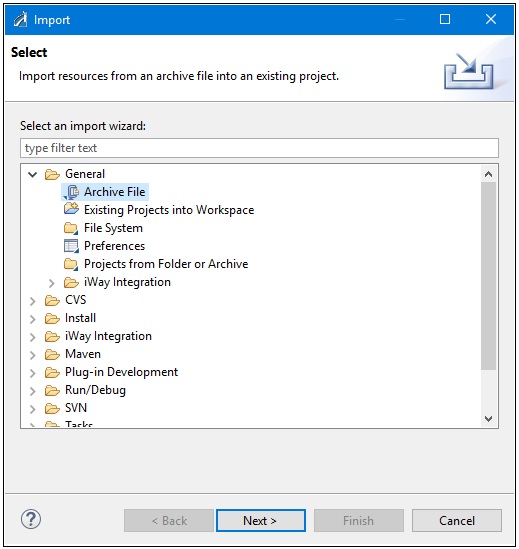
- Expand the General folder, select Archive File, and then click Next.
The Archive file pane opens, as shown in the following image.
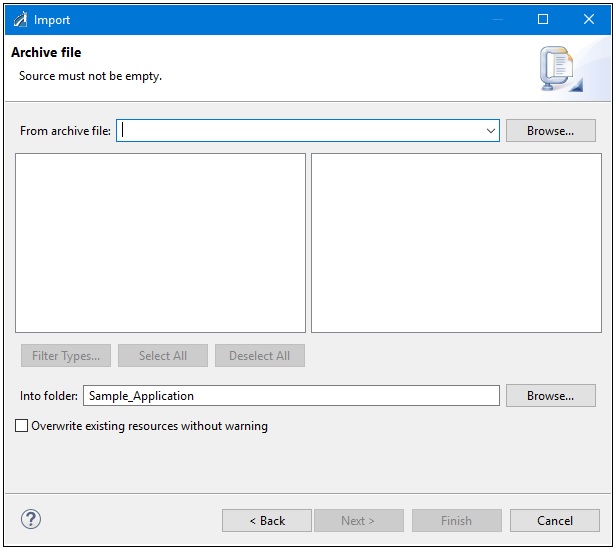
- Click Browse to the right of the From archive file field.
The Import from Archive file dialog opens, as shown in the following image.
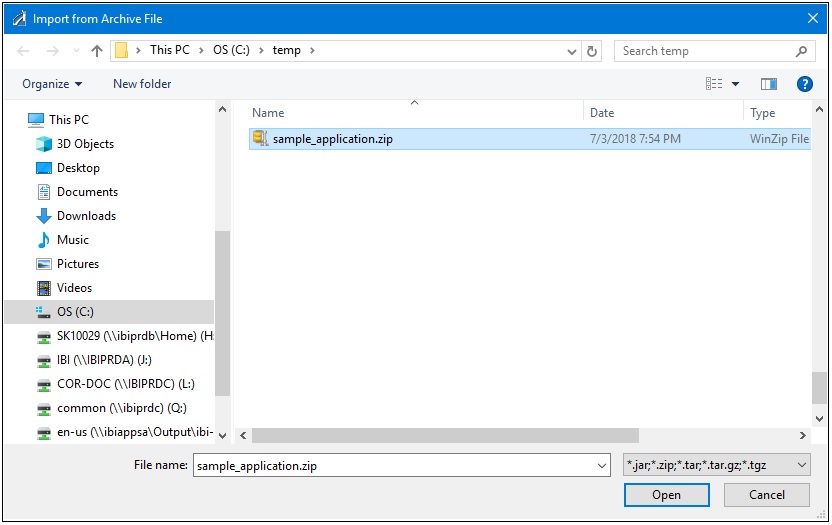
- Browse to the location on your file system where the archive file for your application project (for example, sample_application.zip) is located and select the file.
- Click Open.
You are returned to the Archive file pane, as shown in the following image.
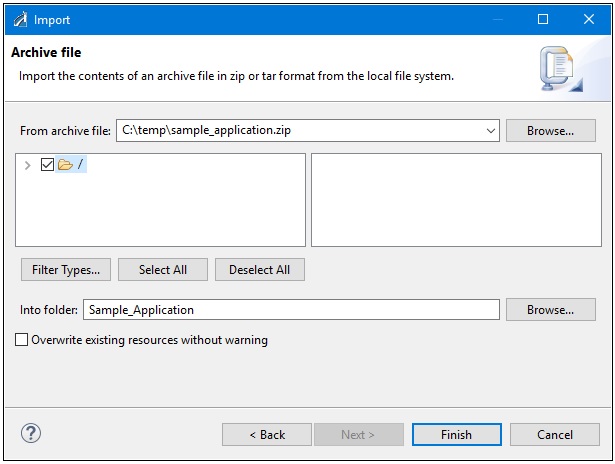
- Click Browse to the right of the Into folder field and select an available folder where you want to import the contents of the selected
archive file.
For example, you can select an existing application project and all of the components (for example, channels, flows, transforms, and so on) from the archive file will be imported into the corresponding sub-folders of the selected application project.
- Click Finish.