Installing Apache Subversion
|
How to: |
This section describes how to install Apache Subversion (SVN) for iWay Integration Tools (iIT).
Procedure: How to Install Apache Subversion
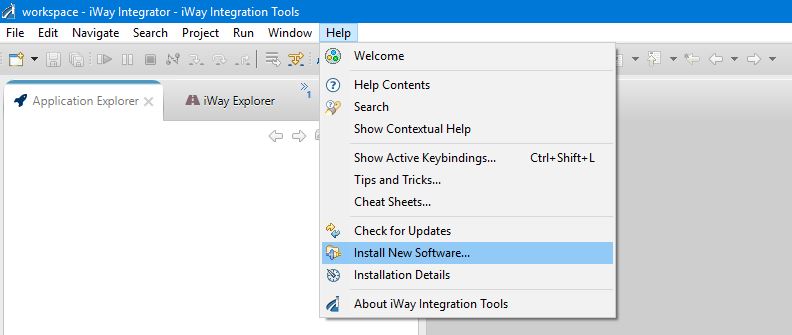
- Open iIT, click Help in the
menu bar, and then select Install New Software from
the context menu, as shown in the following image.
The Install dialog opens showing the Available Software pane, as shown in the following image.
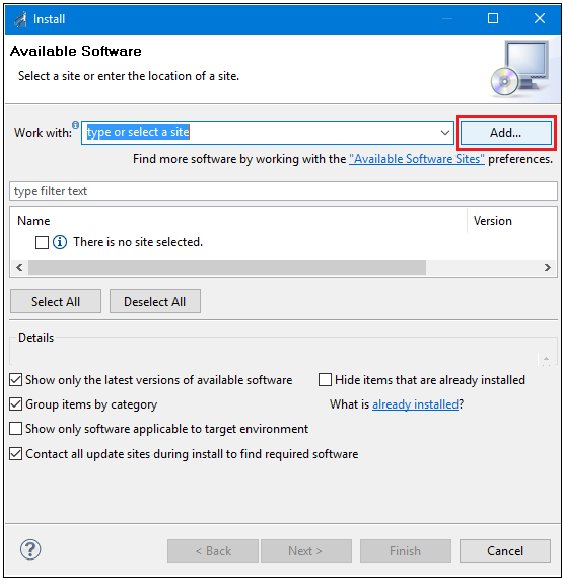
- Click Add.
The Add Repository dialog opens, as shown in the following image.
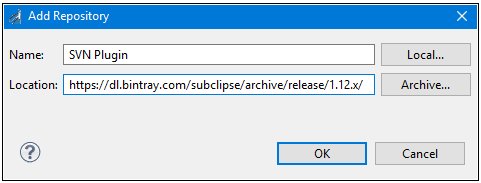
- In the Name field, specify a name (for example, SVN Plugin) to identify the plugin.
- In the Location field, specify the URL from where SVN
can be installed. For example:
https://dl.bintray.com/subclipse/archive/release/1.12.x/
Note: The location URL referenced in step 4 is just one of many supported source management plugins that can be used with iIT. For example, the SVN plugin can also be obtained from the Tigris organization at:
http://subclipse.tigris.org/update_1.8.x/
It is recommended for users to contact their source management provider to obtain the correct version of the Eclipse plugin to be used. Keep in mind that iWay Integration Tools (iIT) version 7.x is based on the Eclipse 3.7 (Indigo) release, while iIT version 8.x is based on the Eclipse 4.7 (Neon) release. As a result, the version and location of the plugin might be different.
- Click OK.
You are returned to the Install dialog (Available Software) pane, as shown in the following image.

- Ensure that Subclipse and SVNKit are
selected and then click Next.
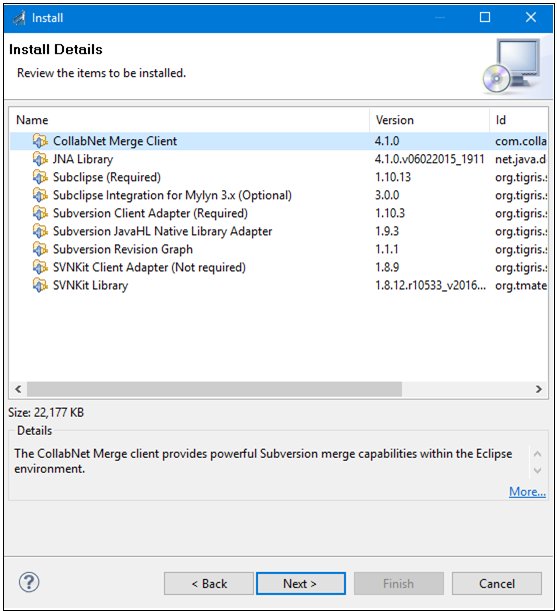
The Install Details pane opens, which provides details (components) of the installation, as shown in the following image.
- Click Next.
The Review Licenses pane opens, as shown in the following image.
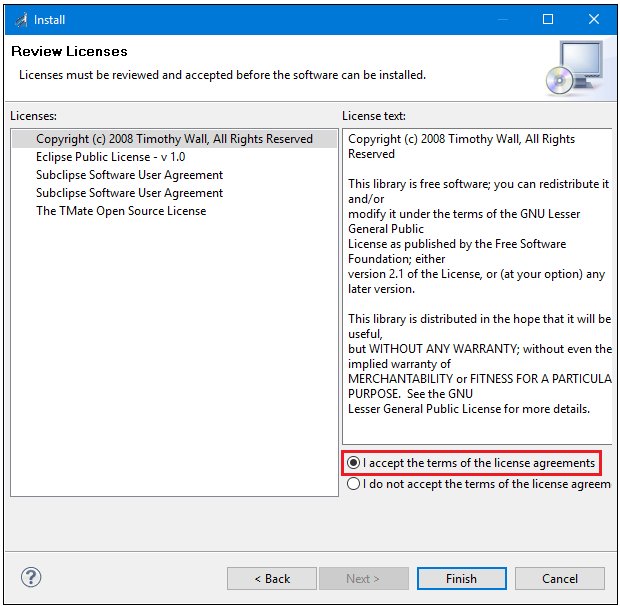
- Select I accept the terms of the license agreement and
then click Finish.
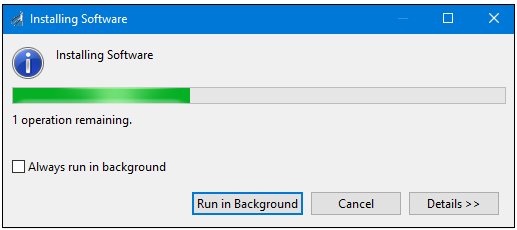
The Installing Software dialog opens and displays the progress of the SVN installation, as shown in the following image.
You may see a warning message (dialog) displayed during the SVN installation process, as shown in the following image.
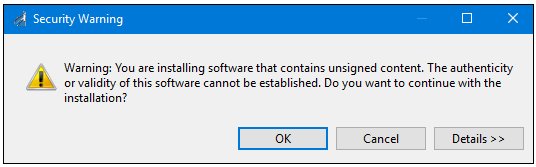
- If you see this warning message displayed, then click OK to
continue.
After the SVN installation has completed, you are prompted to restart iIT, as shown in the following image.
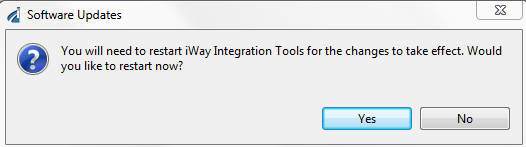
- Click Yes.
After iIT has restarted, you can check to confirm that the SVN plugin has been installed successfully.
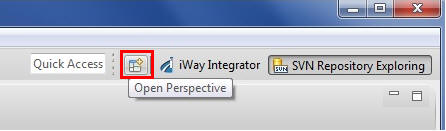
- Click the Perspective icon, which
is located on the upper-right of the iIT workbench, as shown in the following image.
The Open Perspective dialog opens, as shown in the following image.
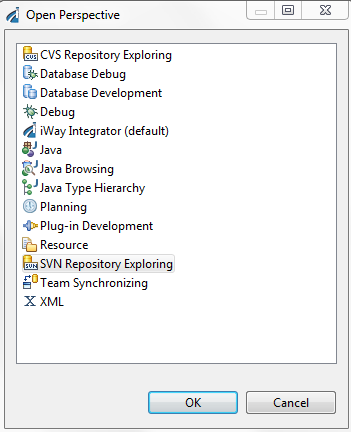
- Select SVN Repository Exploring and
then click OK.
The perspective in iIT changes, which now shows the SVN Repositories tab and SVN Annotate tab, as shown in the following image.

You have now successfully installed Apache Subversion (SVN) for iWay Integration Tools (iIT).