Creating and Configuring a New Mapping
|
How to: |
This section describes how to create and configure a new mapping.
Procedure: How to Create and Configure a New Mapping
- Expand an available iBDI project node
in the Project Explorer tab, right-click the Mappings folder,
select New, and then click Other from
the context menu.
The New dialog opens, as shown in the following image.
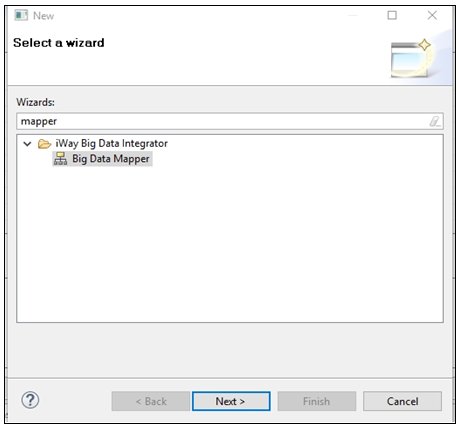
- Type mapper in the field to filter the selection, select
Big Data Mapper, and then click Next.
The New Mapper dialog opens, as shown in the following image.
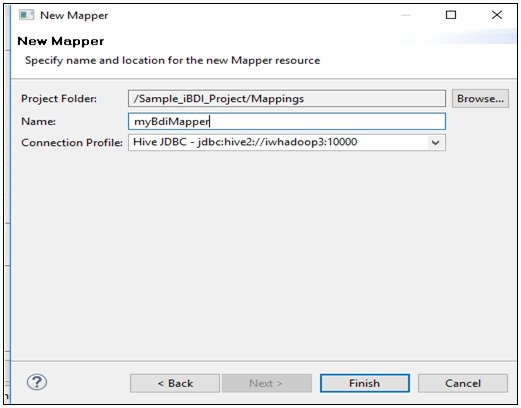
- Enter a name for the mapper in the Name field (for example, myBdiMapper),
select a Hive connection from the Connection Profile drop-down list,
and then click Finish.
The Big Data Mapper Editor opens as a tab in the iBDI workspace, as shown in the following image.
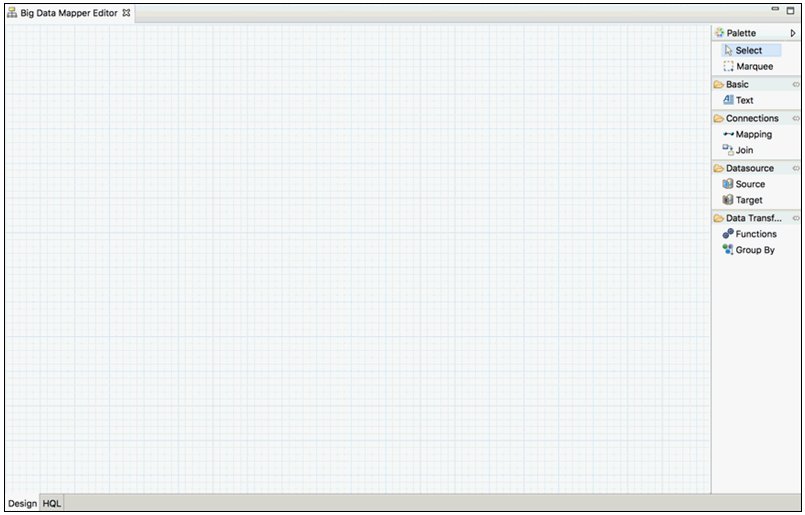
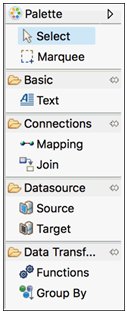
- From the Palette, which is located on the right pane
of the workspace, click and drag the Source object
(under the Datasource group) to the workspace.
The New Source Table dialog opens, as shown in the following image.
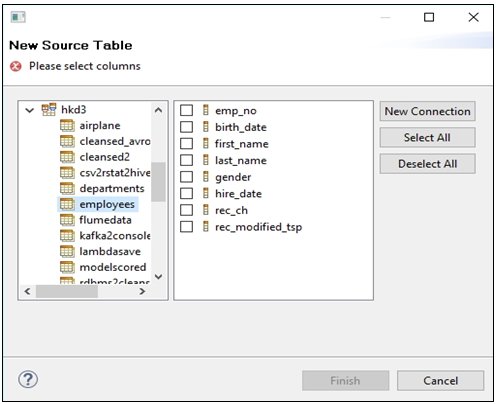
The New Source Table dialog enables you to navigate and select the Hive table that you want to transform.
- Click Select All and then click Finish.
The Big Data Mapper Editor displays a graphical representation of your selected source tables, as shown in the following image.

Note: An asterisk character (*) in front of the Big Data Mapper Editor tab, indicates that a new change has been made to the mapping, which has not been saved. You can click the Save icon on the toolbar or use the Ctrl+S shortcut to save your work at any point.
- From the Palette, click and drag the Target object
(under the Datasource group) to the workspace.
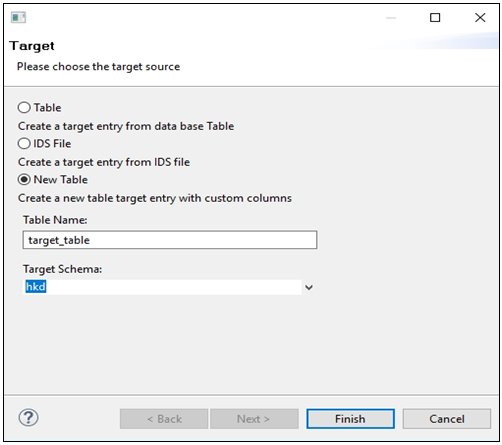
The Target dialog opens, as shown in the following image.
The following table lists and describes the Table, IDS File, and New Table parameters.
Parameter
Description
Table
Creates the target entry in the selected schema and database with the selected columns.
Selecting this option will open the New Source Table dialog. Selecting a table name in this dialog will write the contents of the mapper to the table.
IDS File
Import an Omni Input Document Specification (IDS) version 1 document and create columns in a new table based on the information in this document.
New Table
Create a table in the selected schema with the name provided. Only mapped columns from the Source will be written to the target.
- Perform the following steps:
- Select New Table.
- Provide a table name (for example, target_table) in the Table Name field.
- From the Target Schema drop-down list, select a target schema into which the new table will reside. Here, the target schema is referring to a database.
- Click Finish.
The Target object is added to the workspace with no columns, as shown in the following image.
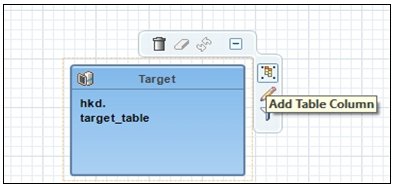
- Add columns to the target table by hovering the pointer over the target table and clicking the Add Table Column icon.
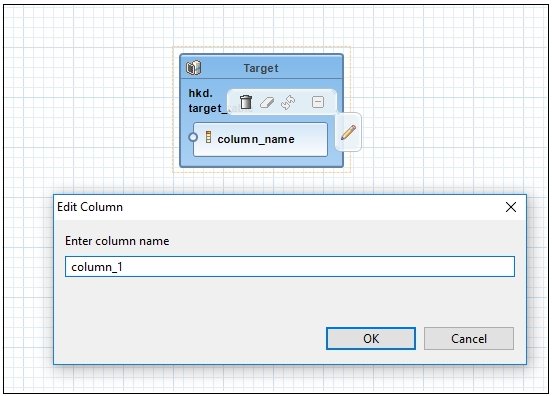
- Edit the name of the column by clicking the Edit Column (pencil)
icon when hovering over the added column, as shown in the following
image.
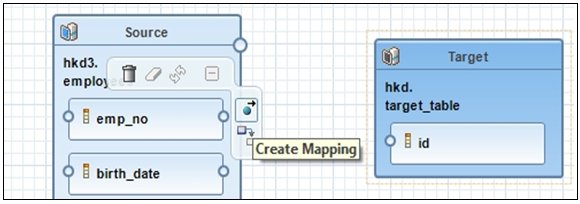
- Create a mapping join from the source table by hovering
over a column in the source table and then clicking the Create
Mapping icon, as shown in the following image.
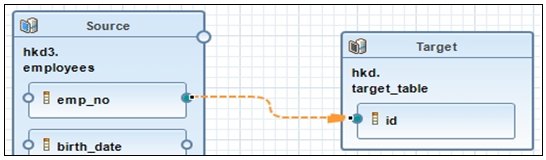
- Click the blue ball and arrow icon, drag the connection,
and release it over the column created in the target table to form
the connection between the source and target table, as shown in
the following image.
- Continue this process of creating a target column and creating a mapping connection from the source table.
- To view the corresponding HiveQL (HQL) that is generated,
click the HQL tab to view the HQL that Beeline
or Spark will execute.
For example:
CREATE DATABASE IF NOT EXISTS hkd;
CREATE TABLE IF NOT EXISTS hkd.target_table (
  id STRING)
STORED AS AVRO;
set hive.exec.dynamic.partition.mode=nonstrict;
set hive.exec.parallel=false;
--SET hive.exec.max.dynamic.partitions=100000;
--SET hive.exec.max.dynamic.partitions.pernode=100000;
create database if not exists hkd;
INSERT INTO TABLE hkd.target_table
SELECT
  T1.emp_no C1
FROM hkd3.employees T1
;
Procedure: How to Execute a Mapping Configuration
Once you have created a mapping configuration, a mapping file with a .iwmapper extension is added to your Mappings directory in your iWay Big Data Integrator (iBDI) project.
Note: When executing a mapping configuration in the Run Configurations facility, use the iWay Big Data Integrator Build option for immediate execution. Use the iWay Big Data Integrator Publish option for batch usage.
For more information, see Defining Run Configurations.