Installing Sentinel
|
How to: |
Sentinel is delivered as a self-executable .jar file, which is executed and run directly from a command prompt. The components required for Sentinel to run will be installed in the location where the .jar file is running from during the initial execution.
Procedure: How to Install Sentinel
- Download the sentinel-1.2.jar file and
save it to an empty directory on your system.
This directory will become the Sentinel home directory.
- Open a Command Prompt window and navigate to the Sentinel home directory where the .jar file has been saved.
- Enter the following command:
java -jar sentinel-1.2.jar

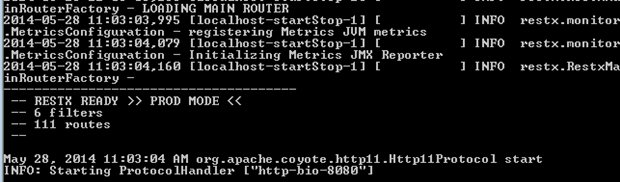
When the start sequence has completed, the following message displays:
On the file system, the following directories have been created during the initial execution of the .jar file.
Directory
Description
<Sentinel_Home>\.extract
Runtime for Sentinel/SPOG.
<Sentinel_Home>\logs
Log files for Sentinel/SPOG.
\Users\<user>\spog
Generated when first accessing the SPOG user interface and contains SPOG graph, property files, and other runtime artifacts.
In this case, <Sentinel_Home> is the location from where the .jar file was executed and <user> is the system user who extracted the file.
- Stop Sentinel by pressing Ctrl+C in the Command Prompt
window and start it again, by re-executing the following command:
java -jar sentinel-1.2.jar
Sentinel and Single Pane of Glass (SPOG) are now ready to be used.
- Access the Sentinel web user interface by opening a Google
Chrome browser and entering the following URL:
http://host:8080
where:
- host
-
Is the machine/IP where Sentinel and SPOG have been installed.
A Login screen opens, as shown in the following image.
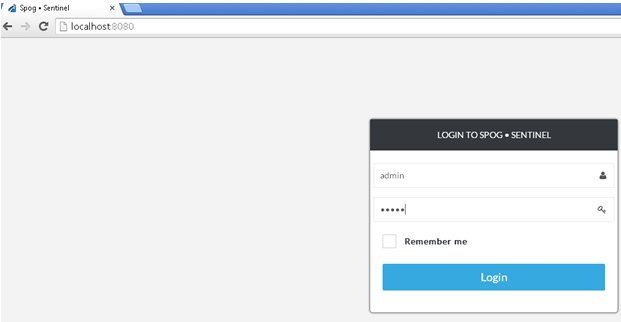
- Log in using admin as the default user name and admin as
the default password.
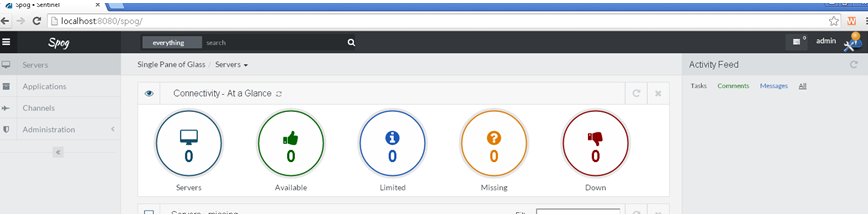
The initial screen, Connectivity - At a Glance, is displayed indicating that SPOG is ready for use, as shown in the following image.